“Don’t ask what the world needs. Rather ask – what makes you come alive?
Then go and do it!
Because what the world needs is people who have come alive”
– Howard Thurman
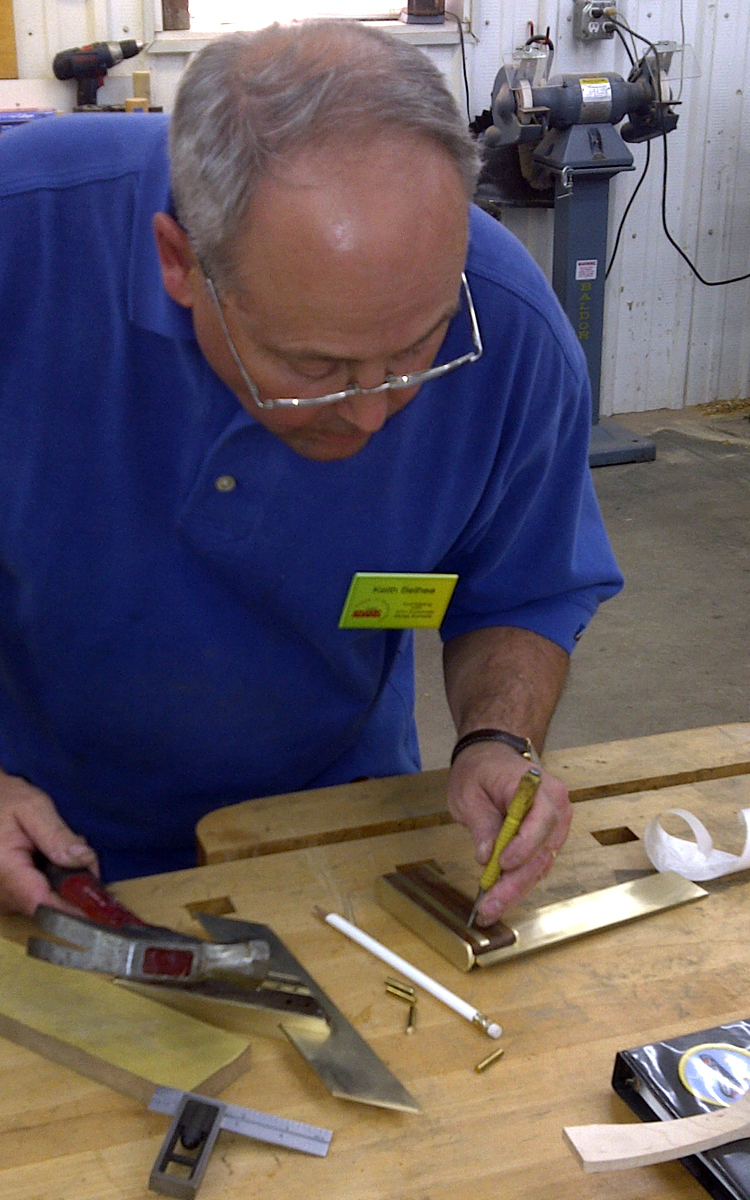
Last weekend I teamed with Deneb from Lie Nielson Toolworks for a weekend of toolmaking at the Marc Adams School of Woodworking. Here is a professional artist rendering of me at work:

From my perspective (and I am unanimous in my opinion) this was a blast. Students learned how to run a milling machine, router tables, proper planing and joining techniques, how to cut metal on a table saw and a bandsaw–but they really learned that working with dissimilar materials is primarily an abrasive process.
They made our old model TS-2 and MS-2 squares from scratch–and for tools that were designed in 1973, they still look pretty sharp! Deneb supervised the making of a wooden spoke shave kit. Three tools were probably one tool to many for a two day workshop.
Here are some pics, and for those of you who would like to learn more about tool making, I will be teaching a week long version of this class next Spring at MASW. You can contact them for further details. (I am also going to teach my headache inducing design class too.)
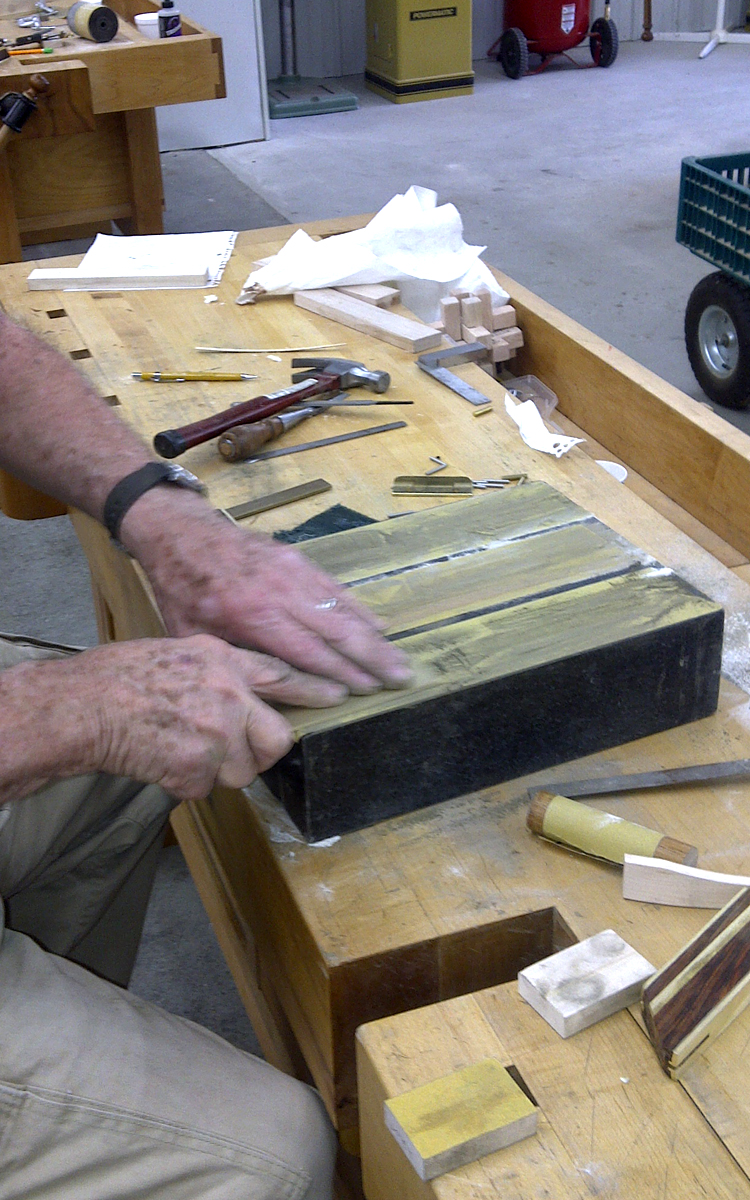
Starting with raw brass, students hand sanded the blades. I am guessing this burned about 300 calories.
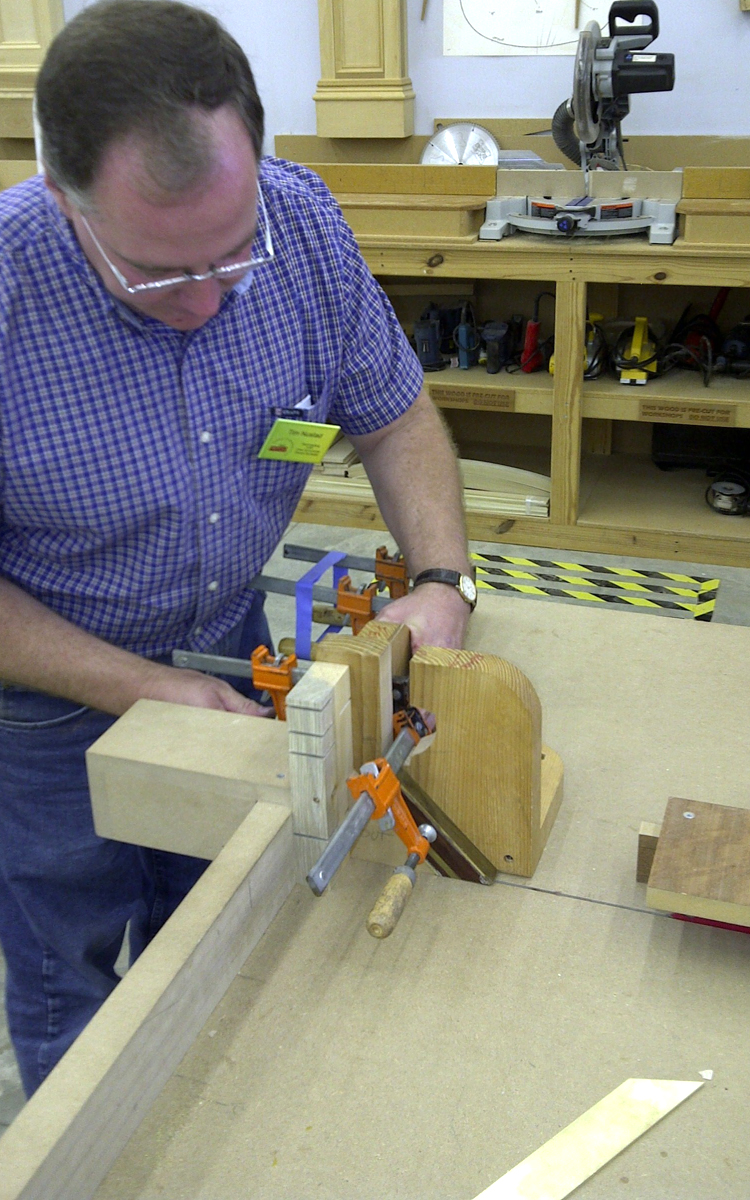
I would never teach this class without the aid of the Kerfmaker (not visible but it is located on the other end of the tenon jig. As one student said, “If you own a tablesaw, you are a moron if you don’t have this tool.” I am not making this up. Ask Rugager. Oops!
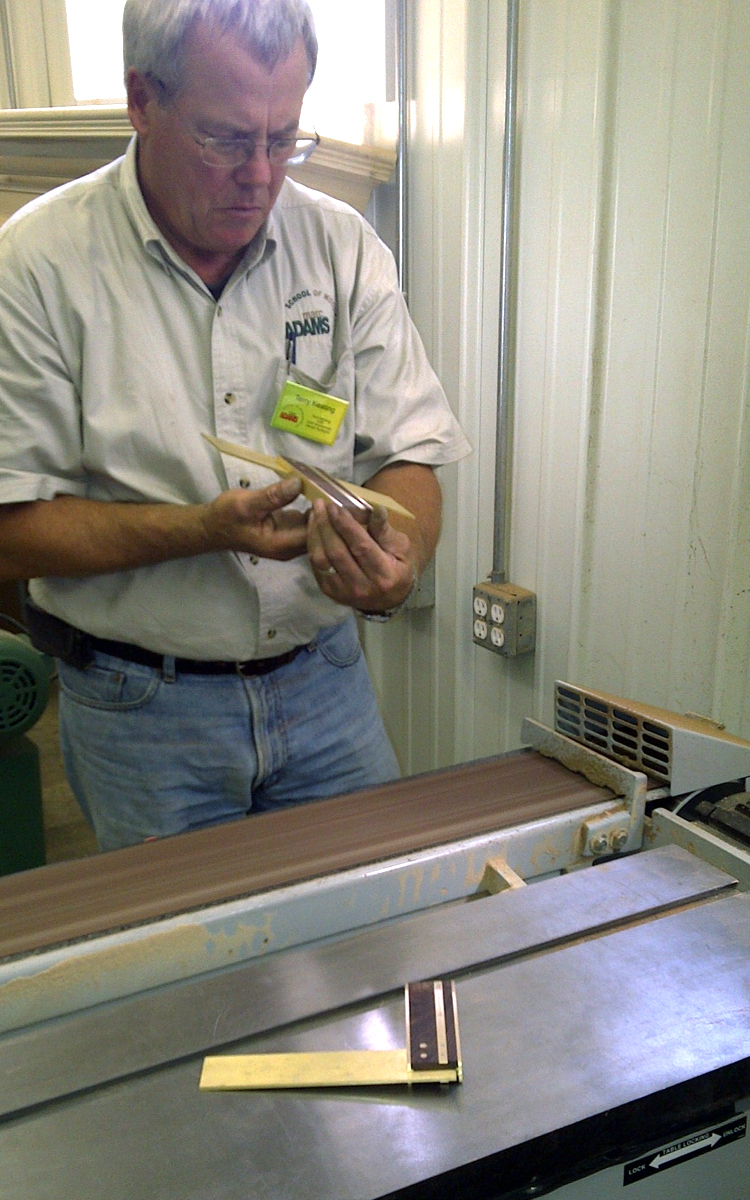
After the rivets are set, they are sanded flush on a stationary belt sander.
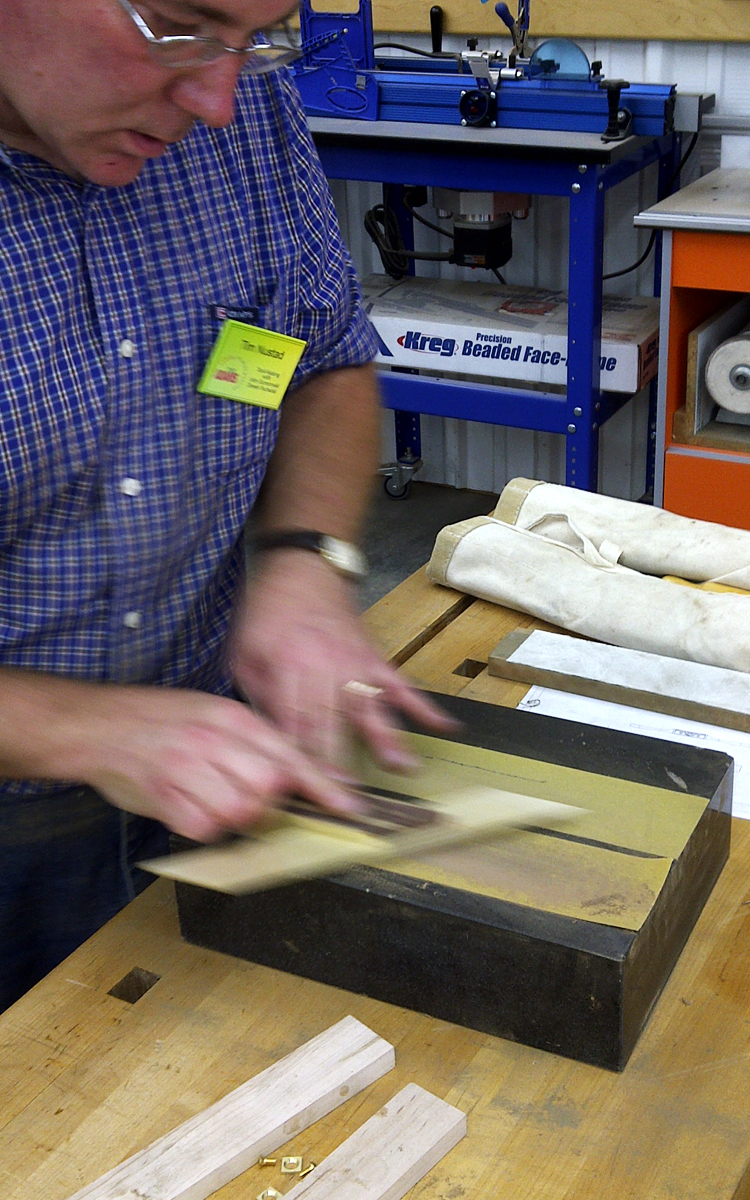
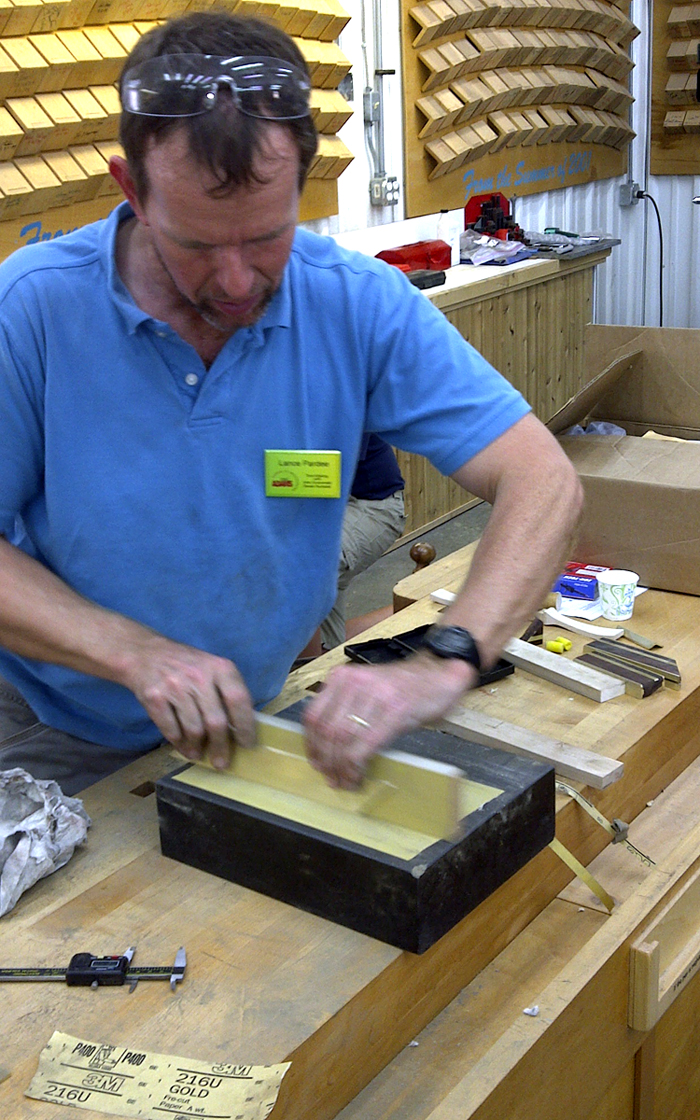
Sanding the faces is another couple hundred calories. They have to be polished until they feel sexy. Whatever that means. (I wasn’t going to post this pic, but Kreg gave me $25K to include it in my blog–The Drivel Starved Nation is way bigger than you think. Sweet!)
Blade edges have to be straight, square and parallel. It is done by hand.
The handles feature crowned ends–really beautiful and they too are sanded by hand.

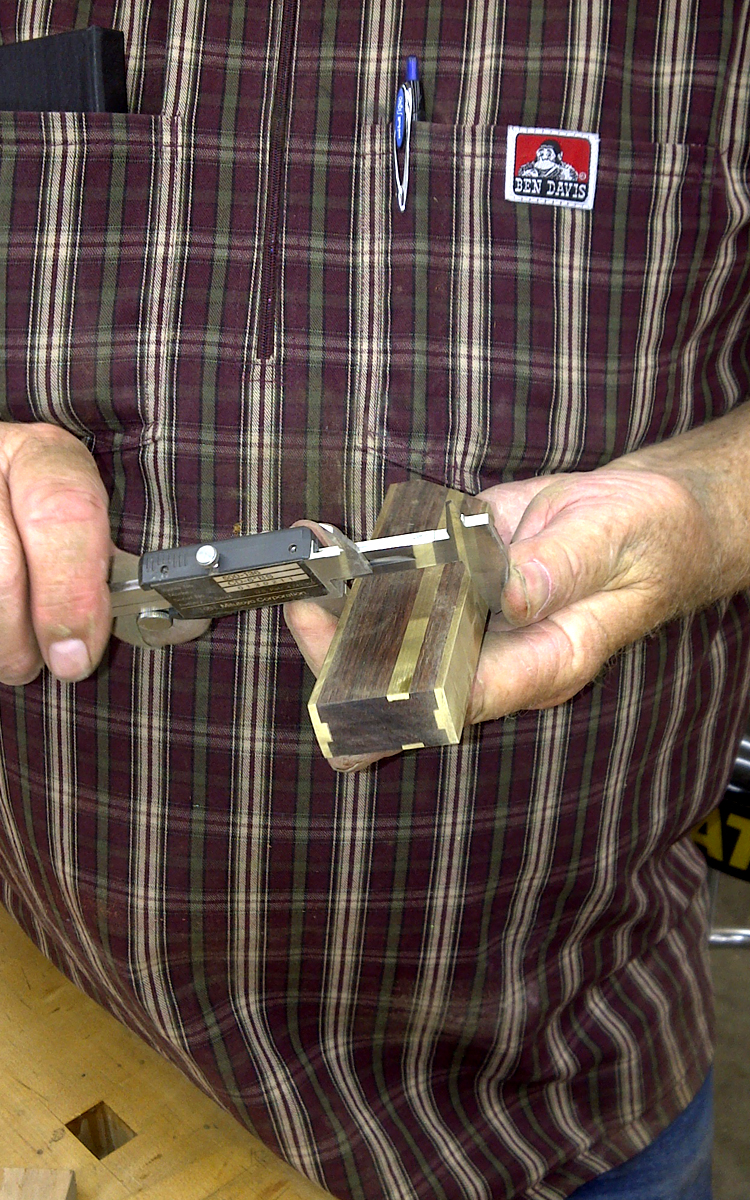
It is not a square if either the blade or the handle are not dead parallel–here is how we checked them.
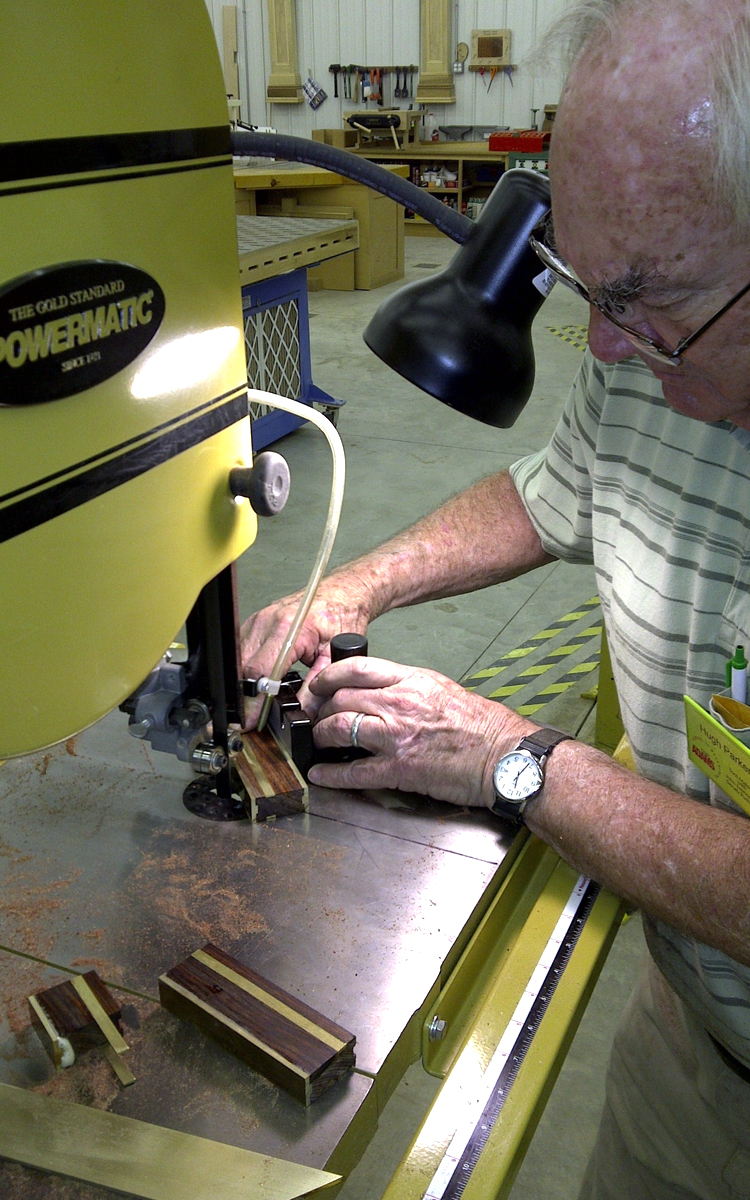
Since the crown on the miter square handle is going to be done by hand, the mitered ends were cut on the band saw with a metal cutting blade.
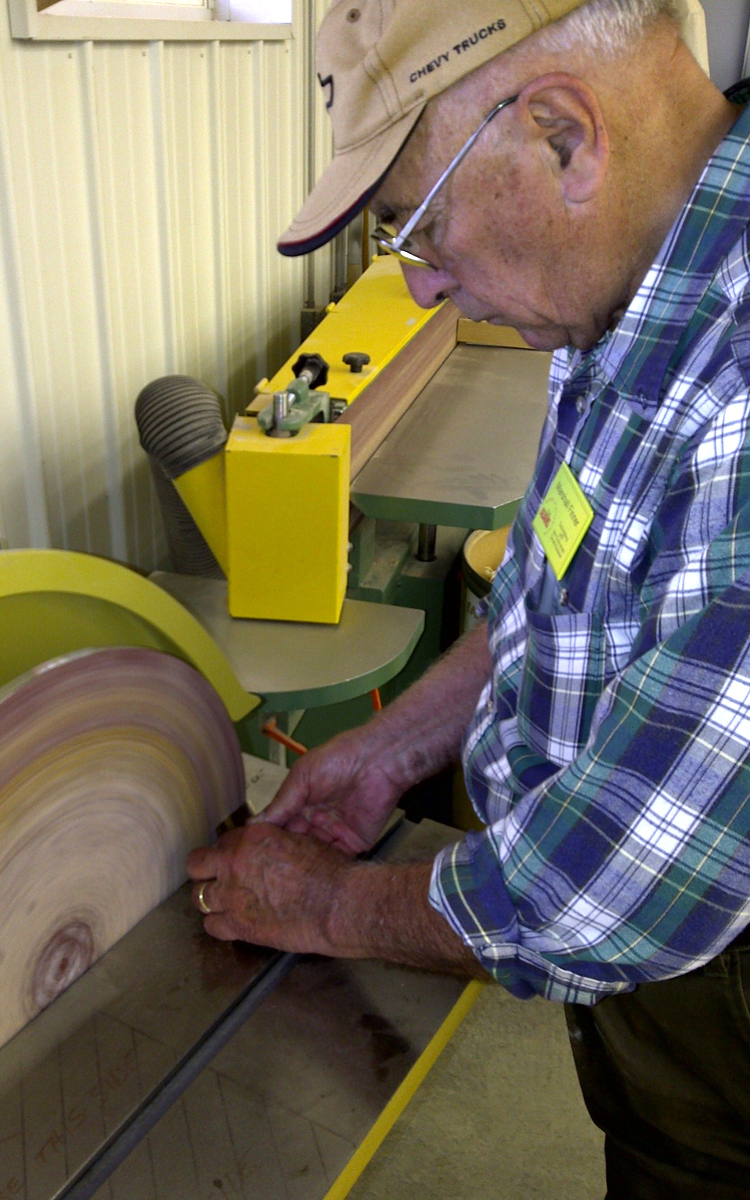
Crowning by hand on a disc sander.
Rivet holes need to enter the center of the rivet seat and exit in the center of the opposite side. Center punching is a must.
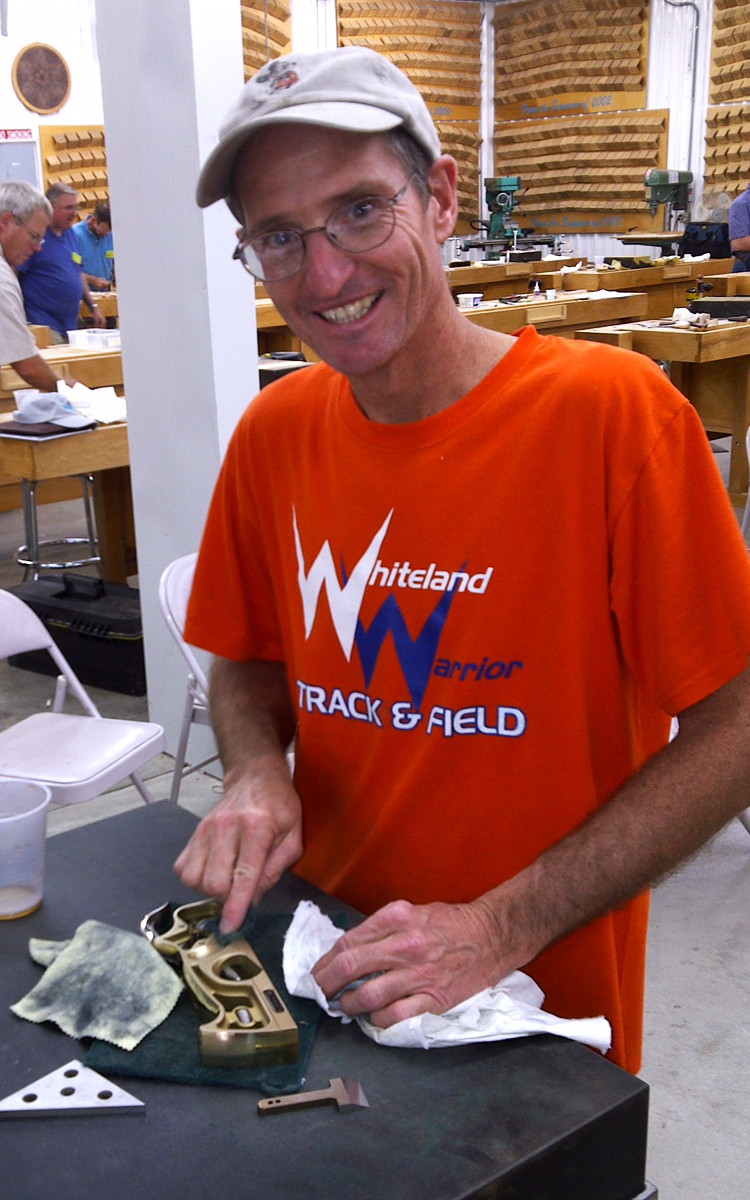
While the students were cleaning the shop on Sunday, Marc Adams hauled out his shoulder plane and expected me to clean the thing. Fat chance–I supervised.
So, there ya go. Lots of tools, lots of fun…all without injuries.
–John

Looks like so much fun, John. Thanks for sharing. Do you have any pictures of the finished products? Were they square?
Did everyone leave with a Kerfmaker? I wouldn’t have thought you’d let them out the door without one…
– Peter
Also, I’m curious about the rivets. They look (in the pictures) like pieces of brass rod. Are they peened in any way? Or are they just glued in? Or do they have some sort of heads or caps?
– Peter
Check out the finished tools here;
https://www.bridgecitytools.com/discussion/viewtopic.php?t=215
Brass rivets were glued. Steel were peened.
–John
The class was a blast, but a lot of work. I think we might have qualified as a sweat shop on Sunday, as I noticed several folks sweating profusely, as in literally dripping sweat off their foreheads! I remained pretty dry and managed to get my tools done minus sharpening the shave blade. Since I have the “gift” of overthinking everything, I didn’t spend much time on the blade because I could do that at home, and wanted to make sure I finished the rest of the work.
As John pointed out; sanding was a huge part of the weekend. In hindsight I wished I had taken a picture of what the brass blade looked like before we started. It was rough bar stock, that rewarded all of our sanding by shinning pretty in the end!
John kept telling us to “make it sexy,” but refused to supply a reference surface. I would have thought he could have brought Megan Fox along.
-Rutager
P.S. I believe I said idiot, not moron!
John,
It looks like the class was great. Unfortunately, I hear that Rutager was in the class and that the level of talent was drastically reduced. Peter and I would very much like to take the week long class but we must be assured that Rutager does not know about it. 😮 Seriously sounds like a great time and wish I had been there. However, it was great to see you at the WIA as well as the dinner.:o
Fred
Tools were not the only thing we learned about at this class…
Rutager has neglected to mention that he has a new family member!
And it has batteries too. Perhaps a progress report would be appropriate….
–John
John,
I am a little concerned but does his new family member with batteries reside in his nightstand drawer? 😮 😮
Fred
Fred;
Behave.
–John
John,
I am just sayin. 😮
Fred
John,
Some people just can’t be let out in public, or in Fred’s case; any public forum!
John is correct, he brought a RC helicopter to Marc Adams and gave me a demonstration and wisely didn’t ask me if I wanted to fly it! I took the bait and asked him what helicopter I should buy; he told me a MCX2, and I got one the day I returned to MN. I’ve been taking “baby steps” and taking short flights while trying to minimize copter to wall interactions! So far I have not permanently broken it, but last nights drop from the sky ( yes, gravity is still working at the West house!) shifted a motor off a gear, which made it seem like it lost power. A quick adjustment put me back in flight.
I’m trying to be mindful of addiction, but find myself wanting to get one that is made to fly outside. Do I have a problem yet?
-Rutager
“Do I have a problem yet?”
Yup.
–John
PS: Next step is the MSR. Then the SR120. From there you will jump to the 450 class and likely join a local flying club. I TOLD YOU NOT TO DO THIS! Without question, the most addictive (and most fun) hobby I know.
It looks like a lot of fun. What is hanging on the walls in the photos?
Charles,
I believe you are referring to the sample dovetail joints from the beginning joinery classes over the past decade or so.
-John
John,
Quite inspired by the prospect of doing a lot of abrading, I wonder if it would be possible to buy drawings for some of the discontinued tools?
-Bengt
P.S. I think that “professional rendering” of you above looks more like Deneb. At least, the hair does. Maybe if you attached a helicopter to your head…
– Peter
Bengt-
Do you have a specific tool(s) in mind?
We have been tossing around the idea of tool plans for a couple of years. If they are under $10 does that sound reasonable?
Others can chime in here too regarding this post.
Best-
John
Besides the squares above, the TB-6 , AS-24 and the sadle squares would be nice. and yes, under $10 for an electronic version would be perfectly reasonable.
/Bengt
John,
I too like the idea of some tool plans.
Speaking of tool making; You’ve said before that wood with red tones look good with brass, and woods such as ebony look better with a silver hued metal. So my question is: are there any silver colored metals that can be worked easily in the home shop that also are good for tool making? (I’m guessing that sanding stainless steel bars by hand might not be as easy as brass!)
Thanks, Rutager
P.S. Haven’t broken the helicopter yet!
Rutager;
Use brass as your base and then you can get it plated. Other than that, aluminum is easily hand worked and it too can be plated with sliver or nickle (lots of decorative faucets and such are nickle plated brass).
If you want to use steel, check out “ground stock” as your starting point if you are making reference tools. This is steel that is the equivalent of S4S lumber (surfaced four sides)only way more precise.
With a ground steel surface, you can go through the grits and get a great finish. You may want to look in your local area and find out who does chemical polishing (this is how they prepare the base metal on a car bumper for chrome plating).
Google is your friend.
Of course this will all be covered in my tool making class next year…
Good job on your heli training! I had the helicopter I flew in Indy blow up in mid-air yesterday as I was showing my son how far I have progressed. Needless to say, he is still laughing. Great day either way. ($15 repair bill FYI).
Best-
John
Man! I wish I’d been there to see your face when your helicopter blew up! Must have been something…
I love the idea of plans for your tools. In fact, if you made the plans look really nice, I could imagine framing them. I think they’d make very classy art pieces. How ’bout plans for the VP-60 or something?
– Peter
How about using HP-6V2 Soles as an indroductory excercise in tool making? This could be a really interesting endeavor. John, I would NEVER wish to take away your engenious idea of a never-ending collection of soles for one plane, but perhaps opening this up to masters such as those who frequent this blog(myself not included in the “masters” catagory) would result in some really cool additions to this GREAT plane. You could give the “winners” a small commission for turning in a winning sole (maybe a discount on your next tool offering as example) and the rest of us could benefit by adding to our already great collection of profiles after you mass produce it for us. Just a thought… I know this doesn’t hit the mark on marrying wood and metal, but I thought it was a cool idea. As example, I’ve been kind of waiting for a small ogee sole or perhaps a fluting sole. I may be “dreaming” a little since I don’t have a milling machine, but I know someone who does have one and the design process may be a fun excercise. Perhaps, we could even get a thick blank sole and iron for starters and work from there….I’ve seen a few boxes made by your following and it may be fun to see what shapes they can dream up to incorporate in this process. Who knows, maybe there is a new “classical shape” waiting out there….
Dennis
Dennis;
Cool idea and coincidentally, fluting soles are on the schedule as well as the ogees. What is going to change moving forward is that we plan on illustrating project ideas specific to each profile prior to release.
We have given the HP-6 a rest only because we have been attacking other ideas; the Kerfmaker, Tenonmaker, DJ-1, the Jointmaker Single Wng, and a couple of others you don’t know about yet.
We had always hoped that folks would want to make their own profiles and your enthusiasm is encouraging. The real difficulty is the iron profiles. One needs to really know what they are doing.
Thanks for the ideas!
John
John:
Hijacking this a little: knowing you’re a well-read guy in industrial processes and meticulously lay out the motion of your machines:
Do you know any good, but simple books on kinematics?
I’m also been looking for information on pingears since ordering the indexing wheel–nada.
Any help/suggestions on either would be appreciated!
Thank you, Dave
Dave;
Regarding your question on kinematics, I know of no such tome. That said, pick up a copy “507 Mechanical Movements” it is fascinating–to me anyway.
As far as I can tell, pin gears were first use to transmit rotary motion around a 90 degree bend–as in a windmill. Then of course there were the pin wheels that rotated only because slave labor pushed them in circles–or mules/cows/horses.
I have some old books on the subject and I will dig them out and share the contents in the next month or so.
Now here is a fascinating assignment for the Drivel Starved Nation with nothing to do and shop that needs more projects–make some simple mechanical movement desk toys. One really fun one is a Geneva Drive. Look it up–people will spin this thing forever waiting for the pins to crash and of course they course they won’t. (These drives are used to parse continual rotary motion)
–John
Thanks, John. Lately machines–particularly mechanical linkages–have seized my imagination. I’ll look for that book.
Never had heard of pin gears.
Oh man. Now I’m in trouble. That Geneva Drive (and especially the internal Geneva Drive) look really cool. How can I have lived this long and not known about them?!? Clearly I’m going to have to incorporate that into … something!
– Peter
Peter;
What do you think selects one gumball when you turn the crank–hmmm…
Check this out. Fun.
–John
I always thought it was a disc with a gumball-sized hole in it, and a channel that was only long enough to accept one gumball. Guess I’ll have to check one out more closely – it’s been about 45 years since I’ve used one.
That was a fun link. It would take some skillful engineering to ensure that all the pins and cranks engaged just right (and didn’t break the thing apart, or just get stuck).
– Peter