To The Drivel Starved Nation;
Your favorite Tool Potentate would like to make a charitable contribution of the following;
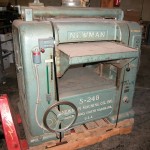
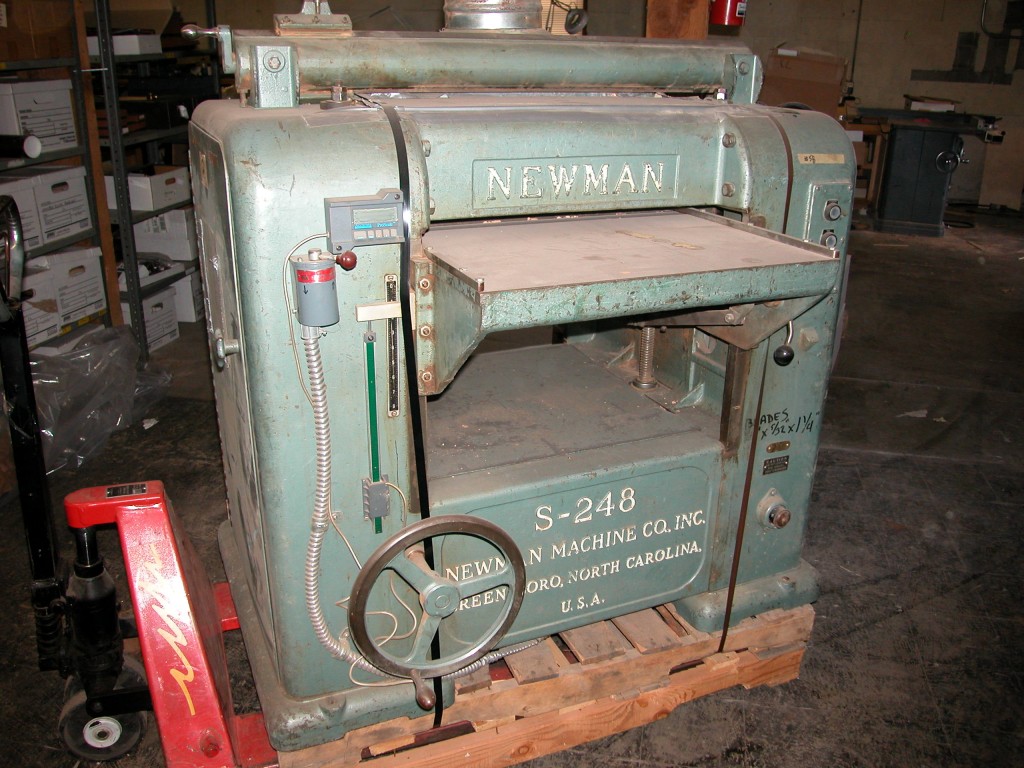
1-24″ Newman Whitney Planer
2- Davis and Wells 1″ Spindle Shapers (no cutters included)
Do you know of a school or other non-profit entity that could use an injection of free equipment?
Here’s the deal, as mentioned these are free, except for the freight–FOB Portland, Or.
All are wired for 220 3 phase and need no work or repairs. The planer is a beast-3000 lbs and one can run 24″ wide butcher blocks through it all day without missing an RPM. AND, parts are still available, but it needs none.
The shapers are one of the best made for their size.
Did I mention that they need to go to a non-profit entity?
Thanks for your help-paper transaction needs to occur by 12-31-2010.
These are all that remain from my furniture making days and I would love to see them find a home where they can go back to work.
Thanks!
John
john@bridgecitytools.com
Behind the Scenes
Behind the scenes at Bridge City Tool Works!
Inspiration is Everywhere…
December, 6th, 2010
Today I was sent a link to a very well done kinetic typography video. It resonated with me because typography is one of the mini-lessons I employ in my design classes to teach harmony.
It is unquestionably an inspired effort. And for those who want to know how long it took to make this video, the author stated somewhere between 500 and 1000 hours–amazing!
What I like about discoveries such as this as how much we all benefit from the efforts of others.
Anyway, the dude is oozing in talent.
–John
New Tools, and a Theory…
December, 2nd, 2010
______________________________________________________________________________________
“The opposite of creativity is cynicism” — Esa Saarinen
______________________________________________________________________________________
I have a theory. Tell me if you think I am full of (insert your favorite word here…I picked “beans”)…
I have always lamented the “boxy” nature of woodworking. As a pre-cursor to this post, I stopped by my local Barnes and Noble and perused the magazine rack…
Did you know that the number of magazine titles about guns and/or ammo out number woodworking titles about 3-1? I digress…
Almost all of the woodworking magazine cover shots were some type of box-like project, meaning there was no shortage of 90 degree joints. There is a reason for this I am sure, not the least of which is that the editors are acutely aware of their audience and what sells.
But what does this really mean?
I think it means that we as a collective are comfortable quantifying 90 degree work because we have squares to assist our efforts. And most likely we have references for 45 degrees as well. And if you are honest, you will admit the degree of difficulty goes up with miters particularly if you do not have an accurate reference. They are not hard, but they need to be spot on to avoid being butt ugly.
Compound miters? I believe the vast majority of woodworkers have never attempted them. Yes/No?
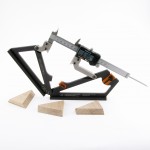
Next week we will be releasing the Angle Master Pro v2 for pre-order. And of all the tools we have made over the last four decades, I believe this tool can actually change the way you think by making it possible to replicate any angle with the same degree of trust you currently have with your fixed squares.
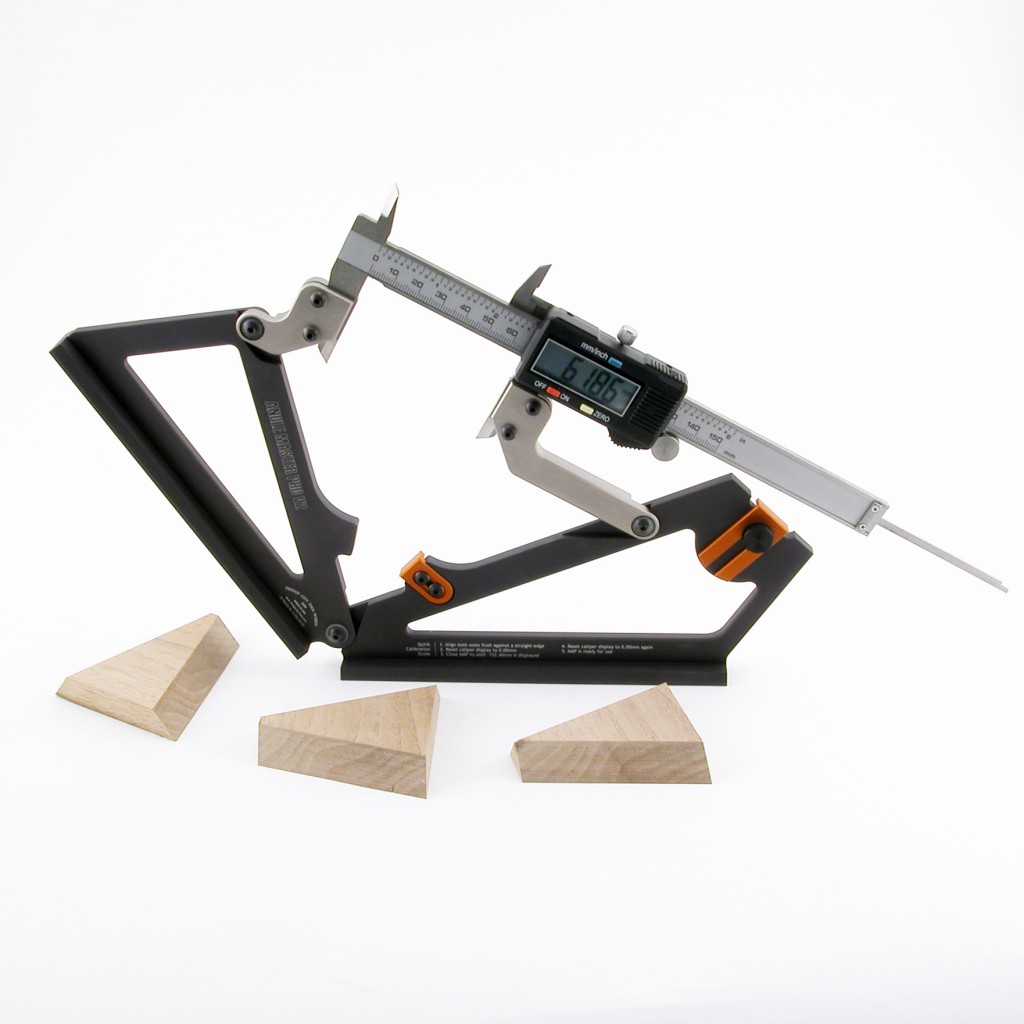
Thanks to Mr. Pythagoras, this tool uses a digital 6″ caliper as an adjustable hypotenuse. Using the metric capabilities, you will have the ability to pick any of 15,240 angles over a 90 degree quadrant. Absurd you say?
Think about this; most of the protractors today advertise a tolerance of .1 degree and this sounds accurate. As mentioned in a previous post, .1 degree of error in an 8″ try square, results in a potentially acceptable run-out of 0.014″ at the end of the blade. I don’t know of a use for a square this bad with the exception of construction framing. If the ubiquitous 12″ combination square advertised a tolerance of .1 degree, it could be off by 0.021″ at the end of a fully extended blade. Again, this is really bad. No wonder woodworkers don’t deviate from 90 degrees–it is a recipe that calls for a lot of putty.
How does the AMP v2 compare? As an example, there are 235 different angles you can set between 90 and 89 degrees. And they will be within 30 seconds of spot on.
What does this mean?
This means that any angle you pick, you will not be off more than 0.002″ over a 12″ length and this is incredible.
We will have videos posted next week and right now it looks like this tool will retail for $259 with a digital caliper.
AND NOW FOR SOMETHING COMPLETELY DIFFERENT
At the end of December we will introduce two new sole/iron combos for the HP6 v2. These are really cool and we have three more pair that we will introduce over 2011 (one each quarter).
AND NOW FOR SOMETHING COMPLETELY DIFFERENT AGAIN
I haven’t been sleeping lately because my work retreat starts in 6 weeks and the incubation process has begun… when I am supposed to be sleeping. This is going to be an awesome retreat!
AND LASTLY:
We will have Jointmaker SW in stock next week. These can be ordered online starting today.
–John
Teaching and Thinking…
November, 19th, 2010
______________________________________________________________________________________
“Creativity is the power to connect the seemingly unconnected.” — William Plomer
______________________________________________________________________________________
Yesterday I drove down to the University of Oregon to give a presentation to their nascent Industrial Design program–it is incredibly energizing to be around young people with ideas. Made me feel like I have not been doing much.
And before you agree with me, ponder this weird thought I hatched during my two-hour drive…
IMPORTANT DISCLAIMER: I am in no way attempting to motivate, unmotivate or in any way politicize, condemn or support anything you might think after reading whatever it is I wrote below. IT IS AN OBSERVATION.
My car has one of those little displays that shows my actually highway mileage and it was fun to trying to optimize it. Over the trip I averaged 30 miles per gallon. Not bad.
But what does that really mean?
I wondered how this plays out if it were converted to feet traveled per drop of gas–here to be forever know as FPD. And remember, you heard it hear first on this totally awesome and worthless blog.
Here’s the math; An imperial ounce contains 288 imperial drops. One gallon contains 128 ounces. Therefore, I agree with myself that there are 36,864 drops in one gallon.
But what does that mean?
Well, that means that it takes 1228.8 drops of gasoline to move my car, my butt, and the junk in the trunk (no, they are not the same) one mile down Interstate 5 at approx. 60 miles per hour.
“So what?”, you say?
That means on average, a measly .233 DROP of gasoline moves me and my car (approx 2500 pounds) 1 foot…at 60 miles per hour no less. My car now has an internationally recognized 4.3 FPD rating. Woo Hoo!
One drop of gas can move 2500 pounds over 4 feet at 60 miles per hour…
Call me a drip, but somehow I find this really interesting. And I am willing to bet that you do too Drivel Starved Nation!
–John
Paper and Pumpkin Inspiration…
November, 11th, 2010
______________________________________________________________________________________
“The creative is the place where no one else has ever been. You have to leave the city of your comfort and go into the wilderness of your intuition. What you’ll discover will be wonderful. What you’ll discover is yourself.” — Alan Alda
______________________________________________________________________________________
There are no creative limits if you choose to use your opposable thumbs…
If you are not aware of the work by Allen and Patty Eckman, get ready to pick your jaw up off the floor. The two sculptures below are made entirely of paper.


On a less serious note, but just as jaw dropping, check out these carved pumpkins;
This pumpkin was carved to illustrate the sensation one experiences when seeing Fred’s Entertainment Center for the first, second and third time…

This pumpkin was carved by Fred West’s best friend. It describes Fred’s reaction after learning that he had to keep the Entertainment Center as part of a divorce settlement.

This is the only living critter that will help biodegrade Fred’s Entertainment Center.

Makes sense to me.
Carving into a pumpkin could be a great way to practice or develop a sculptural form prior to more difficult mediums. It never occurred to me and now you can never say that. Learn how here.
Happy Veteran’s Day to all the Drivel Starved Vets out there!
–John
HP6v2 Mini Multi-Plane Feedback Please…
November, 10th, 2010
______________________________________________________________________________________
“Don’t think. Thinking is the enemy of creativity. It’s self-conscious and anything self-conscious is lousy. You can’t try to do things. You simply must do things. ” –Ray Bradbury
______________________________________________________________________________________
Last Saturday I spent the day at our local woodworking emporium demonstrating the KM-1 Kerfmaker on their Saw Stop table saw. Unfortunately, the attendance was dismal.
And I loved it.
No, this is not a case of schadenfreude, it was six hours of play time. Here’s what happened…
It was prearranged that the store would provide some sample stock to demo the KM-1 and when I arrived there were a hundred or so 3/8″ square sticks about 3″ long. The idea was to cut a quick and mindlessly perfect cross-lap and give away the samples.
Like bees to flowers, woodworkers are attracted to the sound of power tools. So I took it upon myself to be as noisy as clover in a tornado by endlessly cutting cross-lap after cross-lap and assembling the pieces into what can best be described as a meandering three-dimensional maze. After about 10 minutes, I was in “the zone”–the same zone you were once in when you tired of the toy and played with the box. I stayed in this zone for about four hours.
Since there were no bees this day, I had an incredibly pleasurable, guilt free experience. On my way home, it occurred to me that I would have NEVER made what I made unless I was trapped with nothing to do. And from this came the honey;
“I don’t know what it is you are making but it is cool looking!”
“Thanks. Did you notice the joints are all perfect?”
“Not yet, but that thing is cool looking.”
So when I stumbled across the Ray Bradbury quote above, an uncontrollable urge to share came upon me.
Think what can happen if you can be in this “play” state for two solid weeks! This is what my annual work retreat is like. Which, by the way, is coming up in January–yippee! Picasso managed to be this way his entire life…
Isn’t it ironic that when we have nothing to do there is not enough time?
We haven’t introduced any new profiles for the HP6v2 in over eighteen months and in 2011 we will add eight to the family. That said, and without disclosing what cool profiles are on the docket (yes, one is a cyma reversa) let me know if you have a burning need.
Also, we are working with Gerstner on a building a cool case for this plane and all the accessories. One question to HP6v2 owners; do you see a need in said case to keep the original HP6v2 boxes within the case? This effects drawers sizes primarily. Your feedback would be helpful.
Here’s hoping for nothing to do because these days are long.
–John
How Close is “Close Enough”? –Part II
November, 8th, 2010
In a couple of weeks, we are going to release the AngleMaster Pro v2 for pre-order. This tool is insanely accurate compared to all the alternatives. But what does that mean?
In the spirit of quantifiable, and remember, you saw it here first in this totally awesome and worthless blog, here is some data that I think you will find interesting as you continue to improve your skills–oh, and of course, justify new tools.
Let’s say you want to build a simple, flat mitered frame that is square when done–it is possible you know. The outside dimensions are 18” x 18” (457.2 mm). The frame members are 2” wide. (There is no hidden significance to this example other than it is somewhat “real world” believable.) Of course, we desire no gaps in our joinery. The table saw is the tool of choice.
If you set out to tilt your miter gage to a perfect 45 degrees using a reference against a static saw blade, I am suggesting a more accurate way.
Remember, it is the cut you are after, not the setup. There are dynamic forces that can, and often do introduce error into a static set-up on most powered woodworking equipment. Always check your cut and adjust as necessary until your cut against a reference is light tight.
Your pursuit for gap free miters is now at the mercy of the 45 degree reference and your eyesight—as it should be.
If you take some time to peruse the internet, you will find a host of angle measuring devices, most are under $100 and most share the same advertised tolerance; plus or minus .1 degree. But what does this mean?
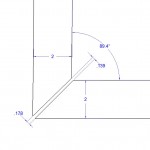
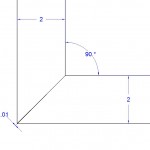
For the purpose of this illustration, assume your reference is off exactly plus .1 degree = 45.1 degrees. (I picked a positive .1 error because that will manifest itself as a gap on the outside corners.) This is also the worst case scenario achievable with an advertised .1 degree tolerance.
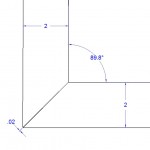
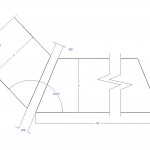
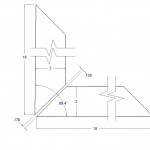
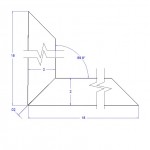
The following three illustrations represent the three most common ways to assemble and glue mitered frames (knaves and flatlanders likely have other methods);
1. One miter at a time–this will always make three perfect miter joints (appearance wise) and the fourth….not so much.
2. Assemble two 90 degree segments and put the two halves together. This will always create two perfect miters and two that are not.
3. Assemble them all at once–and all will be off equally.
The illustration below is the gap created by using method one above. YIKES! That is a gap in excess of an 1/8″ of an inch. Which by the way, is nothing compared to some of the gaps in Fred’s Entertainment Center–one of which will soon become a National Park.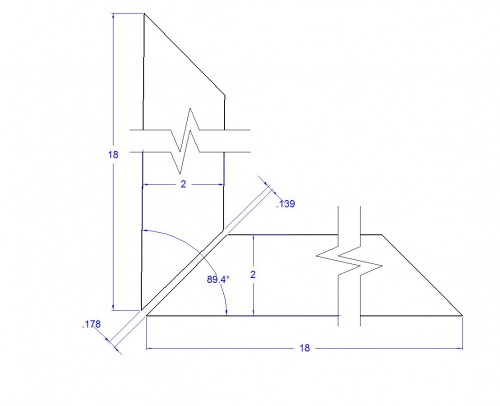
Using method two above, you can see that there will be two opposing joints with gaps of 0.020″ each. This is almost the equivalent of 7 sheets of notebook paper. Not good at all even though two of the miter joints are perfect.
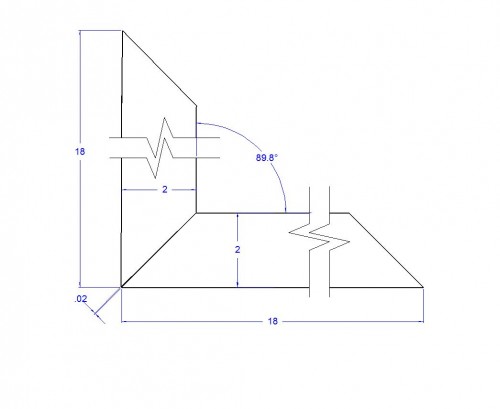
When all the joints are assembled simultaneously, the tolerance stack is distributed equally equating to a gap of .010″ at all four corners. Also not good.
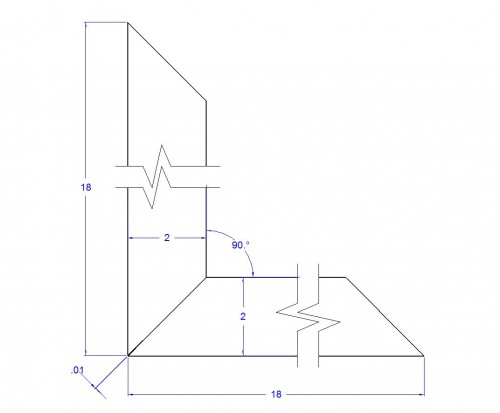
Of course as the stock becomes wider, so does the gap, and conversely, the gap shrinks as the stock narrows.
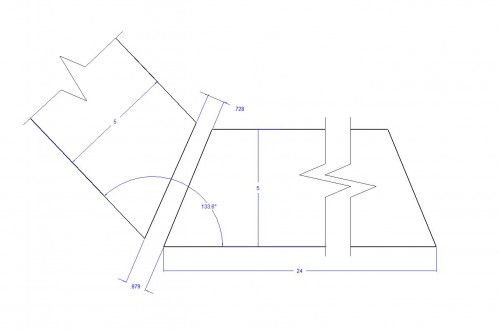
More troubling is what happens with a project that has wider stock and more than four sides. The following illustrations are the mitered segments from a fictional, eight sided poker table.
The illustration below shows the cumulative gap when seven of the joints are visually perfect. This is almost unbelievable–the gap is almost 7/8″.
Below is a more likely scenario. Each and every joint will have a significant gap.
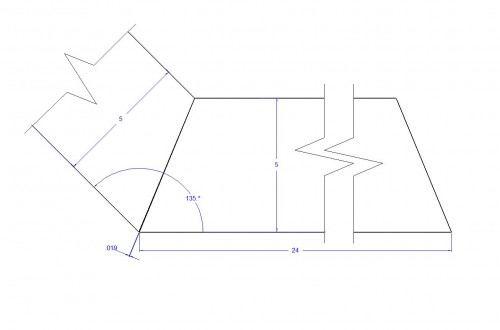
Yes, we are aware there are several other factors that can conspire to create gaps. This is a SIMPLE math illustration that shows what would occur if the world were perfect with the exception of your references.
In summary, a .1 degree tolerance is the equivalent of a miter square with a 5″ blade and .010″ of run out over the 5″ blade length. I guarantee you if such a square were made by BCTW it would have close to a 100% return rate.
The difference between perfect work and sloppy is smaller than you think.
Now ponder what a little bit of knowledge can do.
–John
How Close is “Close Enough”?
November, 2nd, 2010
________________________________________________________________________________________________________
“The vast majority of human beings dislike and even actually dread all notions with which they are not familiar… Hence it comes about that at their first appearance innovators have generally been persecuted, and always derided as fools and madmen.” –Aldous Huxley 1894-1963
________________________________________________________________________________________________________
Before we begin with this weeks drivel, here is yet another totally professional and FREE cartoon:

I suppose one benefit of being an insomniac is that I have plenty of time to think about tools–and last night at around 3 AM, it occurred to me that we could use the KM-1 Kerfmaker to quantify the fit that defines a well made joint.
I am no scientist but today I am going to play one on this totally awesome and worthless blog. Here is what we did;
We cut a couple of strips of poplar and chopped them into 3″ lengths. Then using the KM-1 Kerfmaker and feeler gauges, we made several cross lap joints increasing the kerf .001″ at a time.
The first joint used the KM-1 as designed, and the fit was perfect. Next we added a 0.0015″ feeler gauge to the width of the stock and cut the joint. This was repeated with 0.002″, 0.003″ and 0.004″ feeler gauges.
So what did we learn?
We are reporting the following to every major science journal with cash prize awards; joints that fit tight the male portion is 0.001″ to 0.0005″ larger than the female and continue to feel “professional” in fit up to about -0.0005″under, which is a darn small number. For a real tight fit, the male is oversize 0.001 to 0.003″ and will require force to assemble. Aren’t you glad you asked?
A cross lap made with a clearance of .0015 to .002″ needs zero pressure to assemble and wiggles slightly. The joint with .003″ clearance clearly is a sloppy fit and the .004″ joint appears to me to be perfect for puzzle makers–or future Sh!t Bunny recipients. Here’s a brief movie if you insist on remaining an accuracy apostate;
So now you know.
The next time you run into a woodworking crackerjack that waxes poetically about how wood moves, or shrinks, or swells, or how you never need a ruler with grads finer than 1/16″, or worse yet, leave plenty of room for glue, you can confidently share that a well made joint has an overall tolerance of about plus or minus 0.0005″ for a total range of .001″. This of course were our results in poplar, a relatively soft hardwood. As your material gets harder, the allowable tolerance for a tight fitting joint shrinks even more.
Drivel Starved Nation go forth and speak–rest assured the scientists at Bridge City are up all night making sure your future joinery will be gap free. And for this we think we should win a Pulitzer or a Heisman trophy, or at the bare minimum, a case of wood filler.
–John
$5 for a 1/8″ Twist Drill? Only in America…
October, 25th, 2010
“The more powerful and original a mind, the more it will incline towards the religion of solitude.” –Aldous Huxley
This morning, during my morning routine of purging… junk mail from my inbox, I took a break and read the latest blog post by Chris Schwarz–who happens to be a writer that sounds like Tom Brokaw when he speaks.
This post reinforces the belief that conversations amongst kindred spirits are best lubricated with beer–surely beer is the foundation of all folklore.
But I digress. I shared the following experience with Chris via email today and thought it worthy of the Drivel Starved Nation.
Do you think Americans would pay $5 for a 1/8” twist drill?
You bet. By the tens of thousands times ten. And as unbelievable and absurd as it sounds, here is how.
About 10 years ago I was in an OEM Chinese factory that made bench grinders. You have seen them, ½ HP motor, two 6” grinding wheels, pig tail cord, a small plastic face shield and no nameplate—these would be attached by the American companies that bought them. The total cost per grinder, landed in the US was $7.15. Of course at this price it would be asking too much for a UL tag.
These grinders were, and still are being sold here and the prices range from $49 to $200– awesome margins by any standard.
Behind the factory floor there was a small mountain of insulated wire that had been pulled from old cars, appliances, televisions and the like and it was replenished daily. Surrounding the wire mountain were a couple of dozen women who were stripping the wire of insulation. These wire remnants were then spliced together and used in the grinder motor windings. Completely illegal, and dangerous. But cheap.
I thought I was shocked until I walked into the factory section that made twist drill bits. Here they were making, for the AMERICAN MARKET, those 59, 89, 119 pc drill sets found at the box stores and other discount joints for $19.95. Again, there were rows of women who were dipping the bits in what looked like Easter egg dye.
I asked the interpreter what they were doing. He replied, “They are making all the bits the same color as these four.” The four bits he pointed out were the 1/8”, ¼”, 3/8” and the ½”.
I asked why.
I learned that those four bits were properly hardened. The remaining 115 bits were made with what I call pot metal. The reason?
“Because those are the only four hole sizes that Americans use.”
I asked, as politely as I could, if there was any guilt or remorse for duping their American customers. The reply was shocking.
“In America, if it cost less than $20, nobody complains about quality—everybody in China knows this.”
So for those that complain about prices, you should be screaming mad if you have purchased one of these deals because your twenty bucks just likely purchased the four most expensive twist drills you will ever own. And in so doing, have made it that much more difficult for honest companies to compete.
More recently, I found myself at the local paint shop to purchase a Purdy paint brush—I have always liked them. So when I walked into the store I asked the sales rep to show me the most expensive brushes…
“I don’t get asked that very often..” he replied.
I then learned that the cheapest brushes outsell the flagged end bristle brushes by about 20 to one. The reason?
So people can throw them away rather than clean them.
And I am here to report that properly cleaning (and storing) a well-made paint brush is an honor for a tool that will last a lifetime.
In short, we are the world’s worst consumers and those that complain about prices are likely leading the chorus.
Obviously, as a member of the DSN, you are dancing to the beat of a different drummer, or, you are here because of my awesome and totally professionally rendered cartoons…
Either case I thought you might find my experiences enlightening.
–John
Toolmaking 101: Lots of Abrasive Work
October, 13th, 2010
“Don’t ask what the world needs. Rather ask – what makes you come alive?
Then go and do it!
Because what the world needs is people who have come alive”
– Howard Thurman
Last weekend I teamed with Deneb from Lie Nielson Toolworks for a weekend of toolmaking at the Marc Adams School of Woodworking. Here is a professional artist rendering of me at work:

From my perspective (and I am unanimous in my opinion) this was a blast. Students learned how to run a milling machine, router tables, proper planing and joining techniques, how to cut metal on a table saw and a bandsaw–but they really learned that working with dissimilar materials is primarily an abrasive process.
They made our old model TS-2 and MS-2 squares from scratch–and for tools that were designed in 1973, they still look pretty sharp! Deneb supervised the making of a wooden spoke shave kit. Three tools were probably one tool to many for a two day workshop.
Here are some pics, and for those of you who would like to learn more about tool making, I will be teaching a week long version of this class next Spring at MASW. You can contact them for further details. (I am also going to teach my headache inducing design class too.)
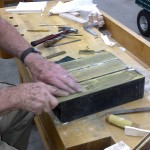
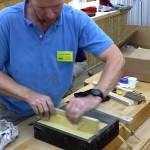
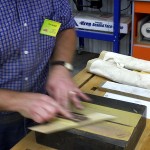
Starting with raw brass, students hand sanded the blades. I am guessing this burned about 300 calories.
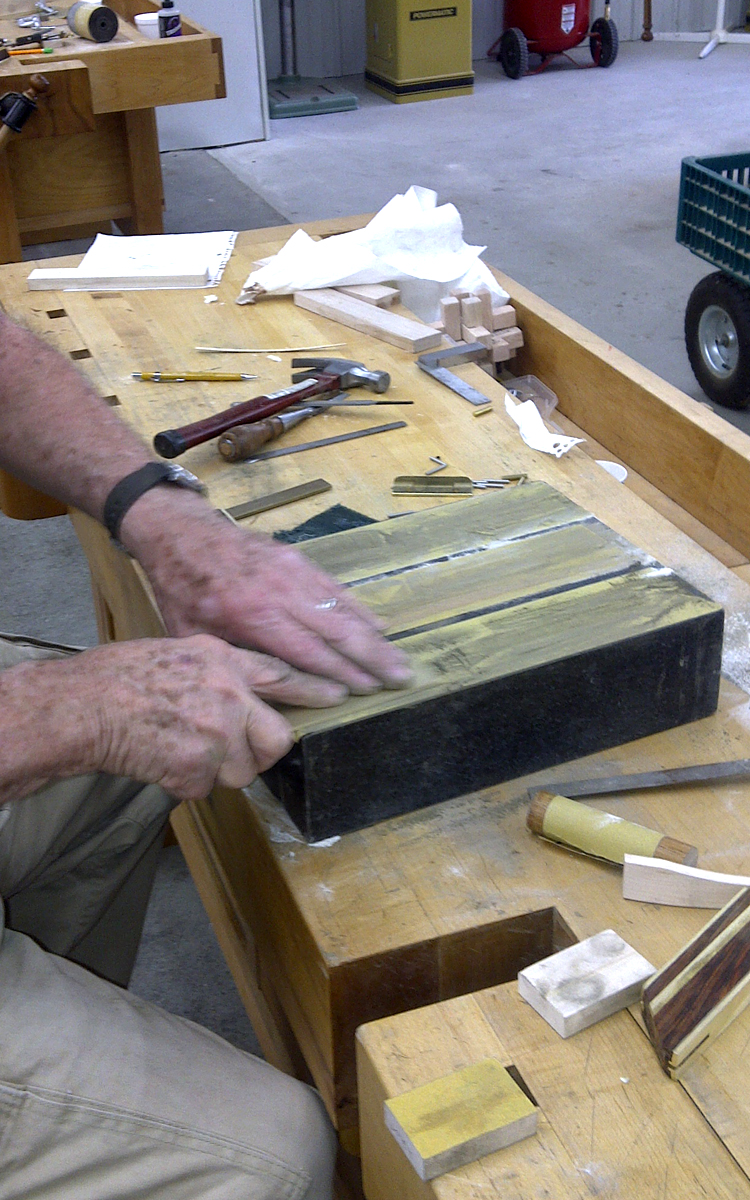
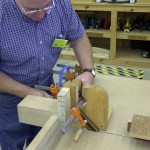
I would never teach this class without the aid of the Kerfmaker (not visible but it is located on the other end of the tenon jig. As one student said, “If you own a tablesaw, you are a moron if you don’t have this tool.” I am not making this up. Ask Rugager. Oops!
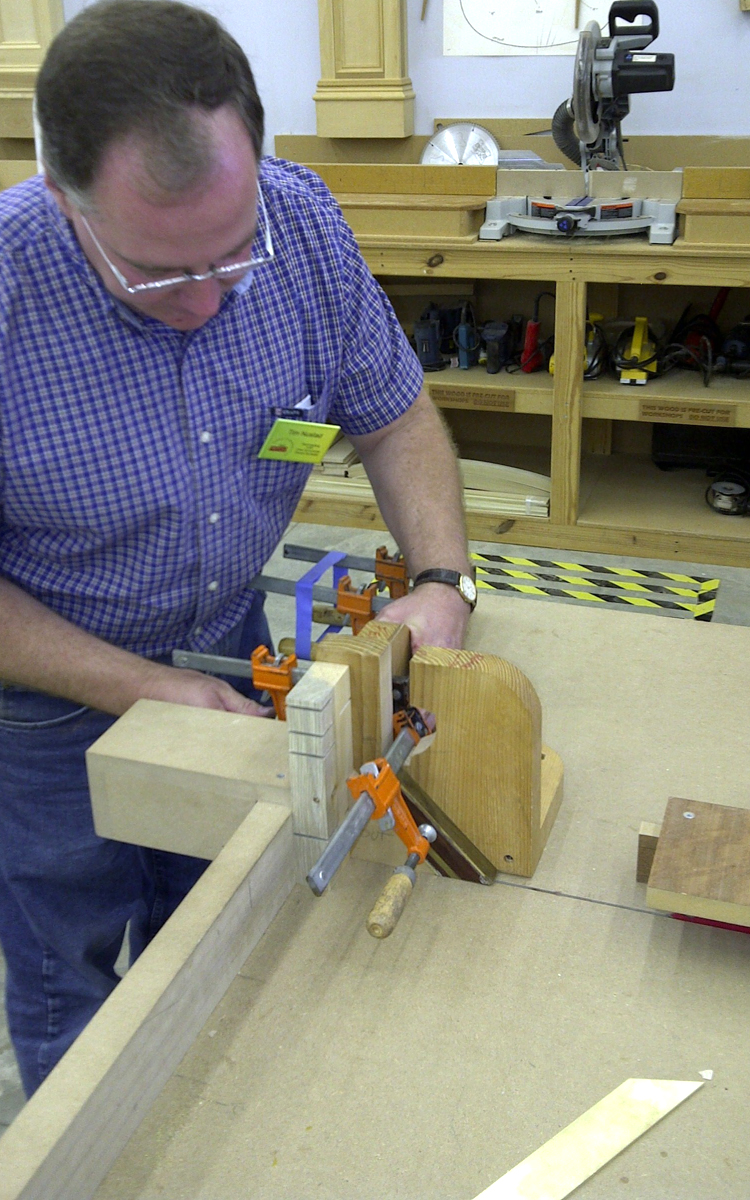
After the rivets are set, they are sanded flush on a stationary belt sander.
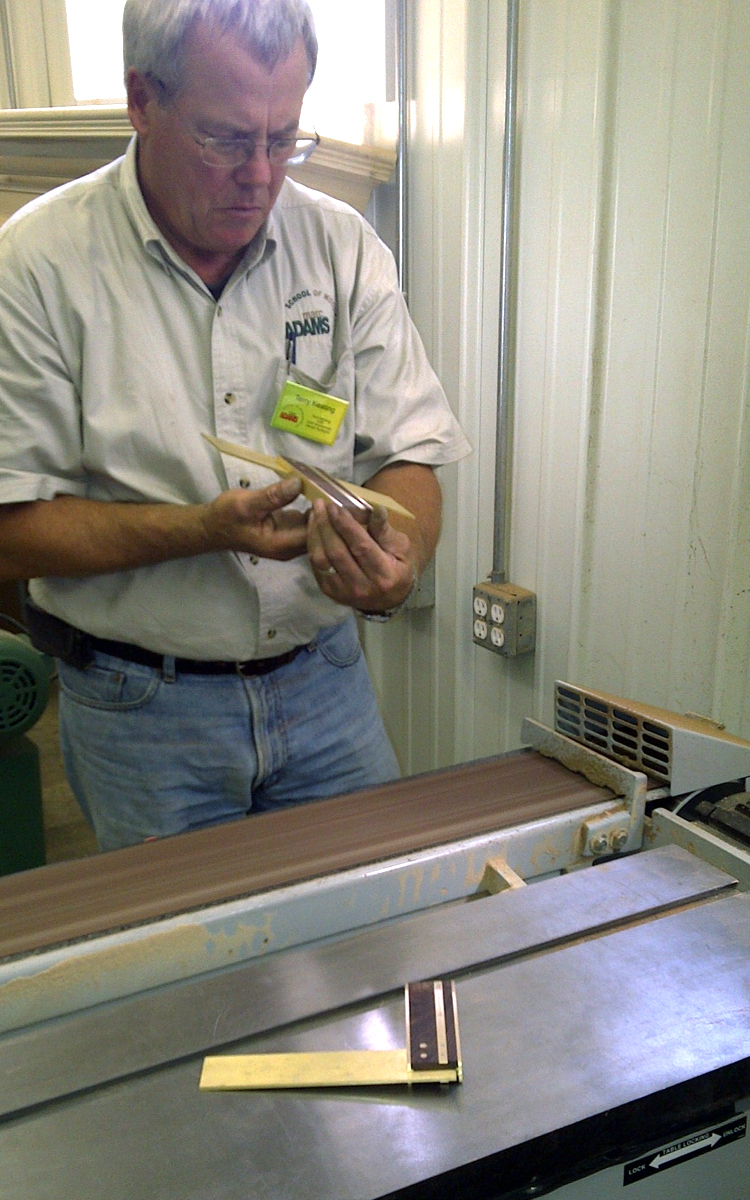
Sanding the faces is another couple hundred calories. They have to be polished until they feel sexy. Whatever that means. (I wasn’t going to post this pic, but Kreg gave me $25K to include it in my blog–The Drivel Starved Nation is way bigger than you think. Sweet!)
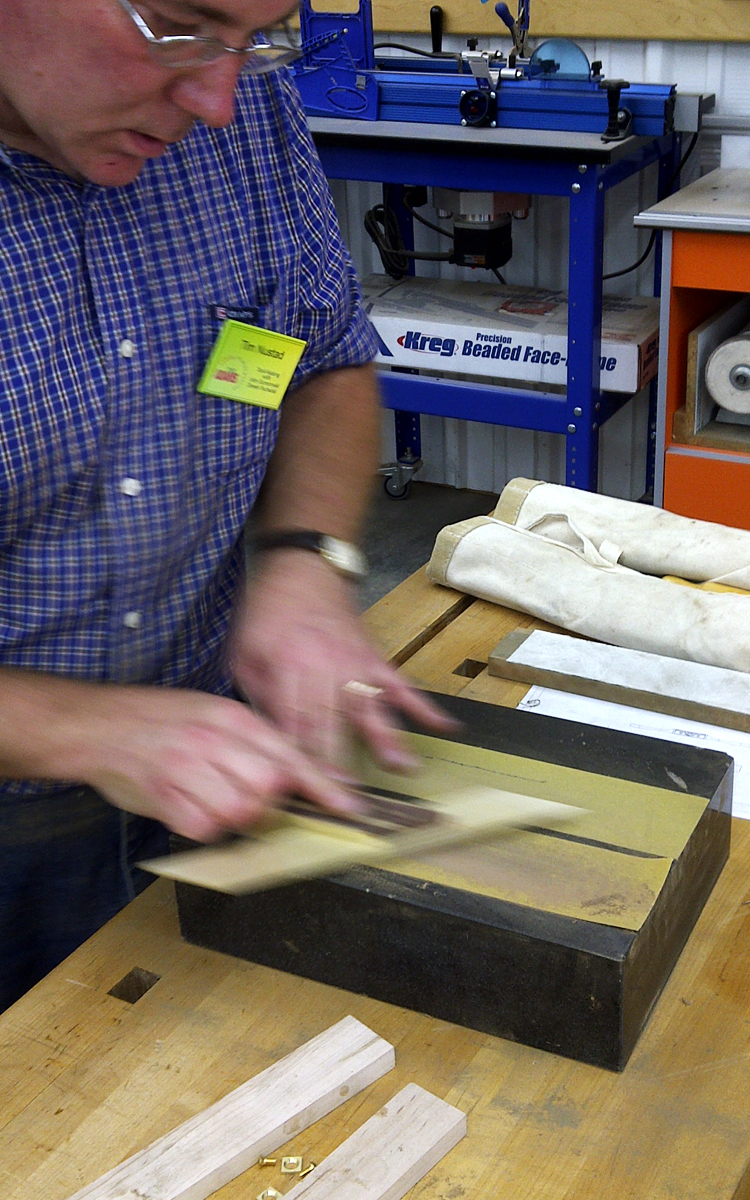
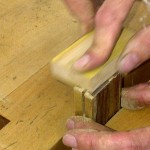
Blade edges have to be straight, square and parallel. It is done by hand.
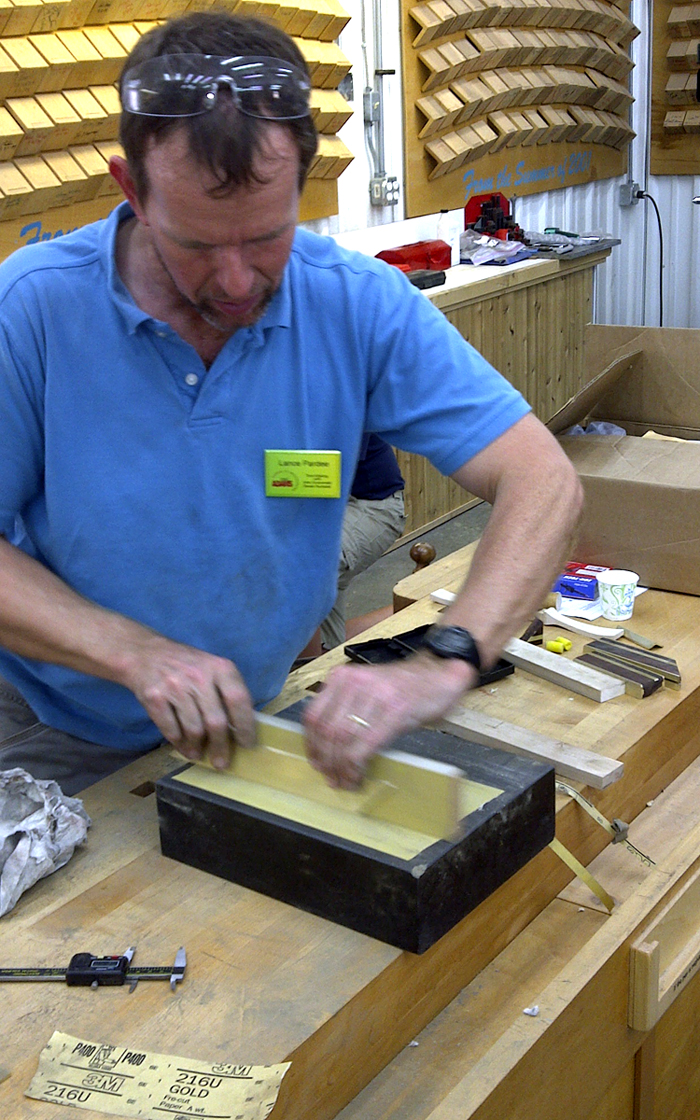
The handles feature crowned ends–really beautiful and they too are sanded by hand.

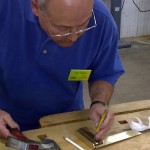
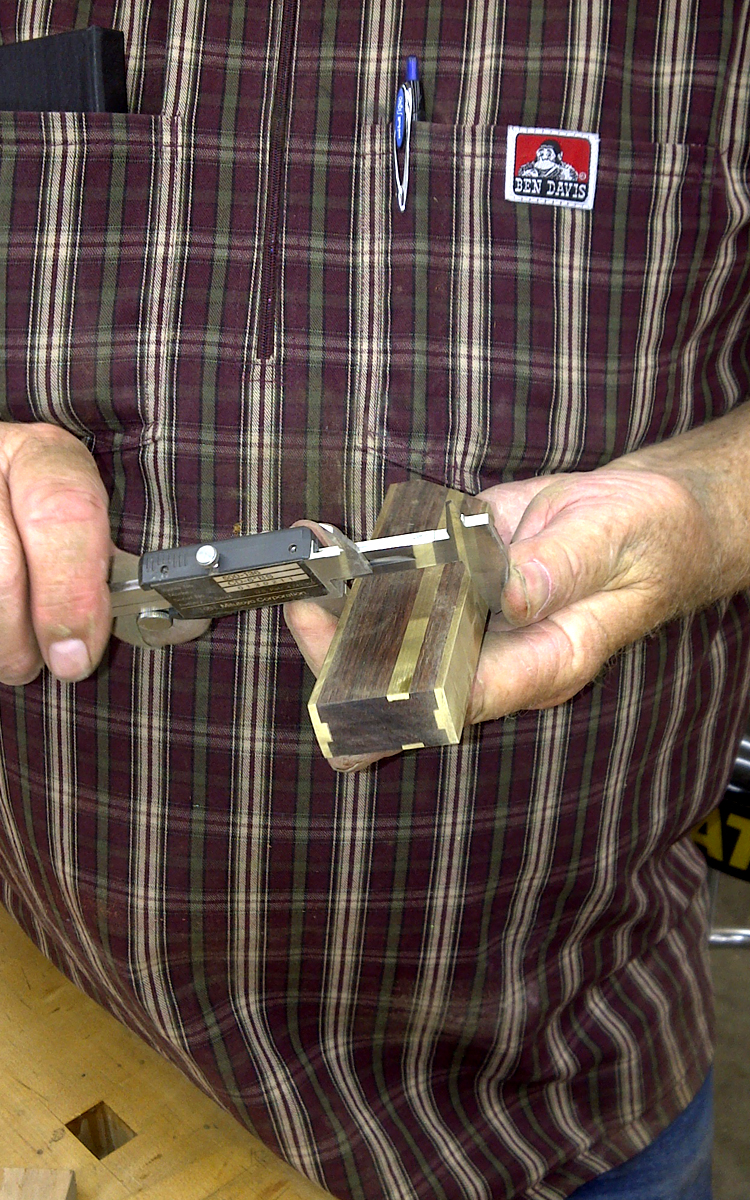
It is not a square if either the blade or the handle are not dead parallel–here is how we checked them.
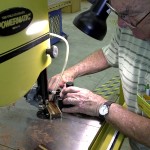
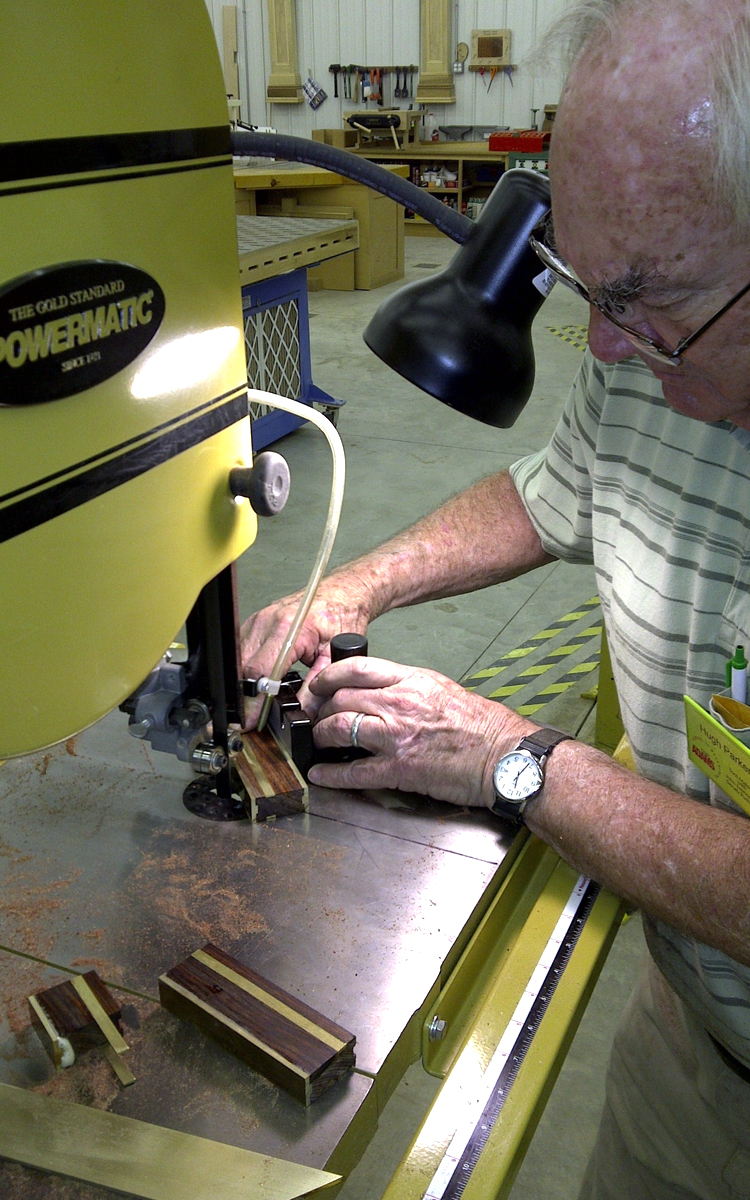
Since the crown on the miter square handle is going to be done by hand, the mitered ends were cut on the band saw with a metal cutting blade.
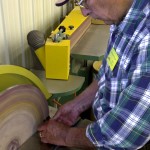
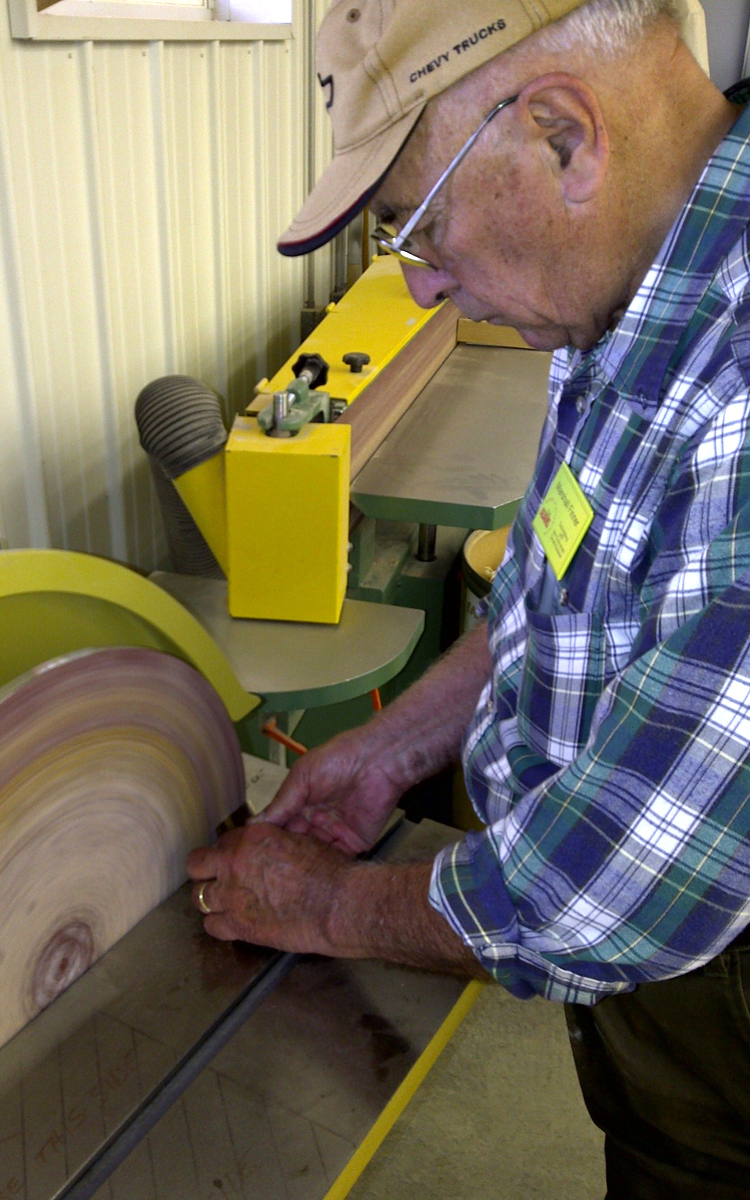
Crowning by hand on a disc sander.
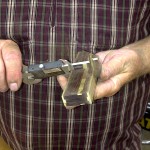
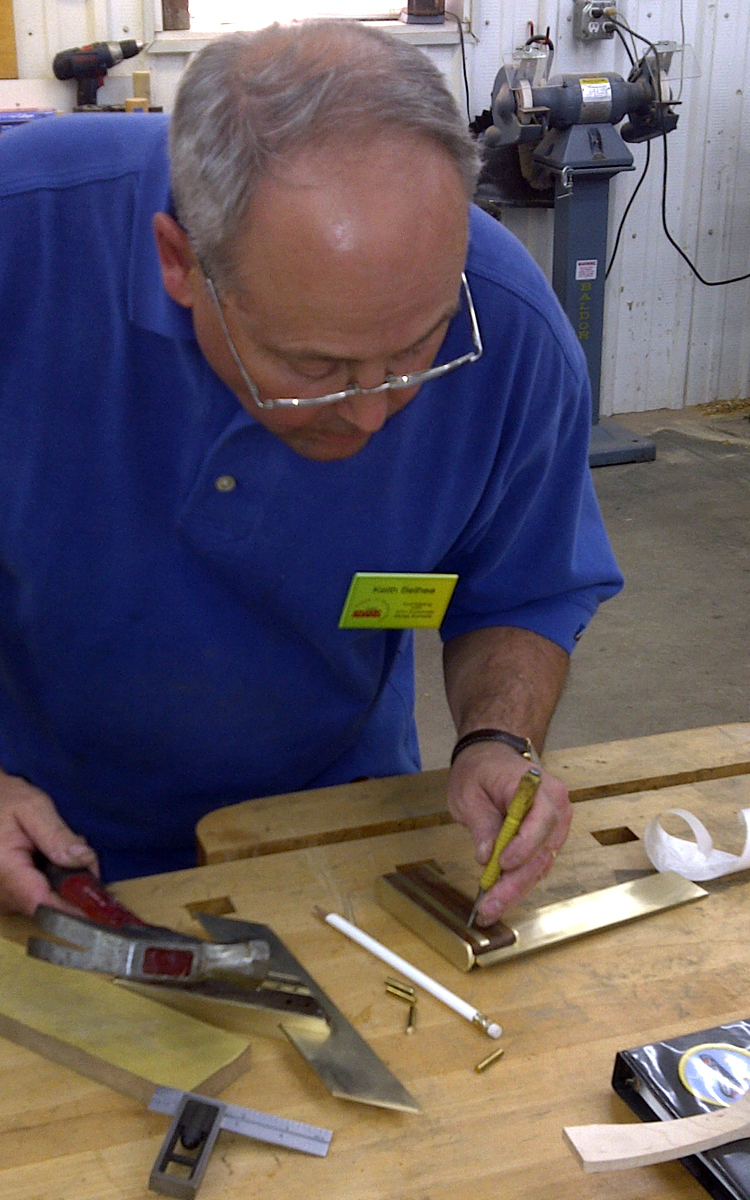
Rivet holes need to enter the center of the rivet seat and exit in the center of the opposite side. Center punching is a must.
While the students were cleaning the shop on Sunday, Marc Adams hauled out his shoulder plane and expected me to clean the thing. Fat chance–I supervised.
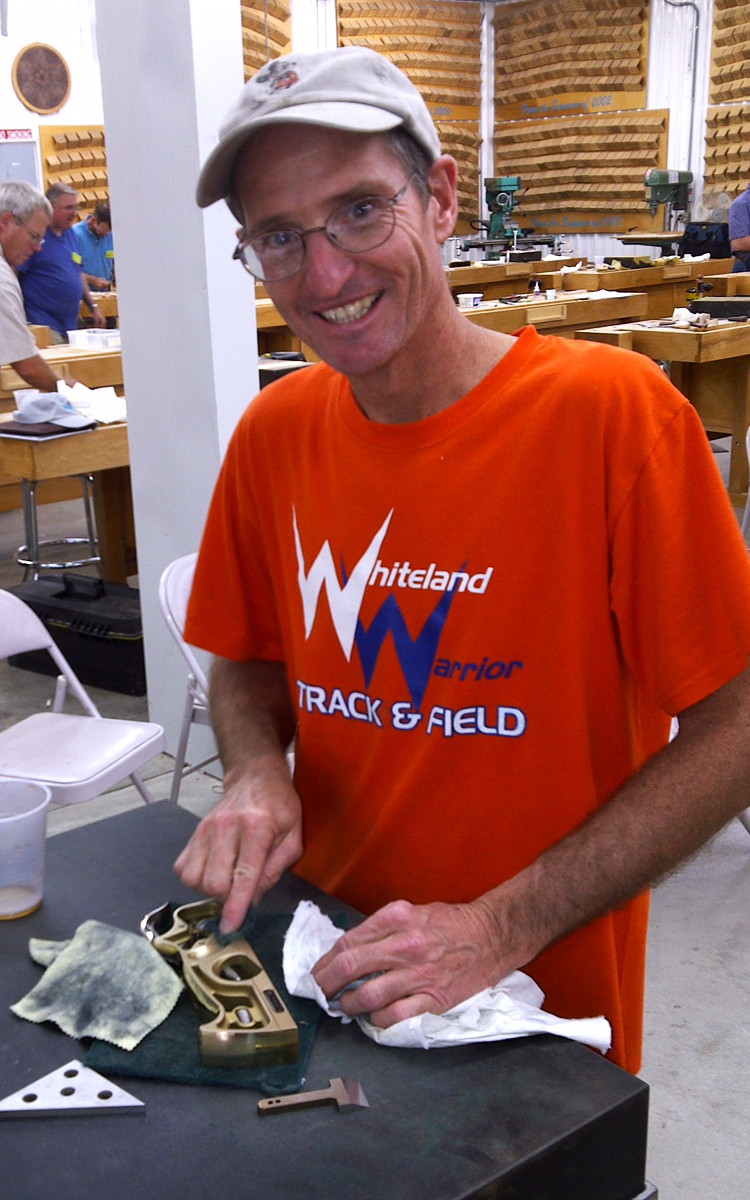
So, there ya go. Lots of tools, lots of fun…all without injuries.
–John

