Drivel Starved Nation –
This is a courtesy announcement that we are assembling the last 40 or so CT-18 Dual Low Angle Smoothing Planes. We have approximately 10 boxed and ready to go, and the balance will be assembled next week. Based on the previous 17 Commemorative Tools, these will be gone forever in the next couple of weeks.
Since this is the end of the run, I hope you enjoy my final thoughts through the following assembly images…
There are three investment cast components in this plane, the body, the rear tote and the lock lever. All are cast from stainless steel. For those of you not familiar with investment casting, a split mold is built (they run between $10 – 20K$ each) for each part. Molten wax is poured into the mold and when solidified, the mold is opened, the wax form is removed and is dipped repeatedly in a ceramic slurry creating a hard shell. The wax is melted out of the shell and molten metal fills the cavity once occupied by the wax. This is a simplified version of these steps but you get the idea. For these reasons, this process is also known as the “lost wax” casting process. The vast majority of contemporary jewelry is made with this process.
The castings are CNC machined, bead-blasted by our suppliers and the sole/throat plate are ground dead flat on special custom made jigs. We do all the fit and final finish in our skunk lab. The first thing that happens to the casting is the dressing of the heel and nose of the plane body on a vertical belt sander.
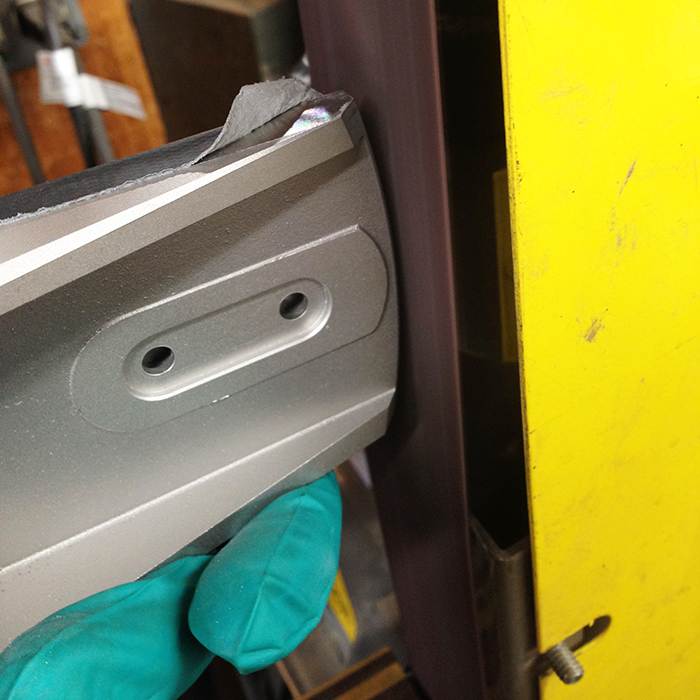
Dressing the heel of the CT-18 Plane
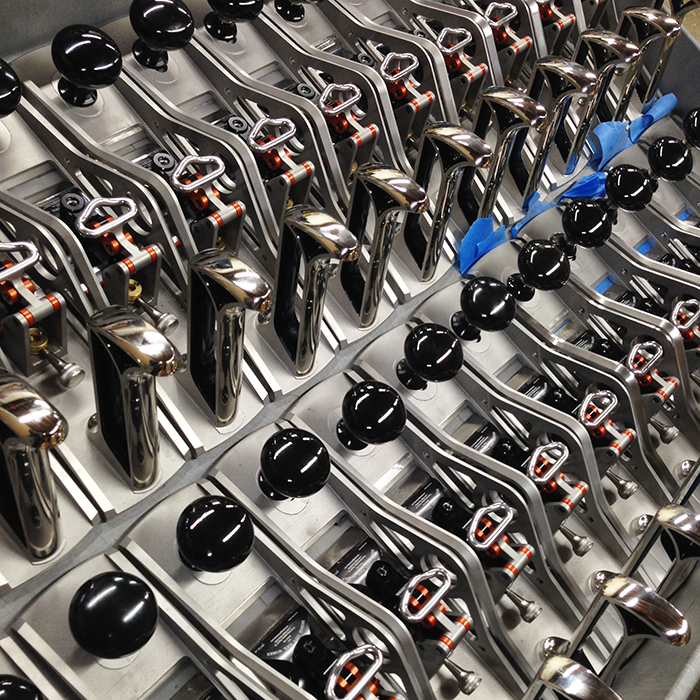
The tape you see is protecting the finish ground sole from damage during the dressing and assembly steps.
Once the ends are dressed and the sides grained (horizontal belt sanders with custom ground platens) the very first thing we do is insert a United States penny in a body cavity. This is a tradition (when physically possible) with all Commemorative Tools and is a gesture of good luck to our customers and reminds all of us at Bridge City how lucky we are to have the customers we do. It is retained with a low viscosity adhesive…
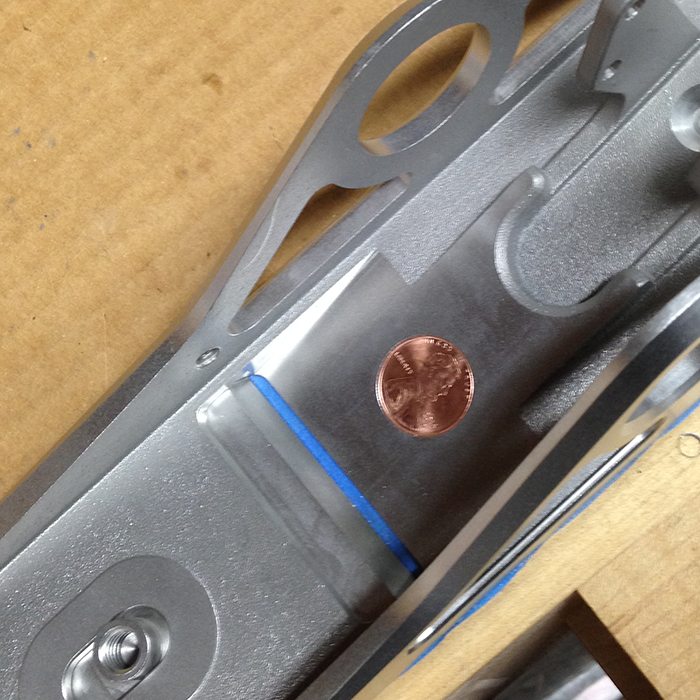
The lucky penny inserted.
At this point, the throat opening is deburred and the throat plate is adjusted if necessary. A stainless steel threaded stud is adhered to the throat plate boss which will eventually receive the front tote.
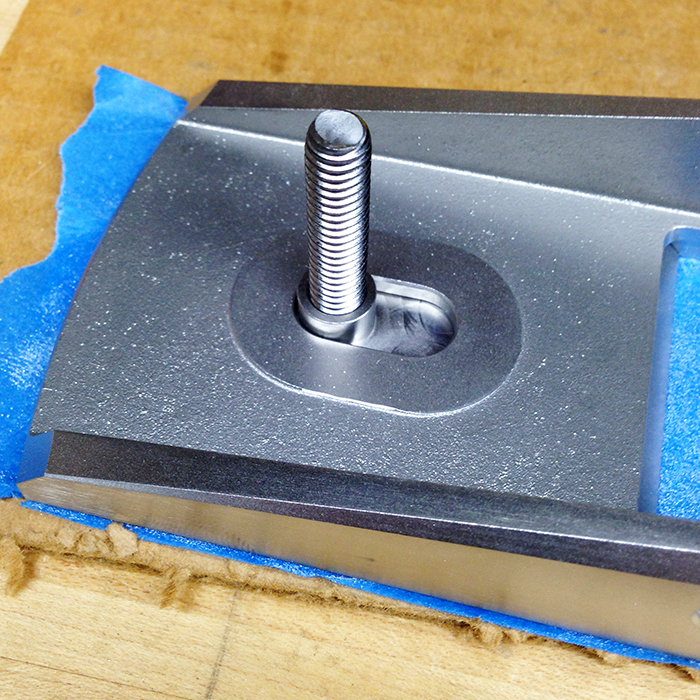
Adjustable throat plate with tote screw attached.
The front tote is turned from aluminum, nickel plated and coated with black zinc. (We used to use black chrome, but the EPA shut down our local supplier). This finish is so sexy!
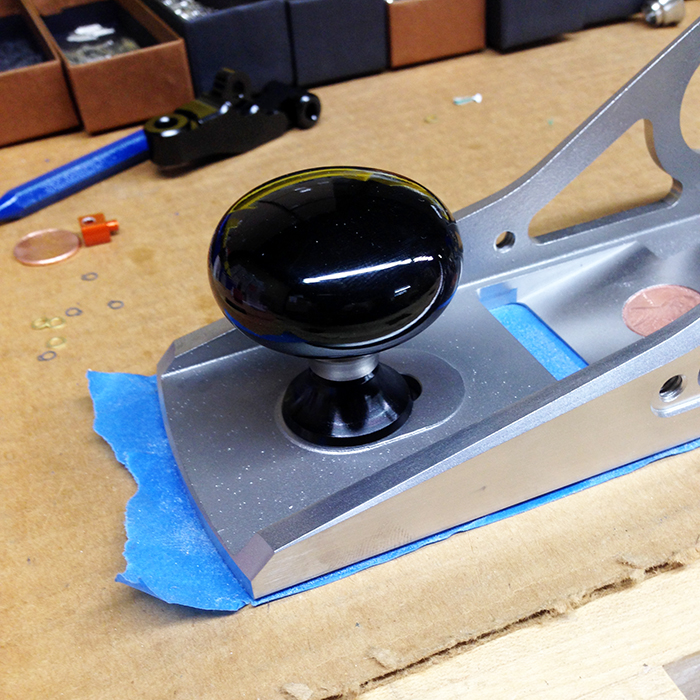
Front tote and transition washers attached.
The lead screw is assembled next. This 72 TPI screw allows for extremely fine adjustments and works very well with the split brass pivot to create a backlash free adjusting mechanism. This may be one of the smallest snap rings you have ever seen…
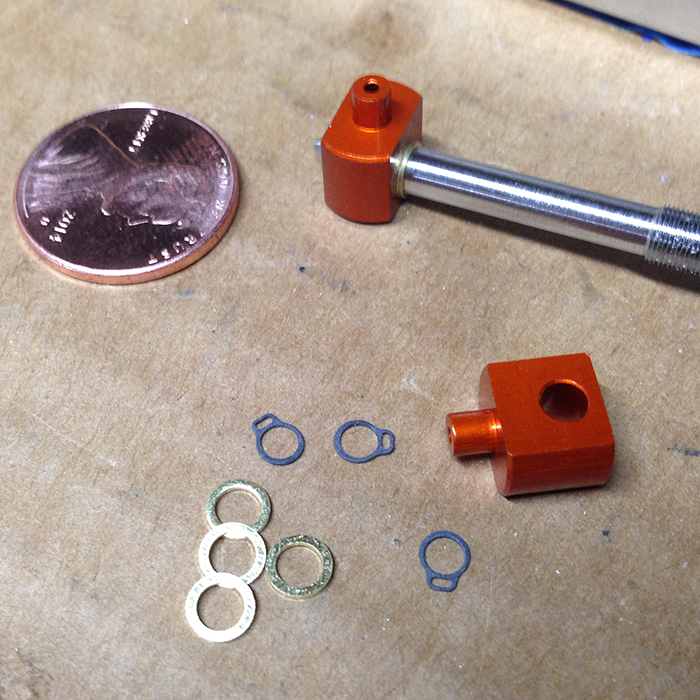
The CT-18 depth adjuster components
Casting is an inexact process. The little tool you see below helps us size the distance between the supports to fit the clamping mechanism precisely.
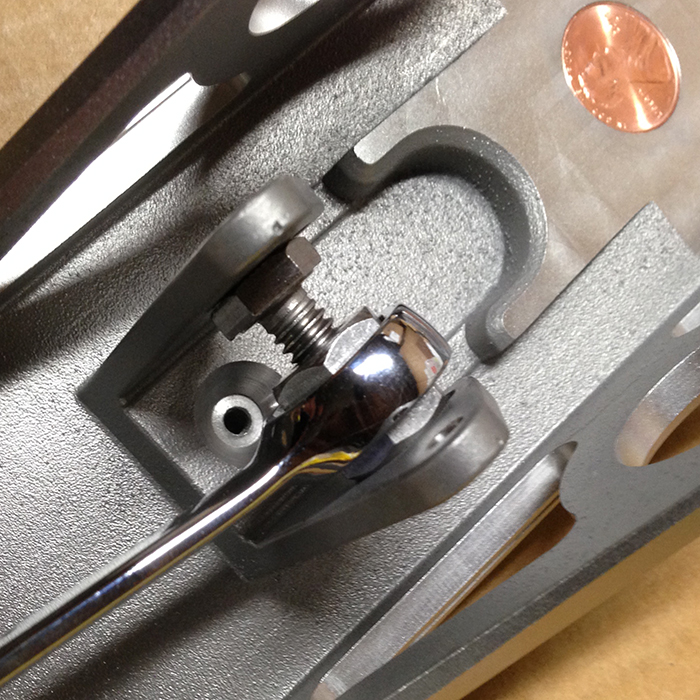
A bolt and a connector nut are used to spread the uprights if needed.
Two wrenches are required but this works perfectly.
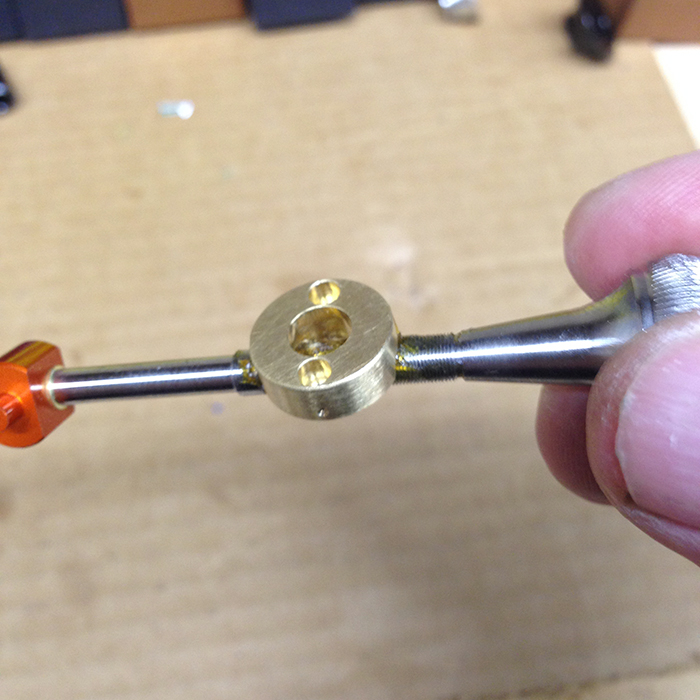
The method of removing backlash for this plane is an old one, we are employing a split brass nut. In the image below, you can see how we receive them from our supplier and the two index marks which allow us to time the threads as they were made before being sliced apart…
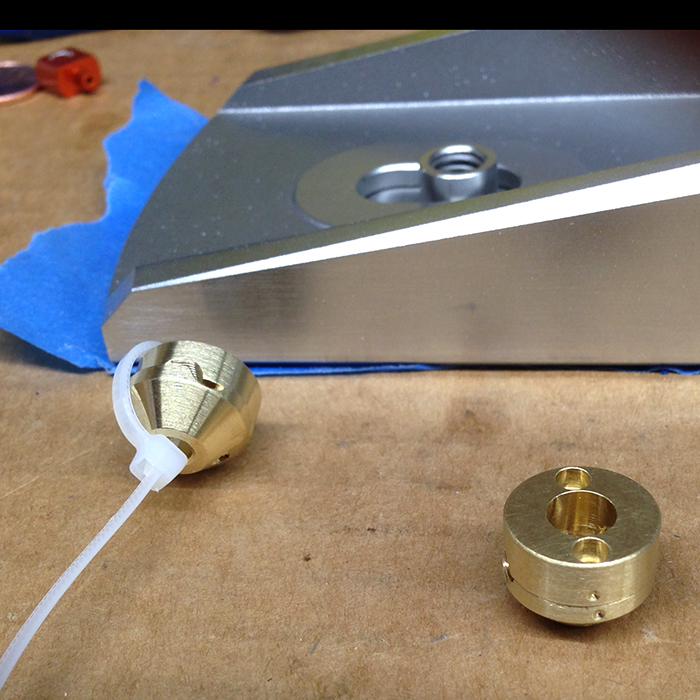
The CT-18 anti-backlash pivot.
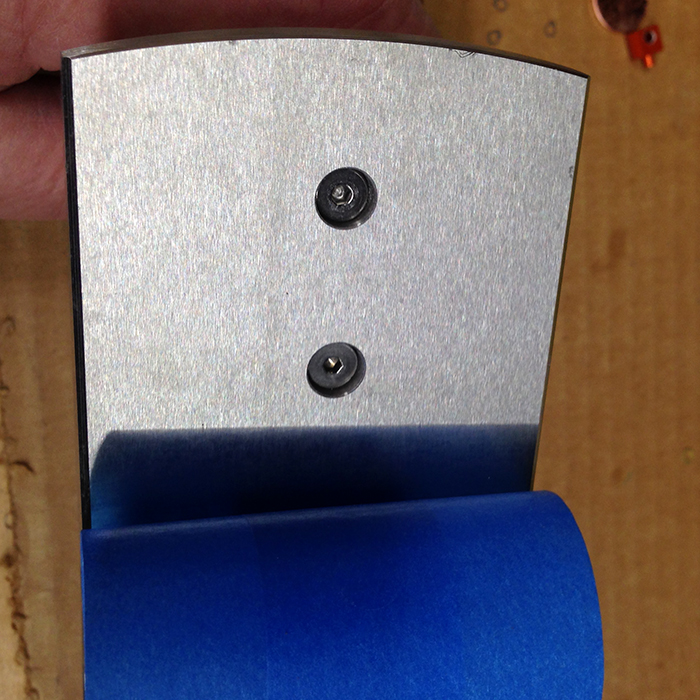
Next, the bottom half of the nut is greased and secured into the plane body with a screw and nylon washer.
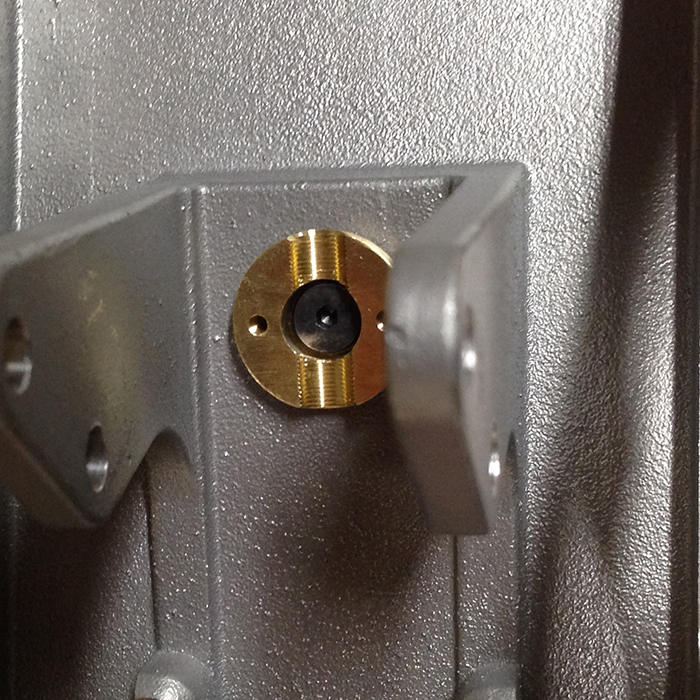
Split nut attached to plane body.
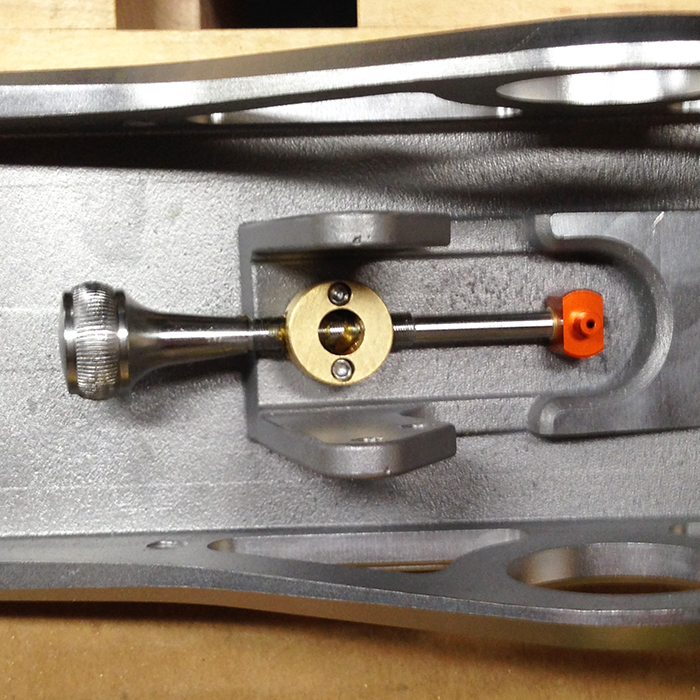
The other half of the split nut is positioned on the lead screw and held in place with a little grease…
Sticky grease has many functions…
The adjuster is now attached to the plane body. Several metal to metal adhesives only work on stainless steel after a lengthy “set” time. The screw retaining the split nut will not be cured for 24 hours… The backlash is adjusted over time on an as needed basis by tighten the two screws ever so slightly.
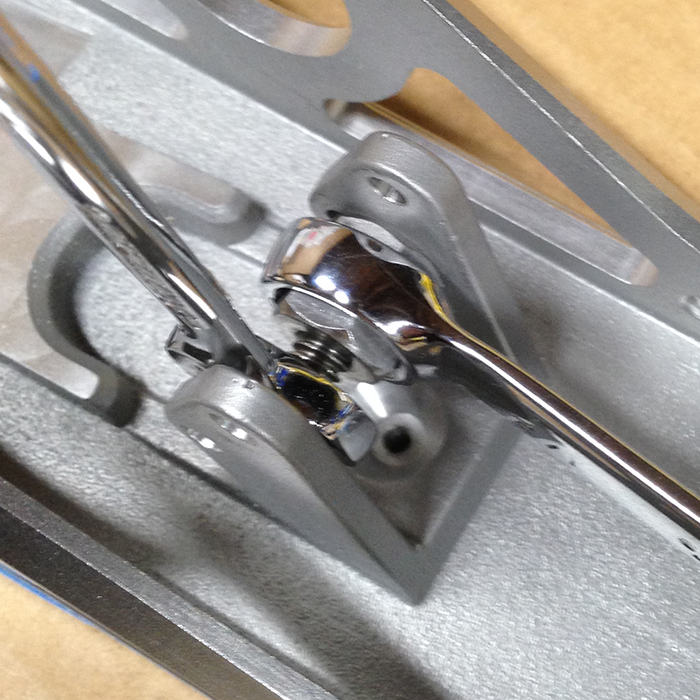
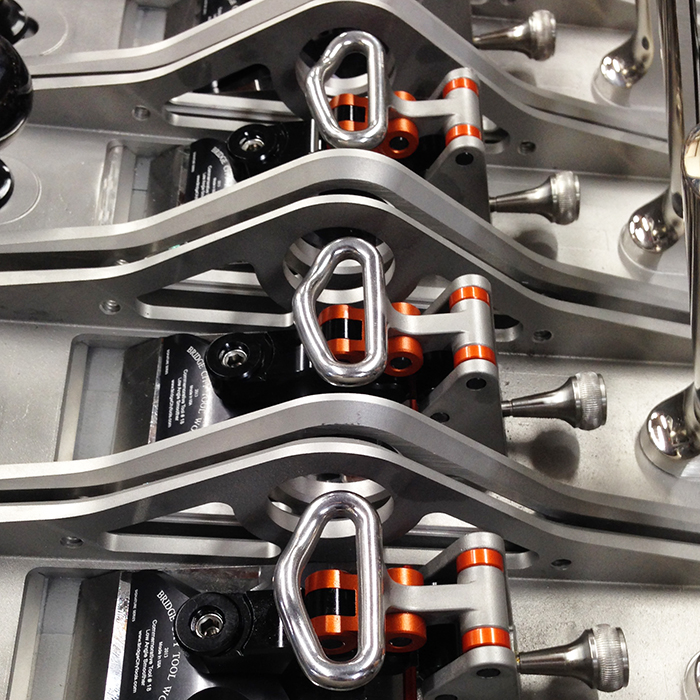
The blade clamp assembly consists of eight custom made components. Here are a couple of views of the assembly prior to insertion into the plane body…
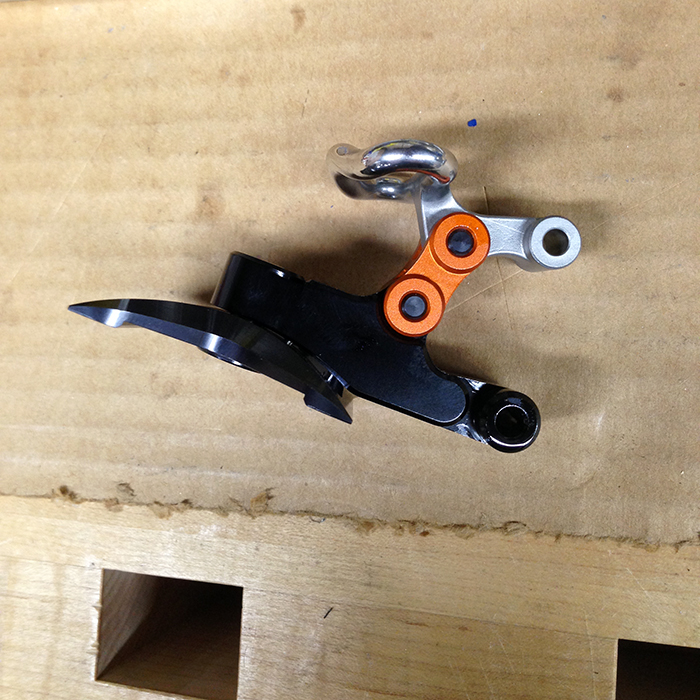
Assembled blade clamp mechanism from the side.
…. and from the top
The entire clamping mechanism is retained by two pivots which press fit into the plane body…

Inserting the clamp mechanism into the plane body.
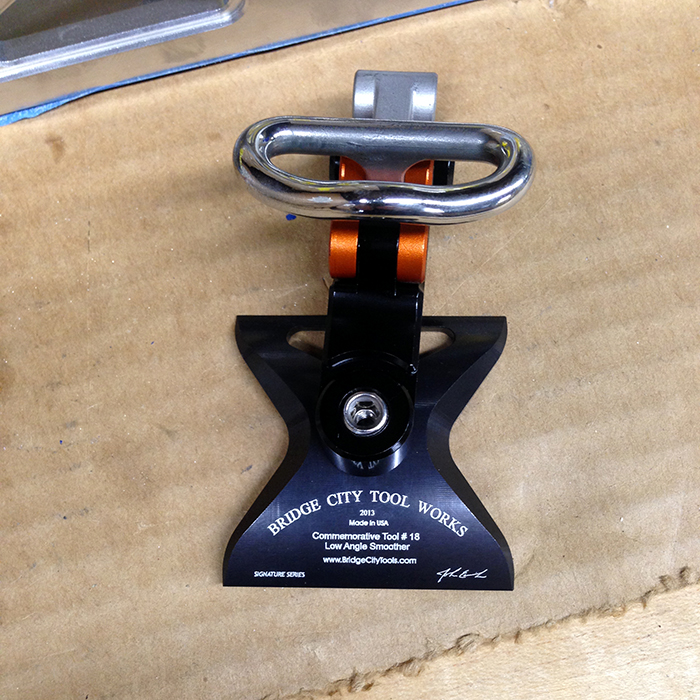
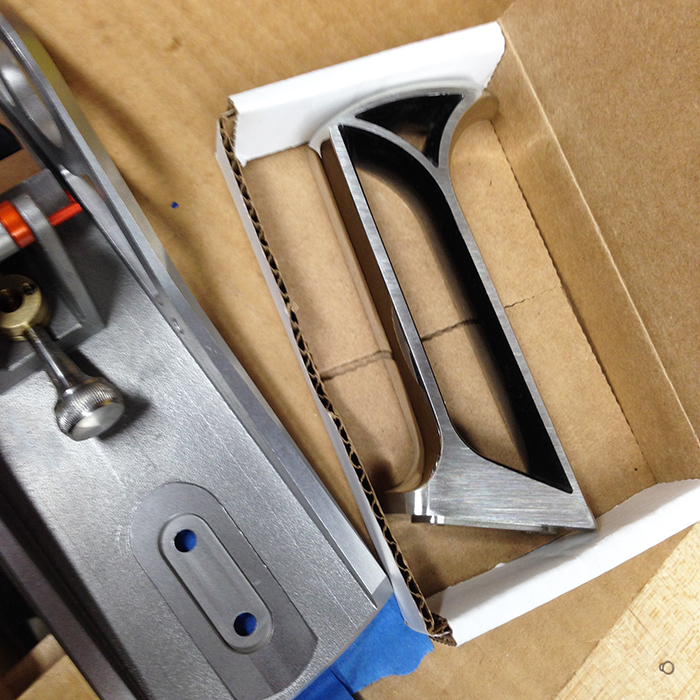
Next up is the rear tote. I literally spent two months on over 200 computer and and 3d printed prototypes before I decided on this design which occurred during my 2013 work retreat in San Diego, the last prototype was sculpted out of clay. The tote is cast, sent out to have the bottom milled, drilled and tapped. They were then polished, and masked with a heat resistant tape so only the two cavities could be powder coated. The tape is removed and we hand grained the sides and end. Lots of work but it is an incredible statement as well as being highly comfortable and functional.
A finished rear tote.
Tape is peeled back to reveal the tote screw holes…
The CT-18 is now ready for cleaning…
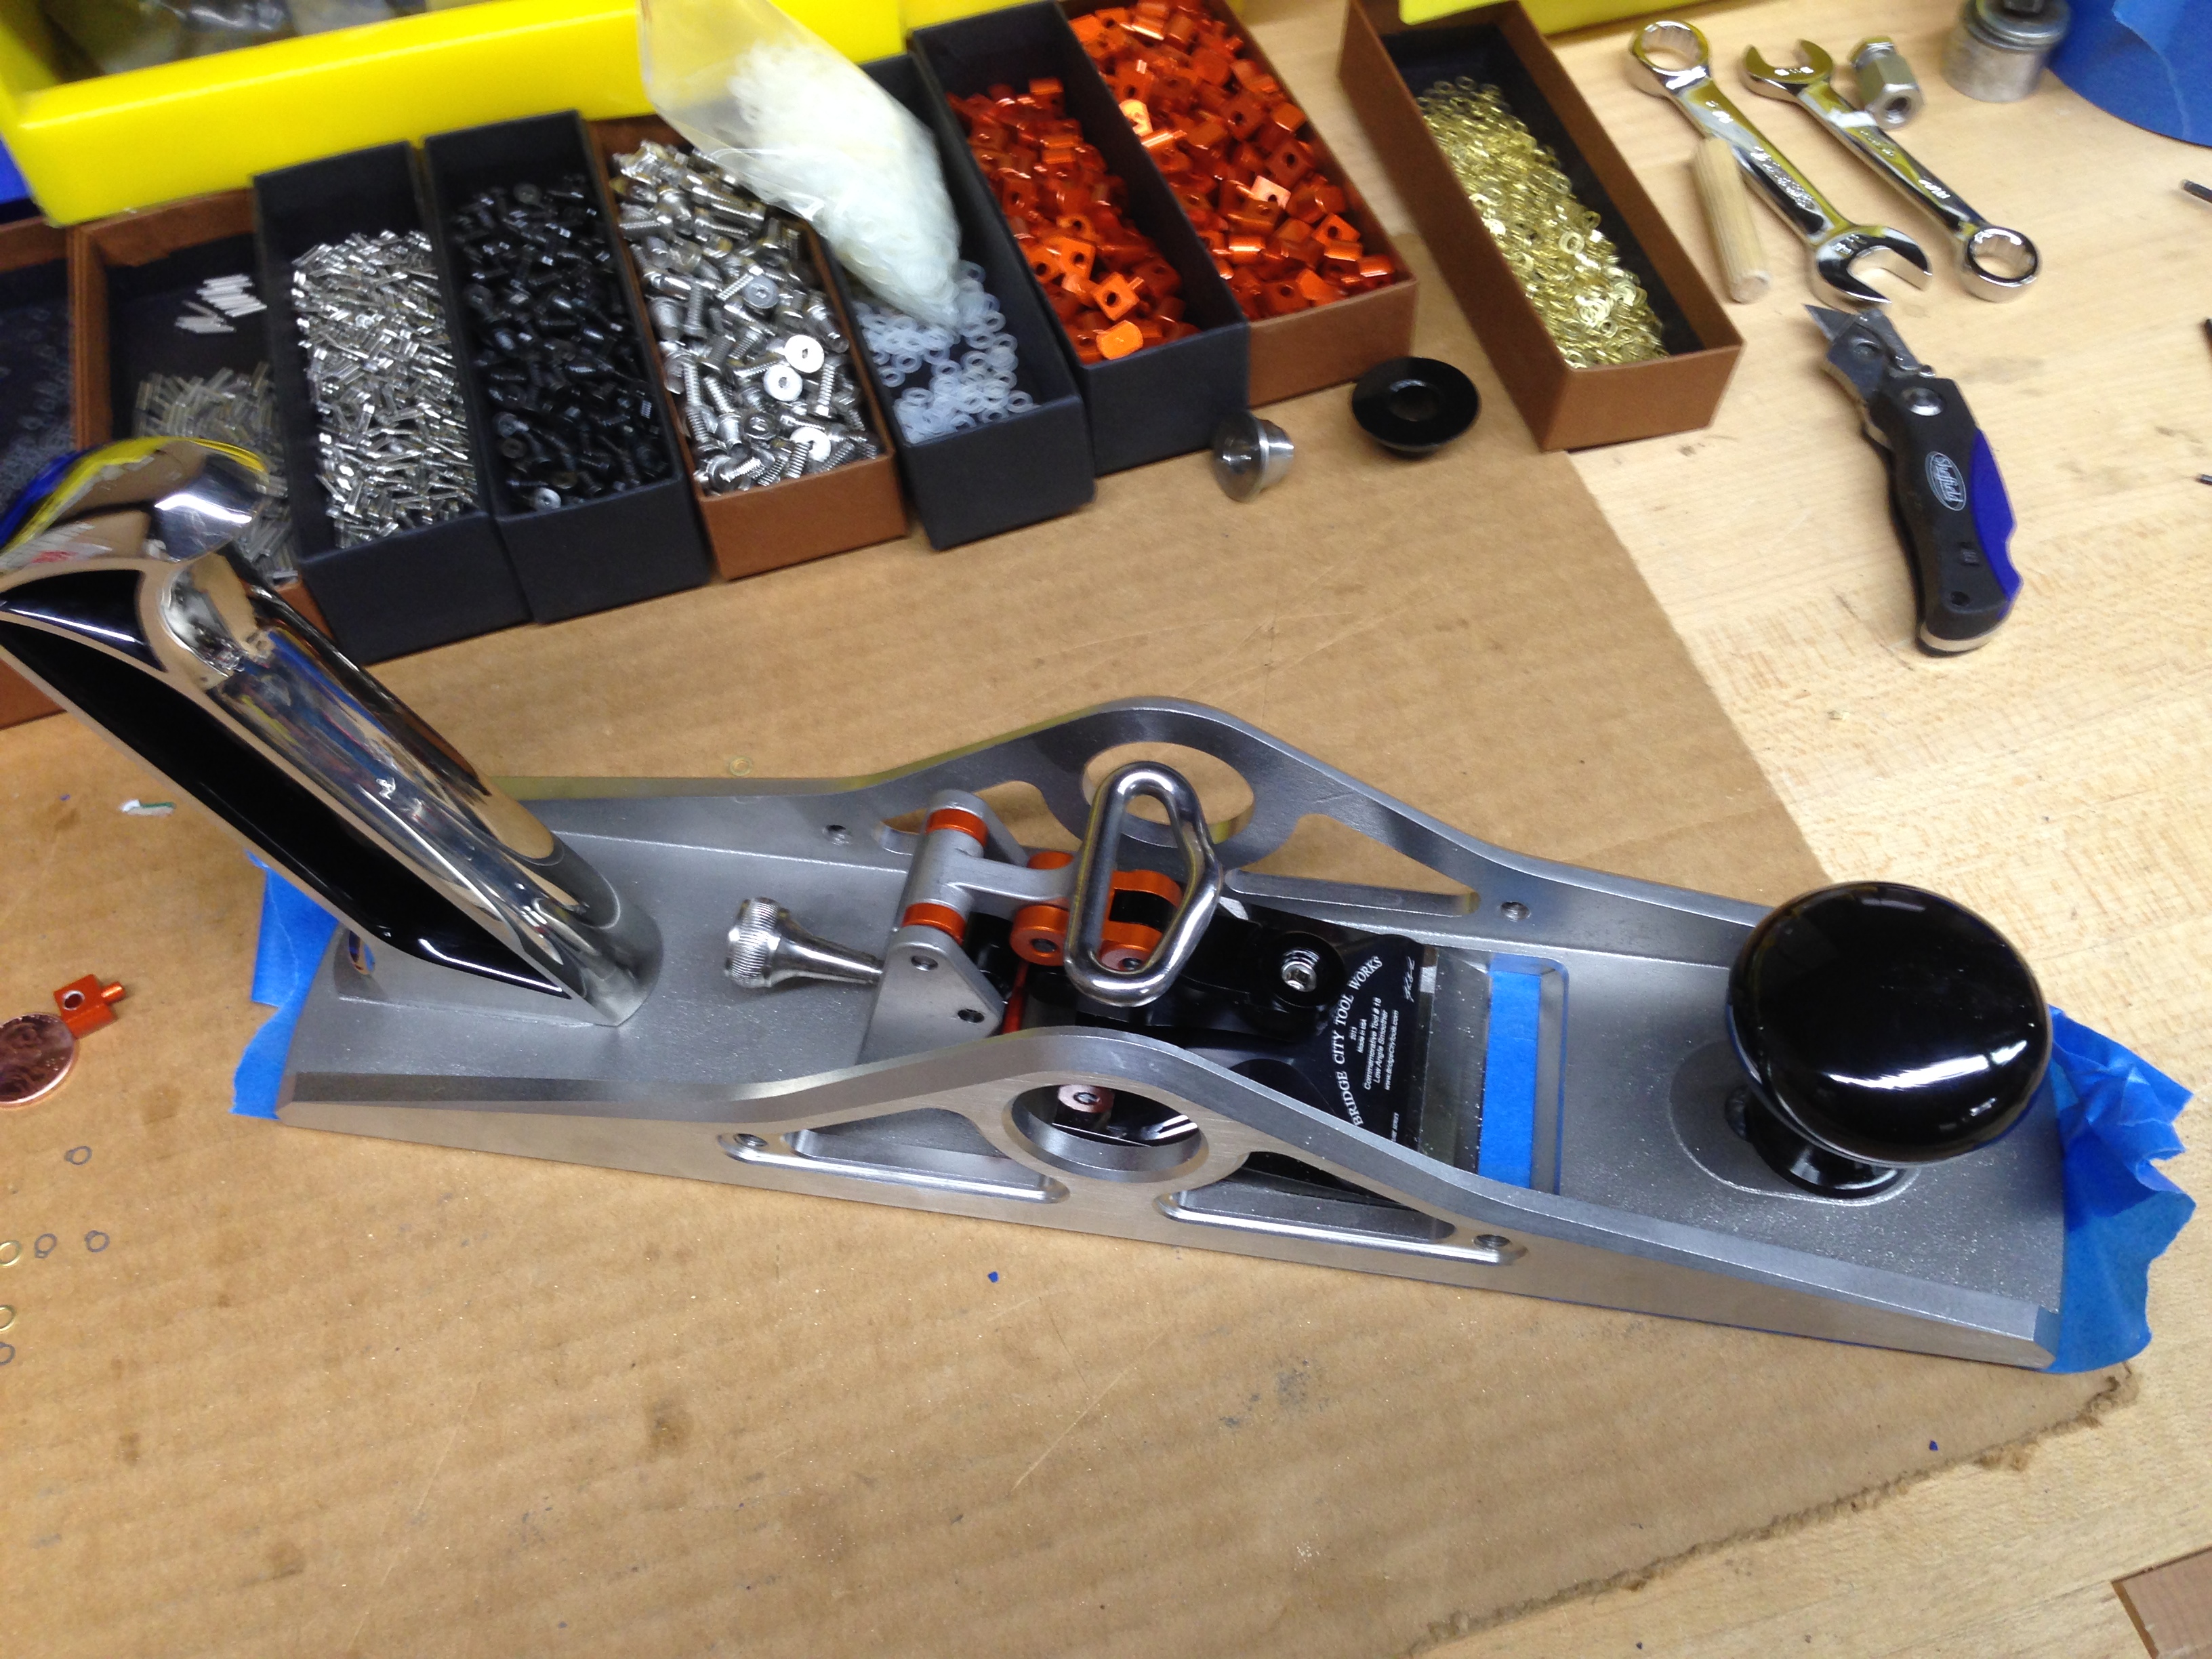
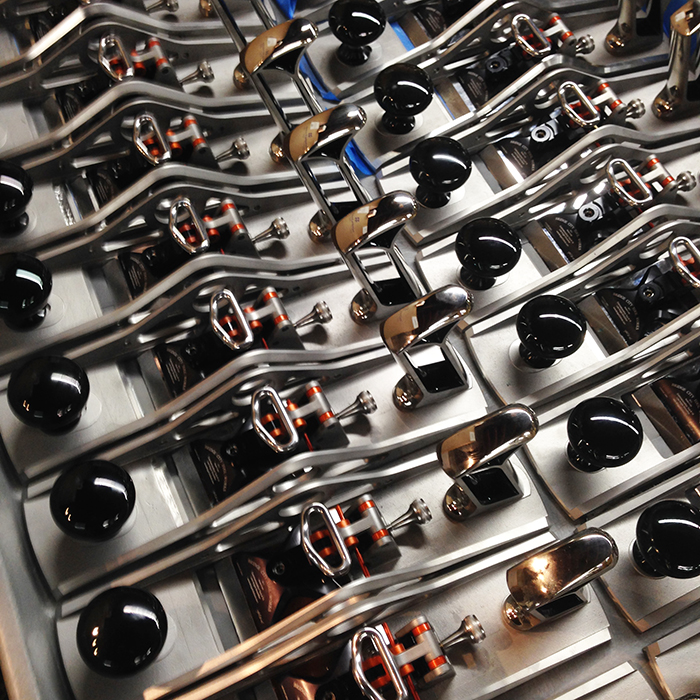
The CT-18 ready for cleaning…
Here is the last of the batch, waiting to find a home and it won’t take long

Lastly, I went home and thoroughly discussed the CT-18 Dual Angle Smoother with my confidant, Jitter Bug. Her reaction is below…

Life is not easy being your tool potentate!
-John
Thank you for this wonderful pictorial journey through the assembly and details of the CT-18. It’s a beautiful piece of machinery – I had no idea that there were so many steps, parts, and processes.
I’m sorry, but “black zinc” just doesn’t have the cachet of “black chrooome”. But it certainly looks cool!
I’m shocked that you have that many CT-18s left over. I’m sure they’ll disappear fast!
It’s nice to see that Jitterbug is as absorbed by your stories as she is. Clearly a good listener.
— Peter
Yes, Jitter is a great listener…
As you know, we had a significant casting production delay which resulted in canceled orders – which I completely understand.
– John
Well, I hope they realize the error of their ways, and get one of these. It’s the perfect size between a #4 smoother and a jack plane. The thing that strikes me most is how easy it is to hold and use – somehow the tote makes it easier to apply a little finger pressure to bring it back effortlessly after a stroke. Delightful! (And nice to look at, too!)
— Peter
John,
You did swear her to secrecy, I hope, those dogs leave information on every light pole and fire hydrant.
Super cool plane and story, I bet many of those who cancelled their orders are calling Conseulo right about now. Mine is fantastic and was well worth the wait.
I just got in to Seattle to see the opening festivities of the museum exhibit, I hope to meet some Seattle DSN’ers! See you tomorrow John.
Best,
Rutager
Great opening night at the Bellevue Arts Museum; got to meet a couple DSN members- Patrick and Yoav. I hope we cross paths again.
John’s wife took a bunch of pictures for John and I took a bunch as well, so hopefully you’ll get to see some of them soon.
Always fun to talk with the people of the art world seeing well designed and beautiful tools for the first time- I think it is cool for them to see form that blends so well with function.
-Rutager