Drivel Starved Nation;
Over the past three months, I have been working on Commemorative Tool #19. For those of you new to this Totally Awesome and Worthless Blog, we make one tool each year (well almost) that we will never duplicate. They are considered the finest series of tools in our almost 34 year history. (The first Commemorative Tool was introduced in 1991 or 1992, I am too old to remember.)
Like many of you, I was self-trained as a furniture designer/maker. My first exposure to methodically designing furniture occurred over a three week period in the summer of 1978 at the Anderson Ranch in Snowmass, Co. My mentor: Sam Maloof.
It’s incredibly humbling when you think you know something and then realize you don’t know anything. That is how I felt the entire three weeks. What a life-changing experience.
There were several things that I will never forget about this episode in my life;
1) You cannot make a living making furniture unless you know how to work fast.
2) You cannot possibly work out all the details of a piece working with scale drawings. A full-size drawing of the all the primary views is imperative if you want to achieve your intent. It’s the details, (often the lack thereof) that can sink a piece, rendering the time spent working wood rather wasteful.
3) It is extremely difficult to make a living making furniture if every single piece is unique. By working out all the details in a full-scale drawing, and story-boarding the critical angles and other details, you can recreate previous pieces in the shortest amount of time possible.
4) Design to please yourself! Nobody can predict what others will like.
As an example, in 1979, I was commissioned to make this dessert trolley for a local restaurant;
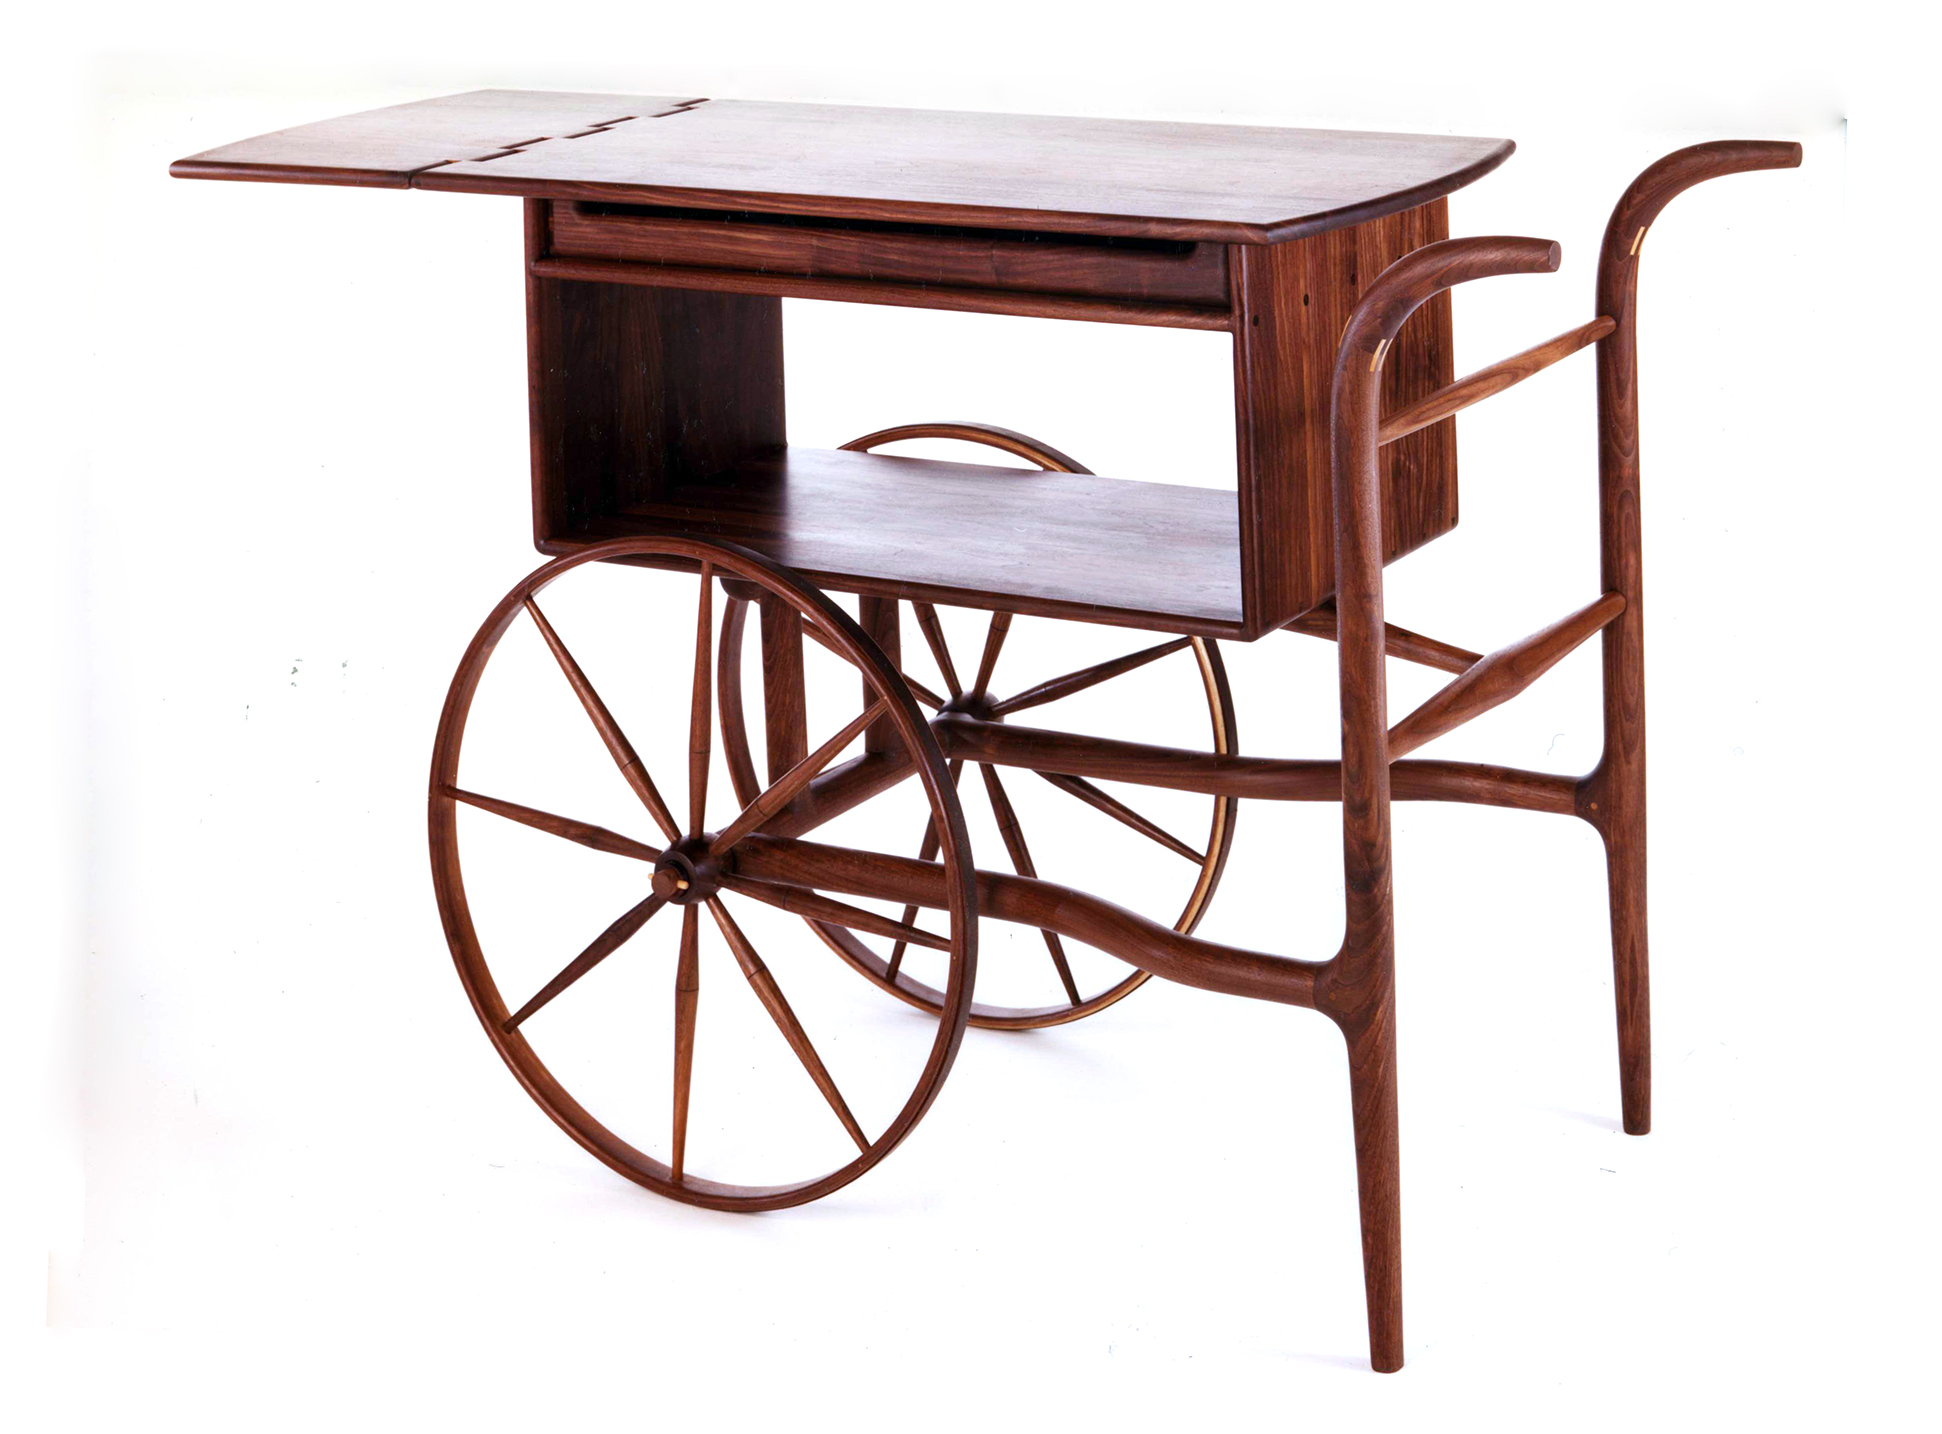
For this commission, I made a set of full size drawings, and I used those to make wooden patterns for my spindle shaper. I then created a story board with all the rest of the details so if I ever was lucky enough to make another, I could do so in the shortest period of time. And, I designed it for me, because I had a money-back guarantee with all my work. Lucky me, between that first commission and 1983, I got to make 26 more. Regrettably, I was unable to make one for my home.
The story board is a big deal. Not everything is a 90 degree angle in life (thank goodness), and when various angles are required, PARTICULARLY after you spend several hours dialing in a compound miter, you can repeat this set-up in a matter of minutes if you have the angles transferred to a story board. Not doing this will require another several hours to repeat the first set-up which is simply a waste of time. And of course it is money out of your pocket.
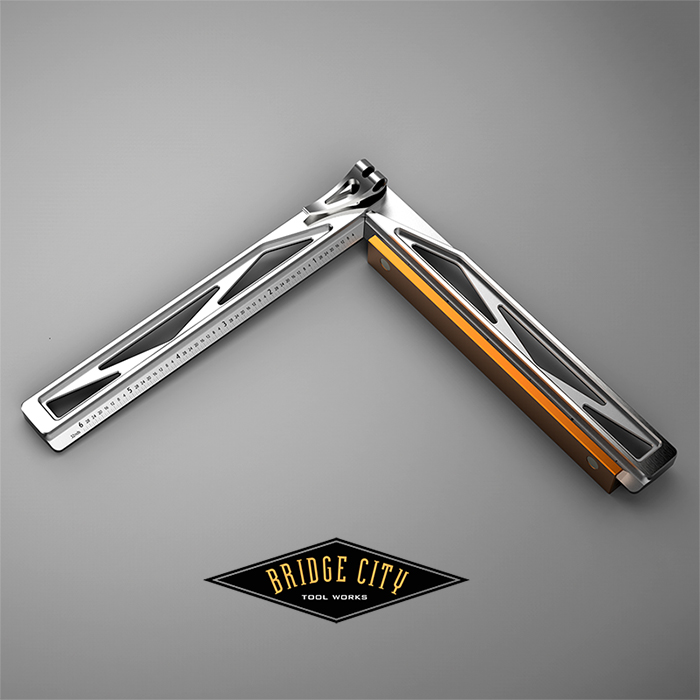
We are pleased to share with you the perfect tool for creating, and documenting your projects: The CT-19 Transfer Bevel. Here’s how it works;
A regular ‘T” bevel does not sit flush on your full size drawing — the blade offset to the handle creates an awful parallax issue. The CT-19 sits flat and will allow you to transfer any angle from 20 degrees to 180 degrees without a parallax concern. Here is an image of the CT-19 closed;
![]()
Milled from stainless steel billet, this tool is as good as it gets. When you fold the leg completely around, it will stop at exactly 90 degrees and it can never go out of square — it features an adjustable 90 degree stop;
![]()
The CT-19 also includes a magnetic base that has two critical functions, it will allow you to use the CT-19 to set-up your equipment;
![]()
The magnetic base attaches to either arm, making it amber-dexterous when you convert it into a try square or bevel;
The CT-19 Transfer Bevel features our handy cam locking system (if it is kid friendly, it is elderly friendly) which is ridiculously strong.
We have never made a finer layout tool, and yes, we are making metric versions as well. One could conceivably use this single tool for just about every possible layout need. That’s pretty cool!
Commemorative tools are our way of celebrating the relationship we have with our Founder’s Circle members and they will be receiving the pre-order announcement shortly.
Thanks for taking the time to read this drivel. Now, go make something!
-John
That looks like a really sweet tool, John. I can imagine lots of uses for it. Any chance you’ll be doing another run of the AMP to help set the angles?
I’m guessing that the attachable base will be stable enough on the JMP to set blade angles? I’ve found your T-bevels (of all sizes) work great for that.
And I thought all your new tools were going to have depth skids. Or was that just planes… 🙂
At first glance I thought I saw a Sector.
We should do another AMP run. We’ll see….
Thanks for reminding me.
John
I really enjoy the “truss” cutout motif that’s gone into some of your recent tools (the AS-24, the Chopstick Master, the TS and MS series). That, the skeletonization, and use of negative forms have really been nice innovations. Good job.
Thanks.
The “back story” on skeletonizing my designs; it is a fun way to suggest that there is always something underneath the surface. That is why there is a pocket that reveals the bones vs a straight piercing. It is fun, but time consuming to get it “right”. I spent over two weeks working on the bones of the CT-19.
It is very rewarding to know it did not go unnoticed, so thanks again!
-John
I draw more than I work wood and negative space has been a fascination of mine for decades. If you’ve never seen them, Henri Matisse’s “cut-outs” are a revelation in this regard (and for other reasons). I think you might find them really interesting. There was a big exhibition at MOMA New York a year or two ago and it wowed me, which is tough.
http://www.henri-matisse.net/cut_outs.html
What a fantastic article. Thanks for sharing!
A version for the metric inclined as well?
ahh I see you mentioned the metric version as well.
Got metric? Yes!
Transfer bevel is great for setting up cuts on a coopered panel; FWW has a good article in the Spt/Oct 1997 issue showing the layout.
The CT-19 should be awesome for coopering, will you be blogging about some of the other ways you’ve used it to make the story boards?
I will do a story board post, just don’t know when! I am up to my elbows in chopsticks.
I second that you need to get another production going on the AMP, I’ve been pushing for it for some time now.
I am listening…
AMP was awesome for setting my blade tilt when cutting the infill for my CS-6v2. Blade needed to be 56 degrees, or 34 degrees complimentary- simple, fast and fun with the right tool.
OK, we hear you. We are going to slot it, but I want to review the design to see how I feel about it 5 years later.
-John
+1 for a post on story-boarding. Looking forward to it.
Kirby.
I have put story-boarding as a post on the list – thanks for the request!
-John