Dear Drivel Starved Nation;
If there is one thing that drives me crazy about being in the woodworking business are customers who are reluctant to acknowledge the potential of new ideas. I will never understand this, and frankly, it frustrates me when I have to spend time with people who never appreciate that the world is full of new ideas yet to be revealed.
We recently introduced a set of four “V” groove texturing kits for our HP-10 Convertible Plane and all they do is make perfect “V” Grooves. Yup, that is all they do.
Don’t get me wrong, I love speaking with our customers but not like this…
CUSTOMER: “I saw the “V” groove kits for the HP-10 and like all your stuff, I know it will be incredibly well made. Why would you come out with this kit? I can see ZERO use for it.”
ME: (In my head only, “%$^*&(I*TGH #@$&!! UGH!) “Well, I believe it gives users an incredible opportunity to add texture, shadow and interest to their work.”
CUSTOMER: Like how?
ME: “OK, tomorrow I will post some ideas on my blog.”
The conversation ended amicably and I quickly doodled out some sketches and made some CAD dummy models of projects using this texture kit that can be achieved in a weekend.
These are what I call “low hanging fruit ideas” and by that I mean they should be obvious to most. All are makeable in a weekend.
One obvious use (to me) of this kit is for picture frames. Here is an 11 x 17 frame idea: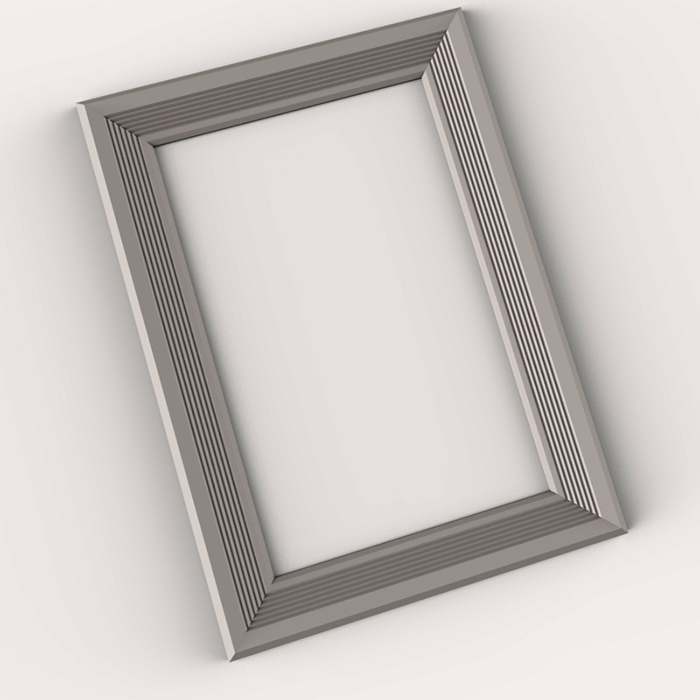
In this instance, the texture was cut in the edge of a board and the frame member was liberated from the parent stock with the table saw blade tilted at 30 degrees. This creates the downward slope moving from outside to in that adds depth to the frame. The rabbet for the art and glass can be cut with a rabbet plane or the table saw. The bevels are cut with a block plane.
Of course when you shrink a frame down to where the inside corners touch, you create a mitered tile. In this example, this tile is just under 3″ square…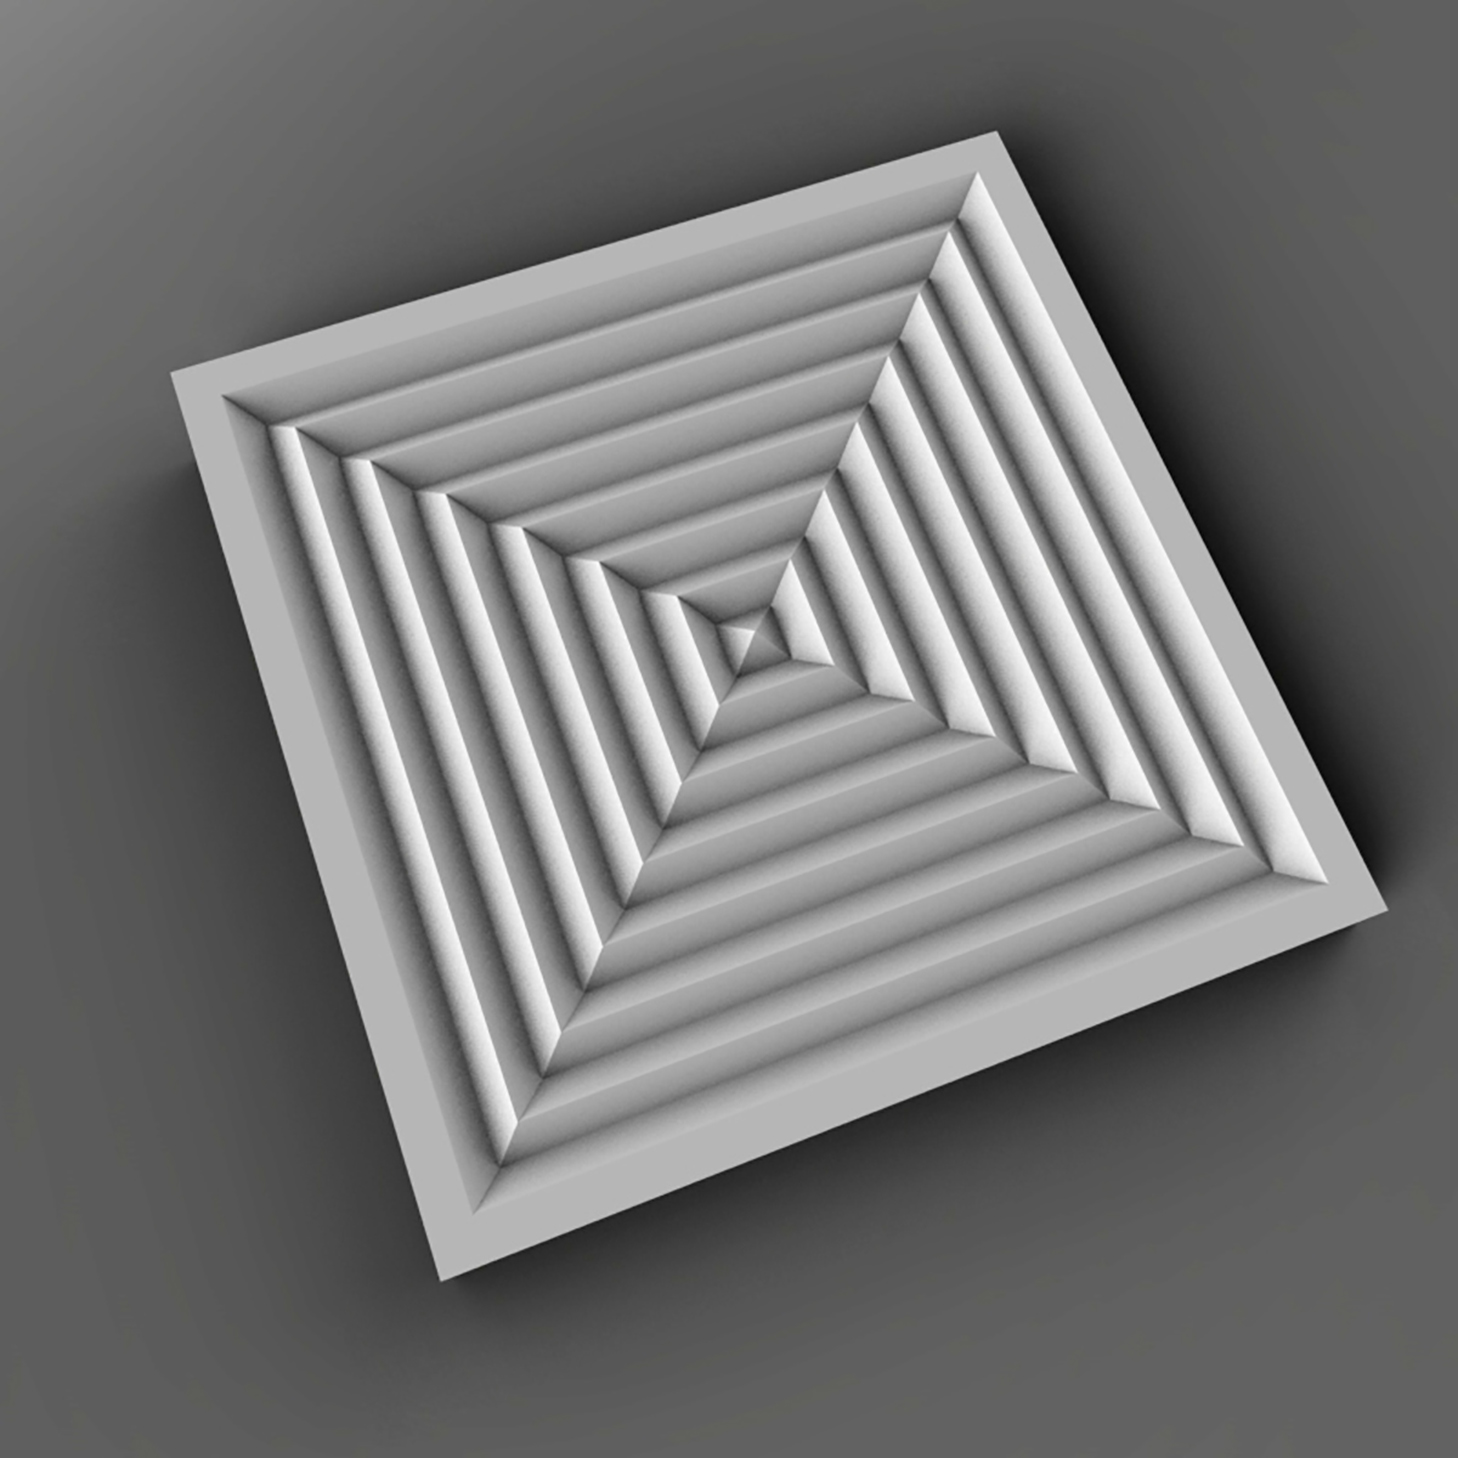
When I make textured tiles, I glue the four pieces to 1/16″ aircraft plywood and use no glue on the joints. This allows me to pre-finish the textured strip before it is mitered and makes incredibly clean (no glue mess) miter joints.
Using this tile as a lid idea, I designed this small box…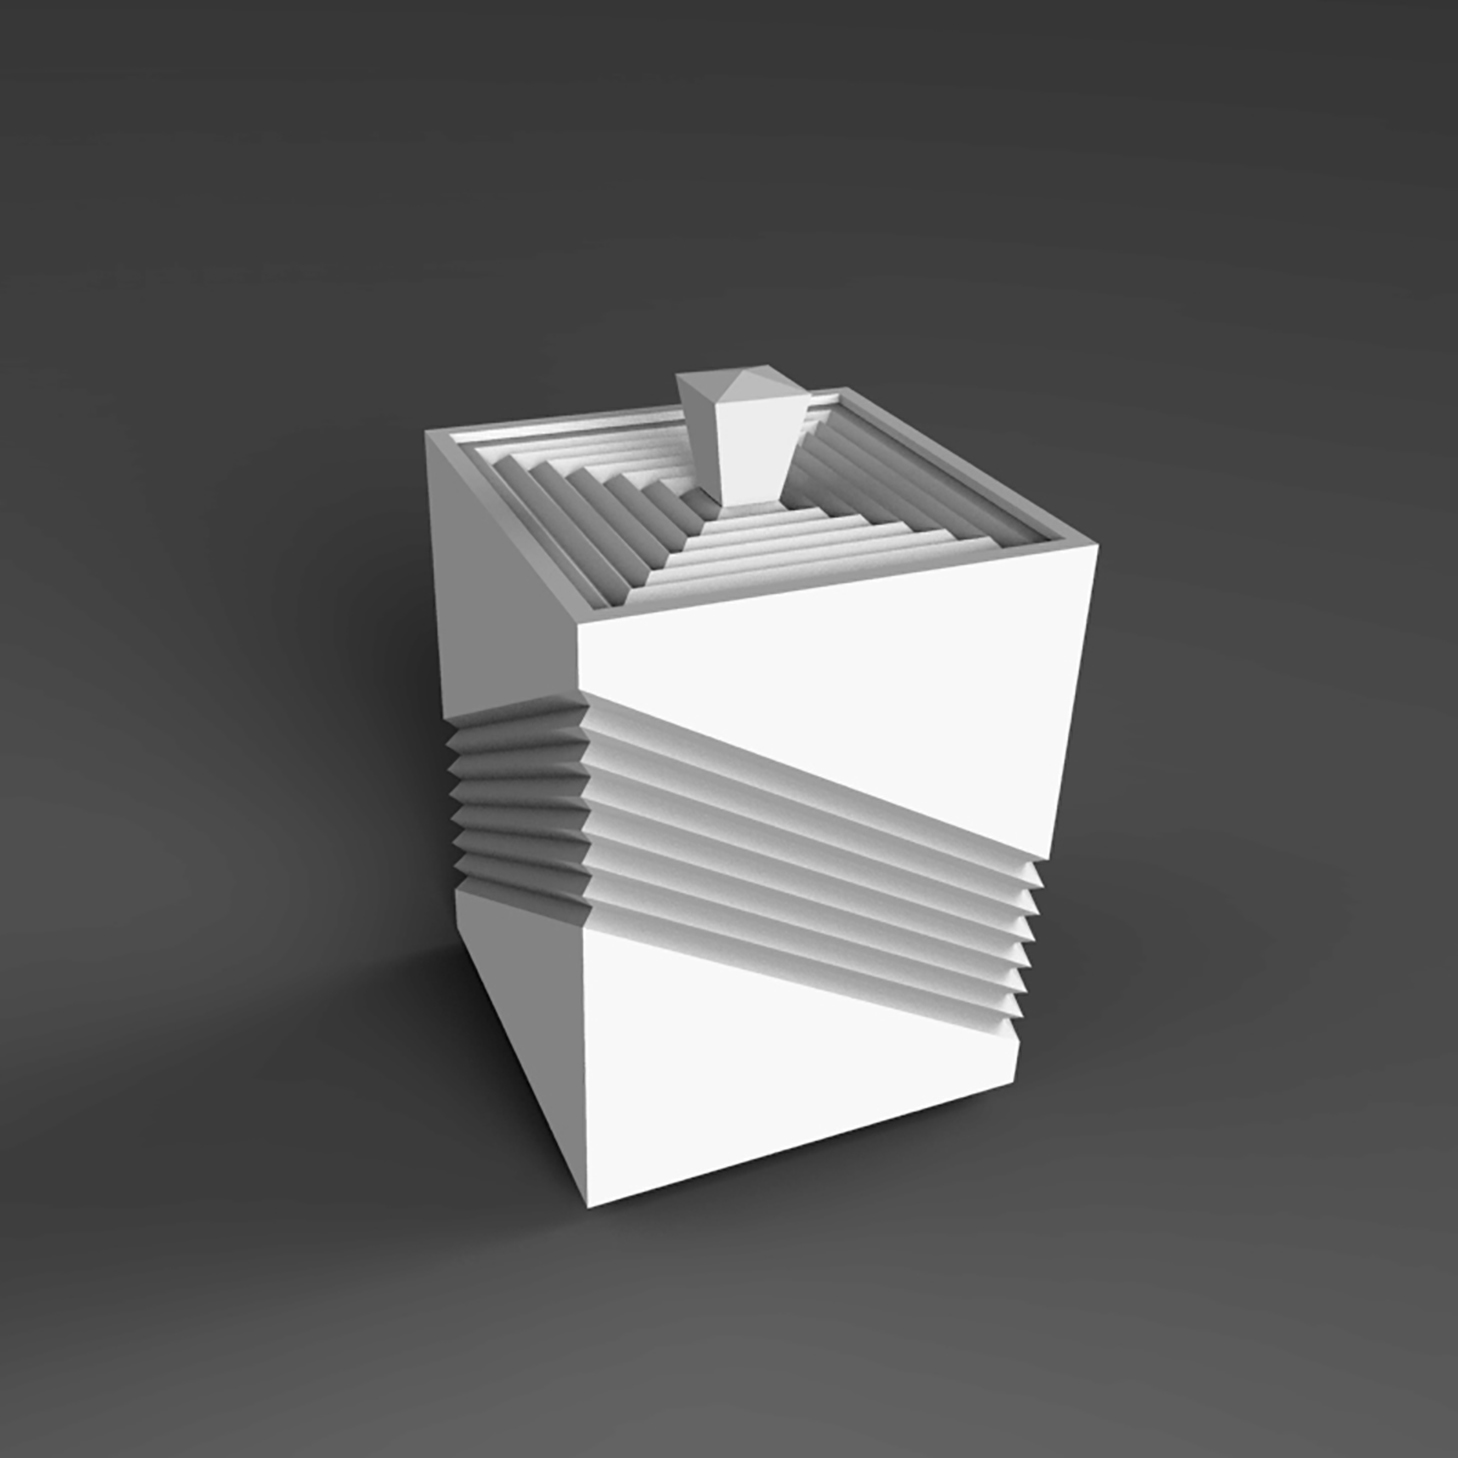
Here, the box sides were grooved to receive “V” groove strips. When I make boxes where I am gluing strips across the grain, I like to make my own 3-ply plywood where the thickness of the two outer layers equals the thickness of the center layer. This method serves two purposes, it keeps the sides from cracking one day and it makes for glueable miters that are not solely endgrain.
A single tile can be ganged into a motif. From here you can play with variations on a theme, such as experimenting with different wood colors and arrangements. I caution getting too crazy with contrasting woods, it is SO EASY to create a contrived look that fails…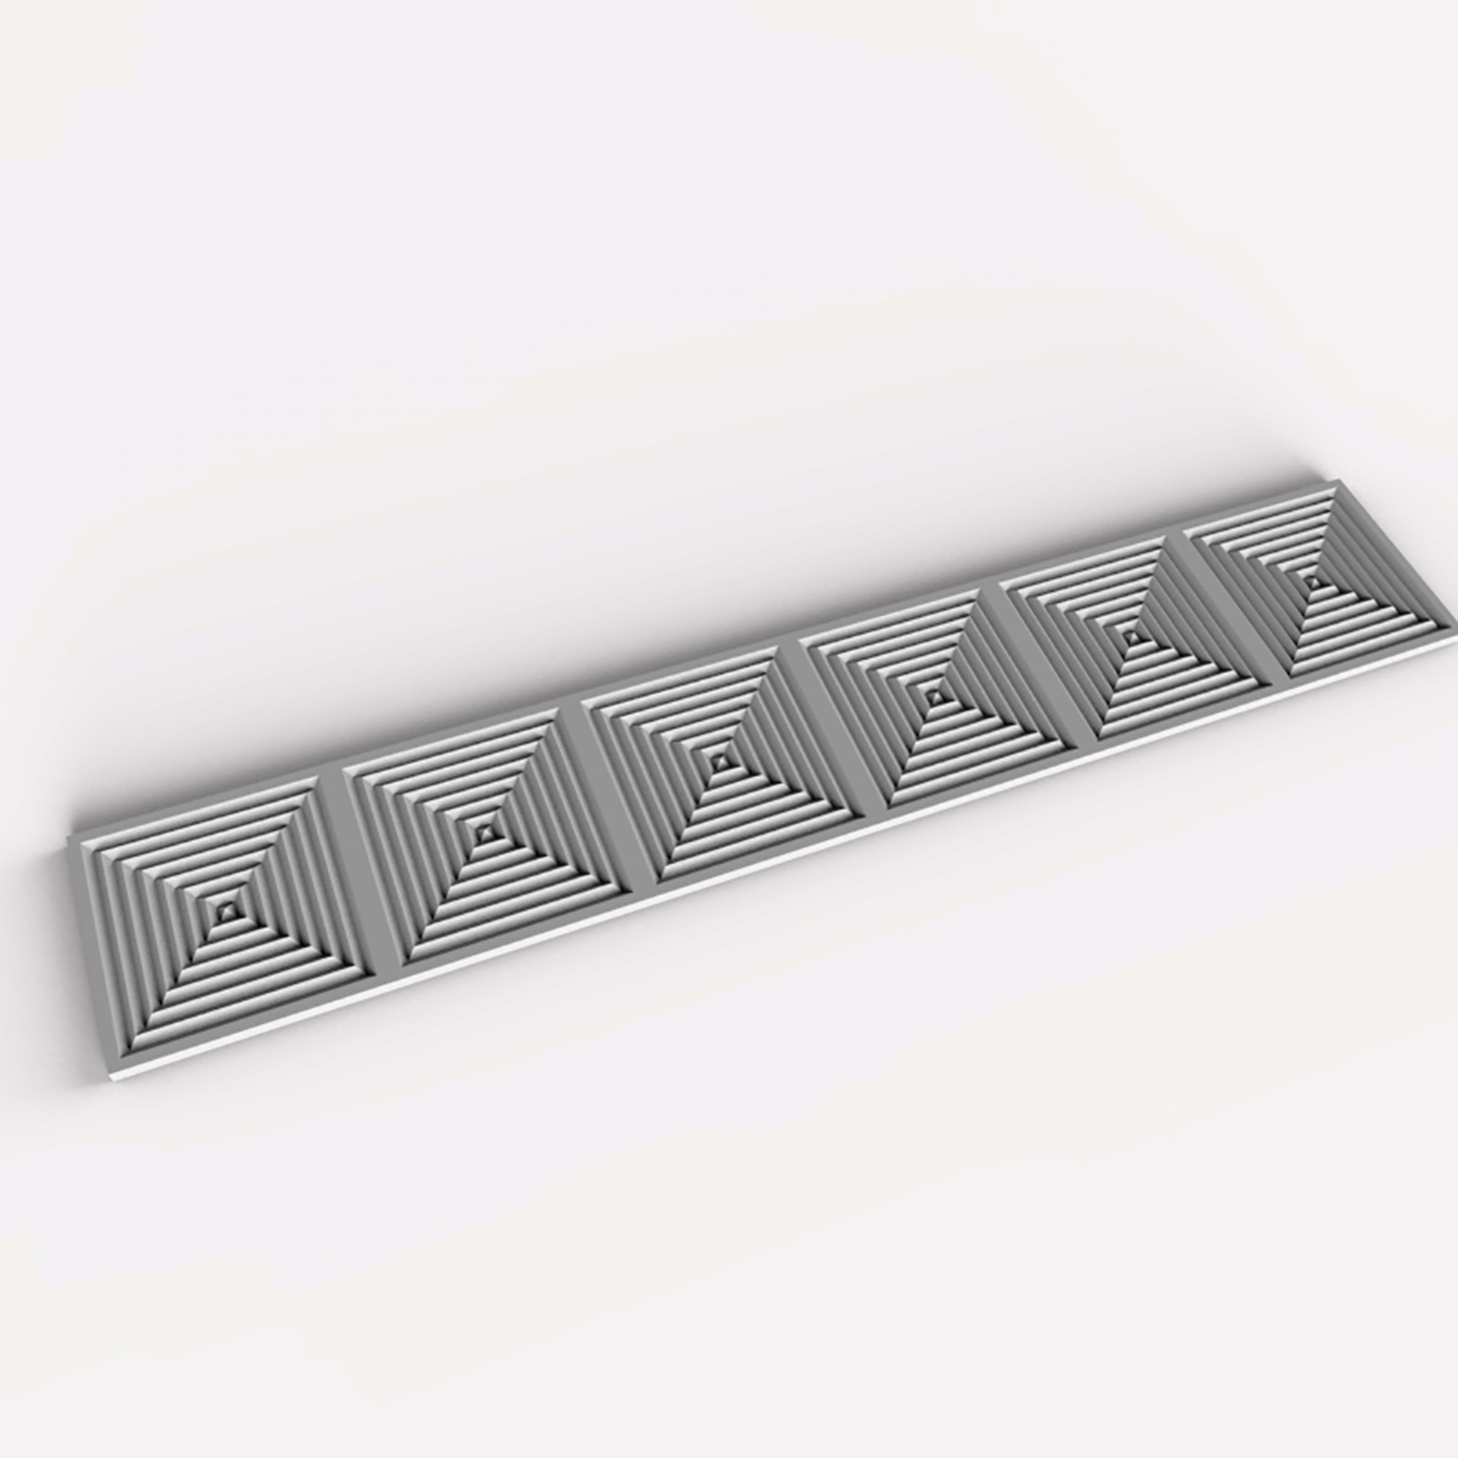
Here’s a cool looking box idea using the same tile as the lid in the smaller box above…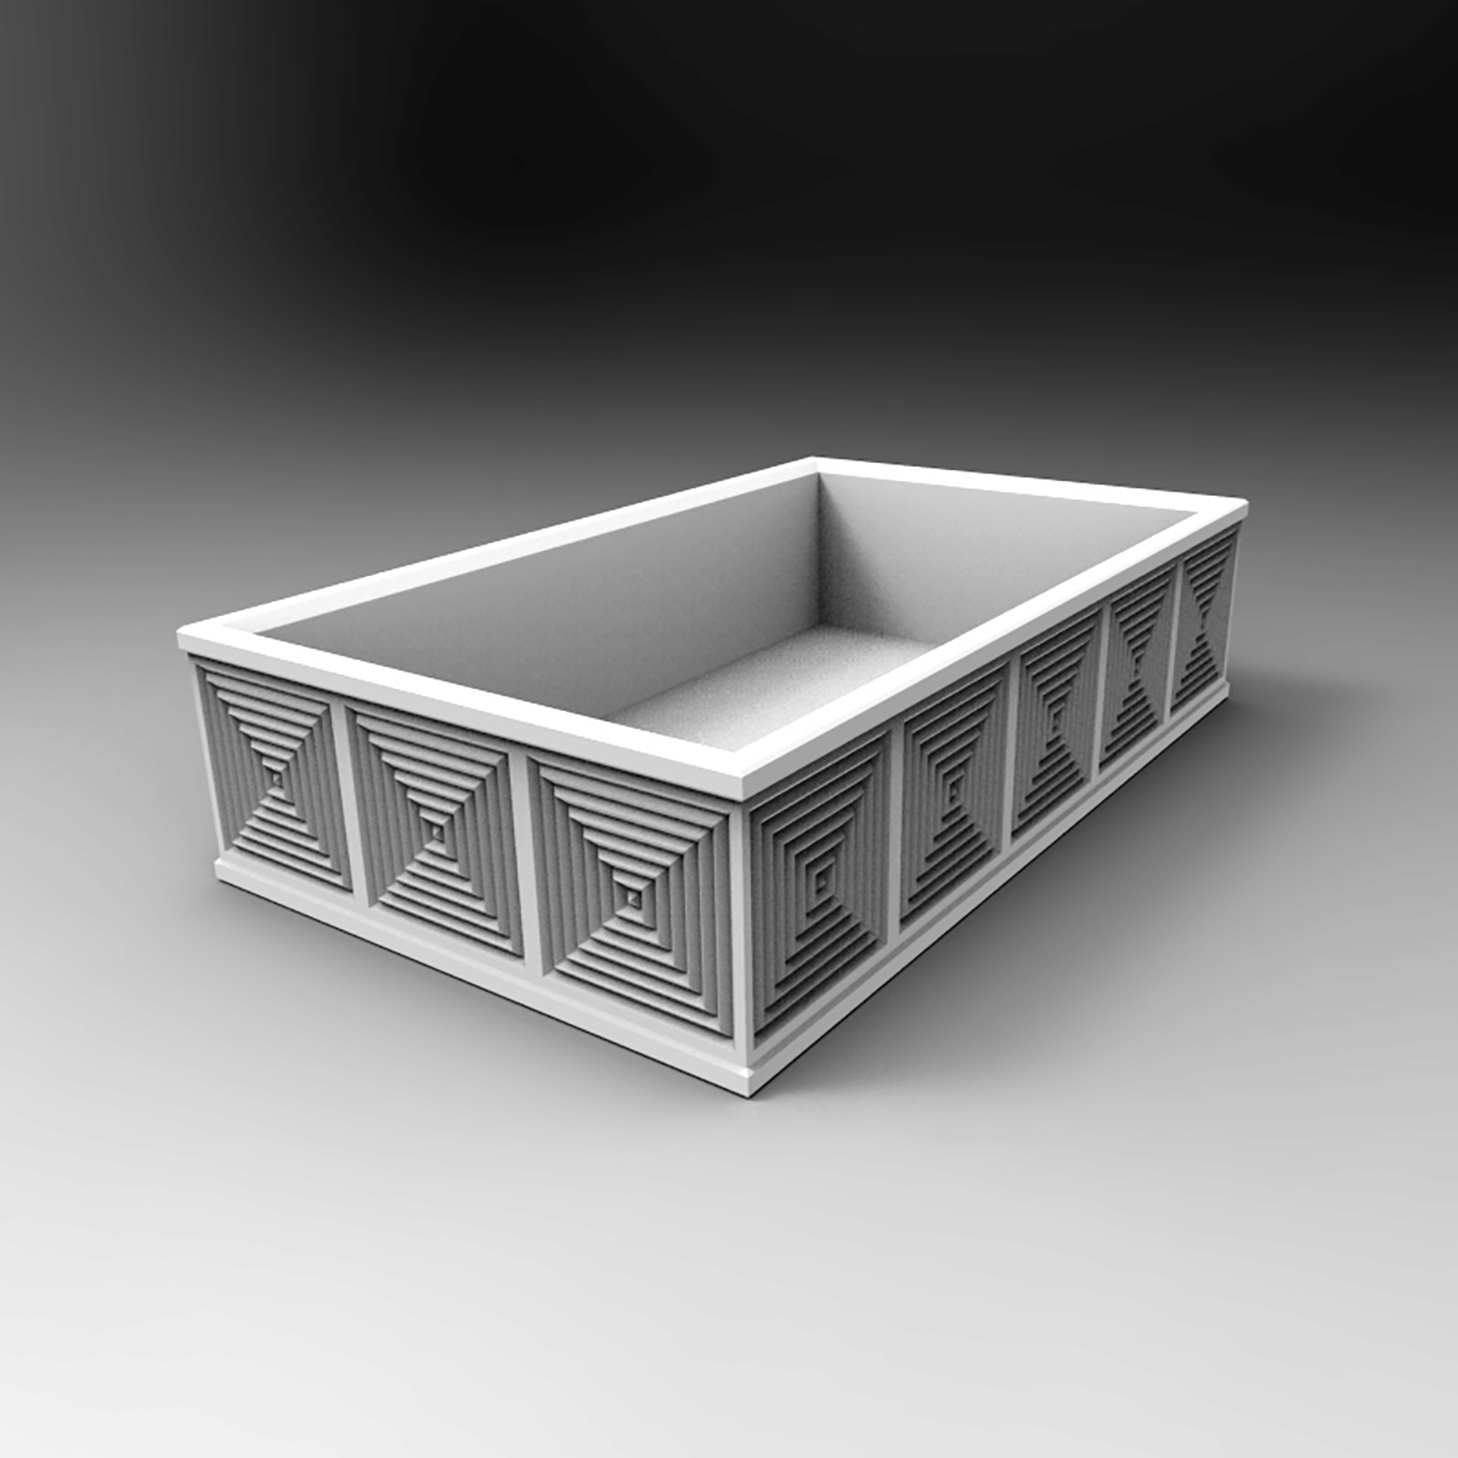
If you make this you will be working to some pretty tight tolerances which I think is fun. Using square tiles it is easy to make items with clean proportions – notice the 3 : 5 ratio of the depth to length.
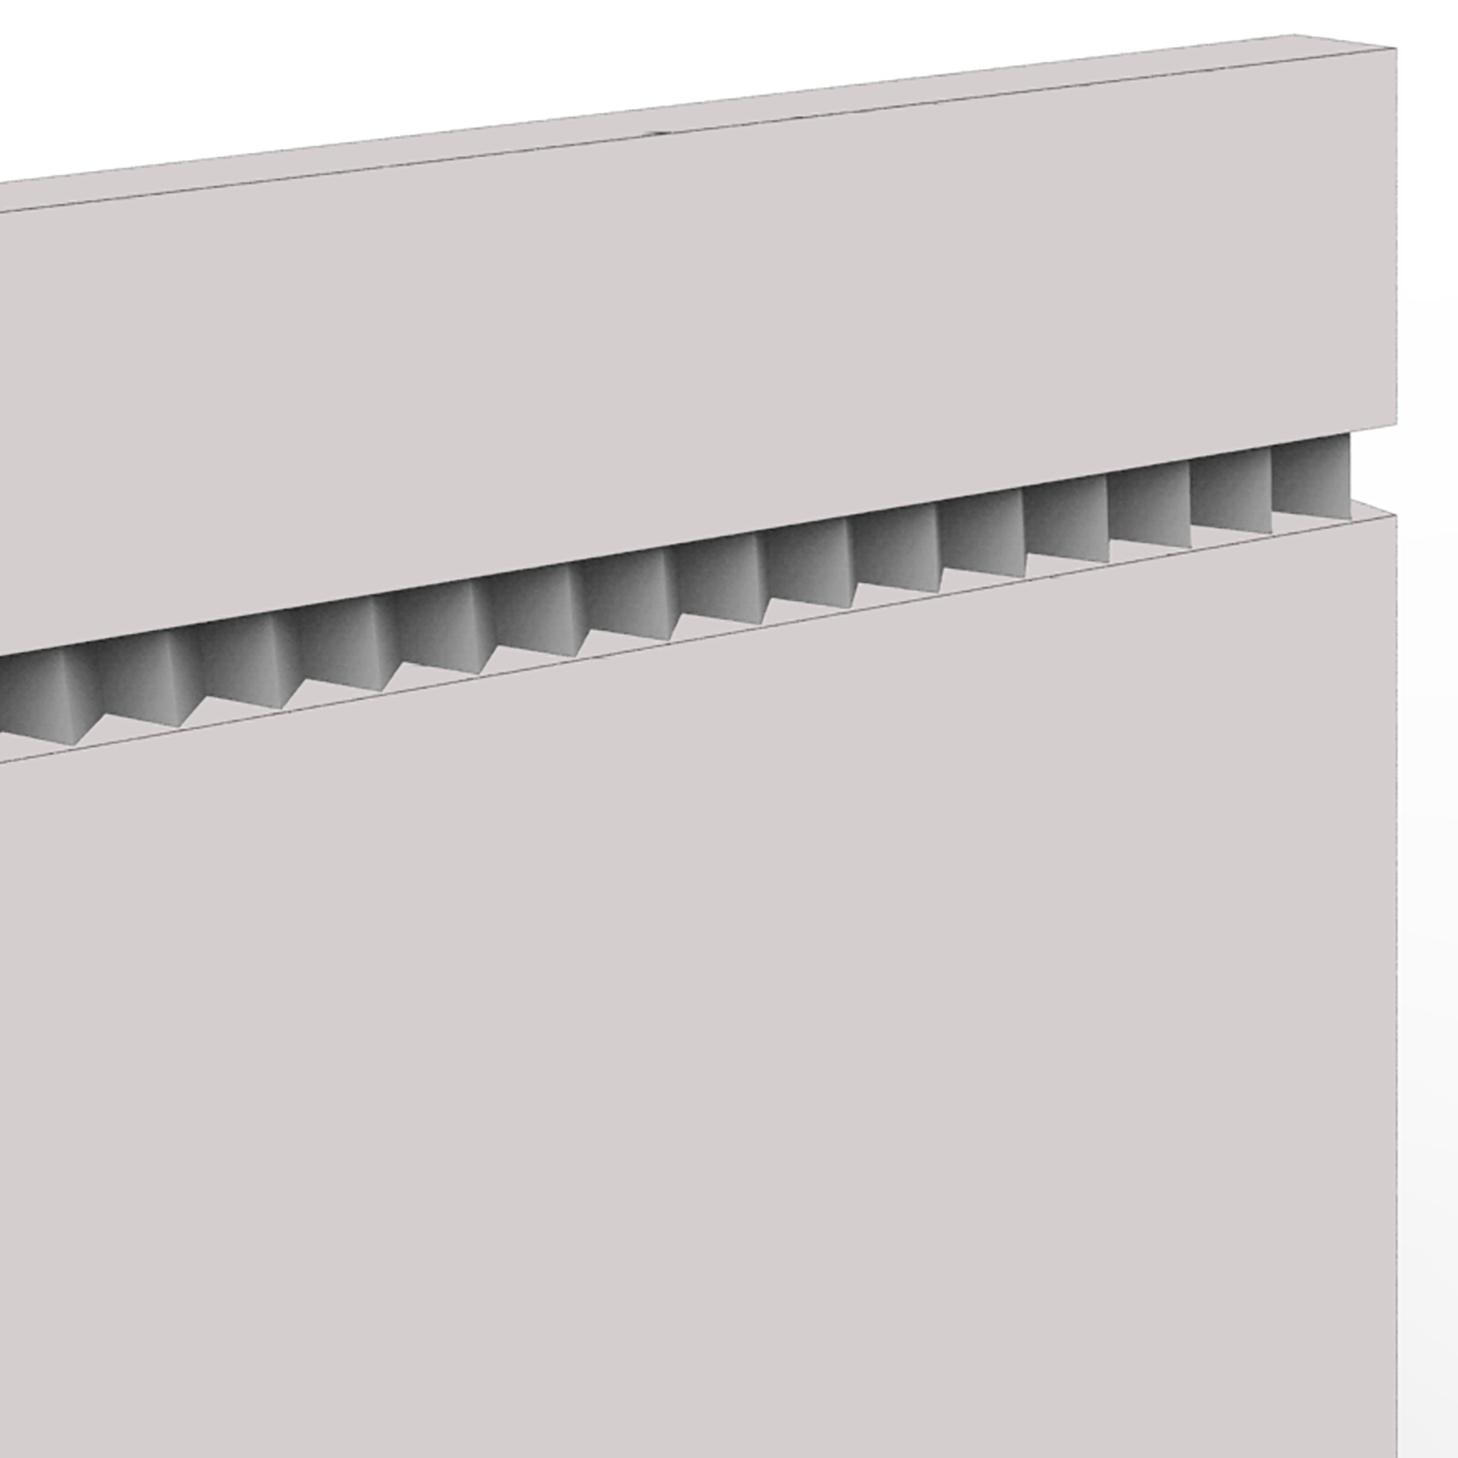
To create an incredible level of detail, you can make triangle strips (you can nest two textured boards together, “V” grooves to “V” grooves and run them through the planer, the top board will eventually become individual strips with a perfect triangular cross sections.) These strips can then be crosscut to create little tiles. Here is just such an idea…
This is just the beginning of what is possible when you understand how much more interesting projects can become with a little texture!
-John
Very cool, John.
I’ve ordered a set and look forward to trying some new techniques…
That’s really impressive how you eliminate any risk of tear-out in a CAD model.
😉
Good stuff –
Neil
I don’t get tear-out because I cheat! When making profiles I always make sure I am planing “downhill” grain-wise.
People call you to talk about tools? When I call it is always: “is your refrigerator running?” Or “do you have Prince Albert in a can?”
To add something useful, I could see using these profiles in two contrasting woods, joining them together, adding edge banding and taking slices off to make a cool inlay pattern.
Rutager