Drivel Starved Nation!
Today I received the very first production model of the Pencil Precision, which is again, since it has been so damn long, a pencil making factory in a box.
In this post I will present my unboxing cell phone pics (I save my other camera for birds!) and show you my first pencil. But before I begin, I have a couple of comments.
First, as mentioned in my last post, Consuelo will be contacting everybody who has been patiently waiting for this crazy invention of mine. She will need updated payment info for the second payment (if required) and a correct shipping address.
The production units will ship shortly after the end of Chinese New Year which is the 18th of Feb I believe. I do not know how long it will take for them to arrive in the United States and clear customs, but I am guessing about 3-4 weeks. If this changes, I will post the change in this Totally Awesome and Worthless Blog.
So, here we go!
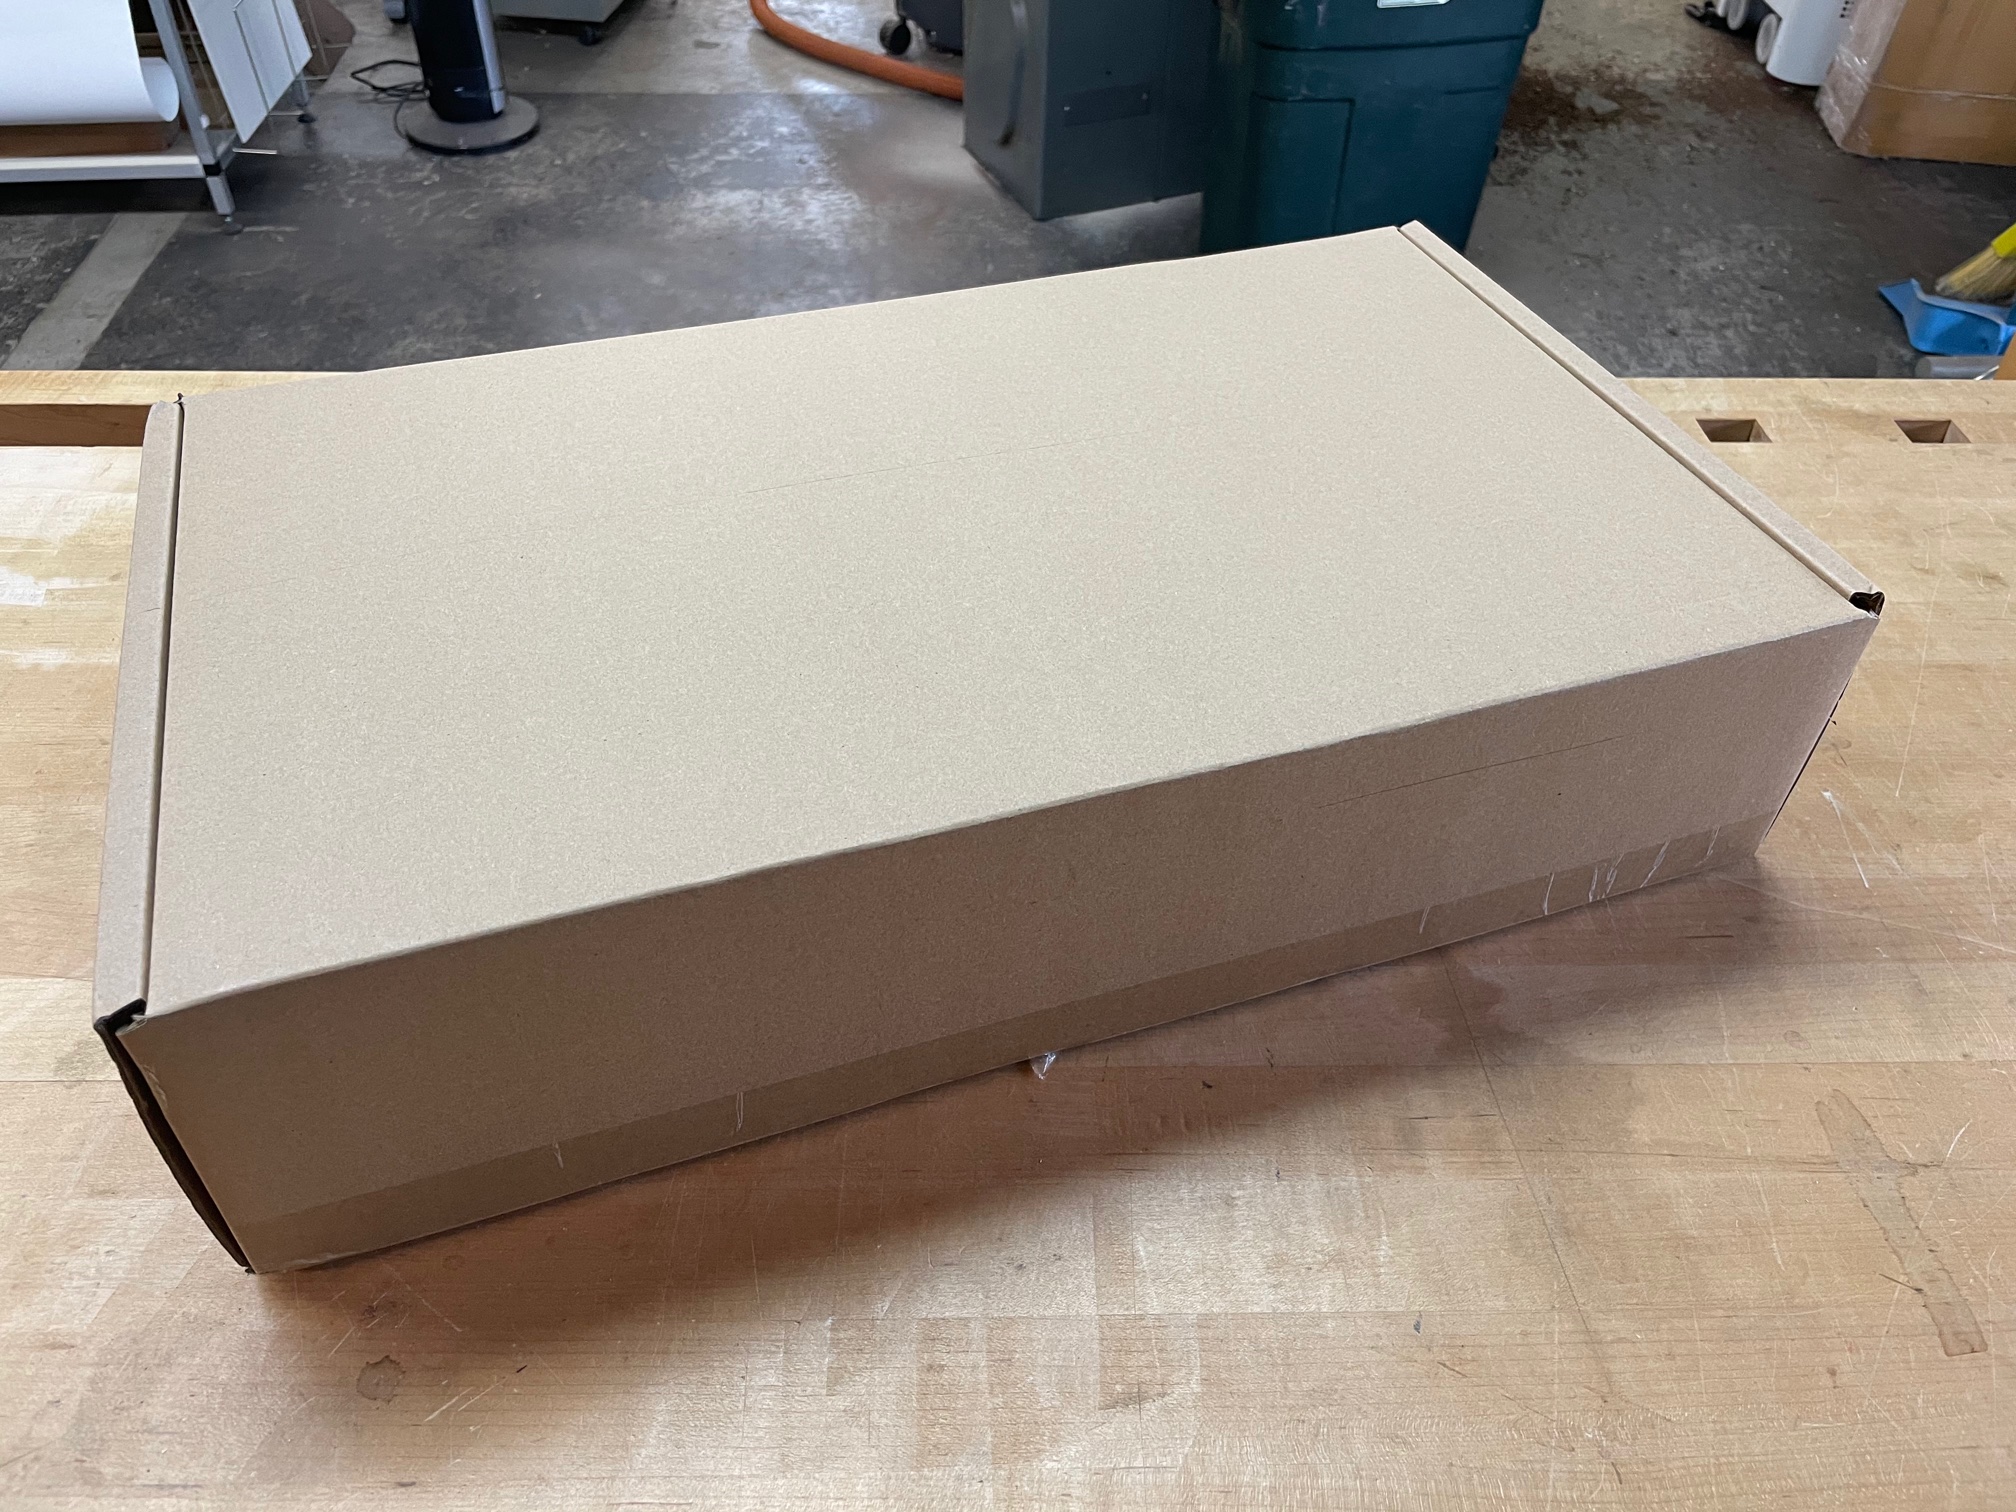
The kit is fairly large and comes very well protected in a heavy duty corrugated box as seen below;
Upon cutting the tape, you will first encounter the carrying case wrapped in a protective layer of foam;
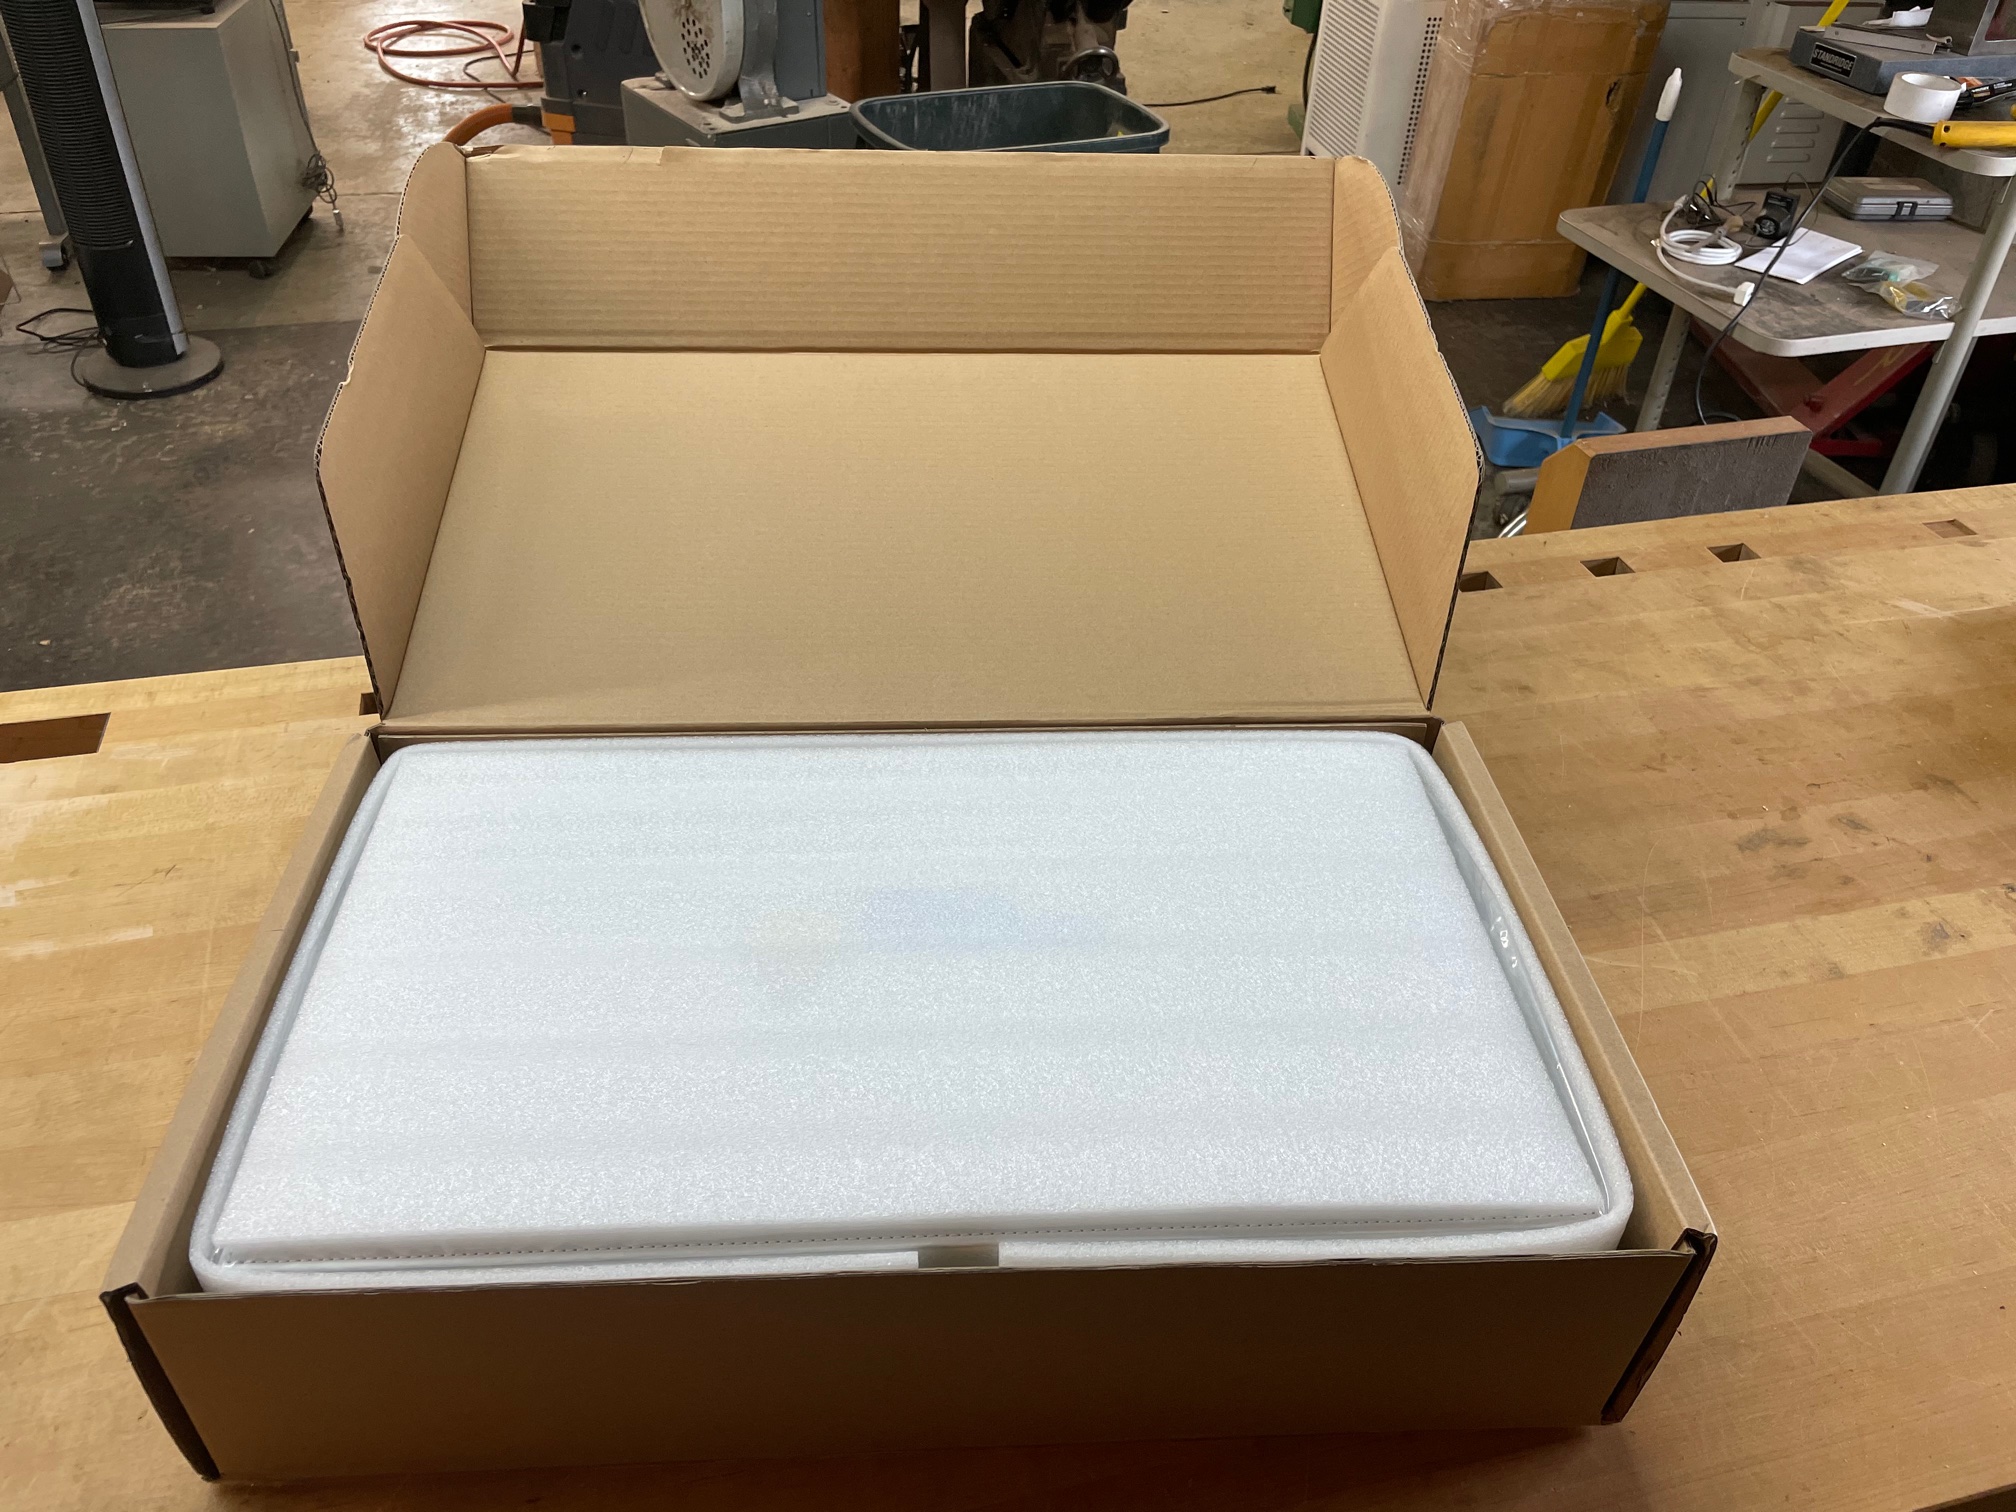
With the protective foam removed, you will find the carrying case wrapped in a protective plastic bag;

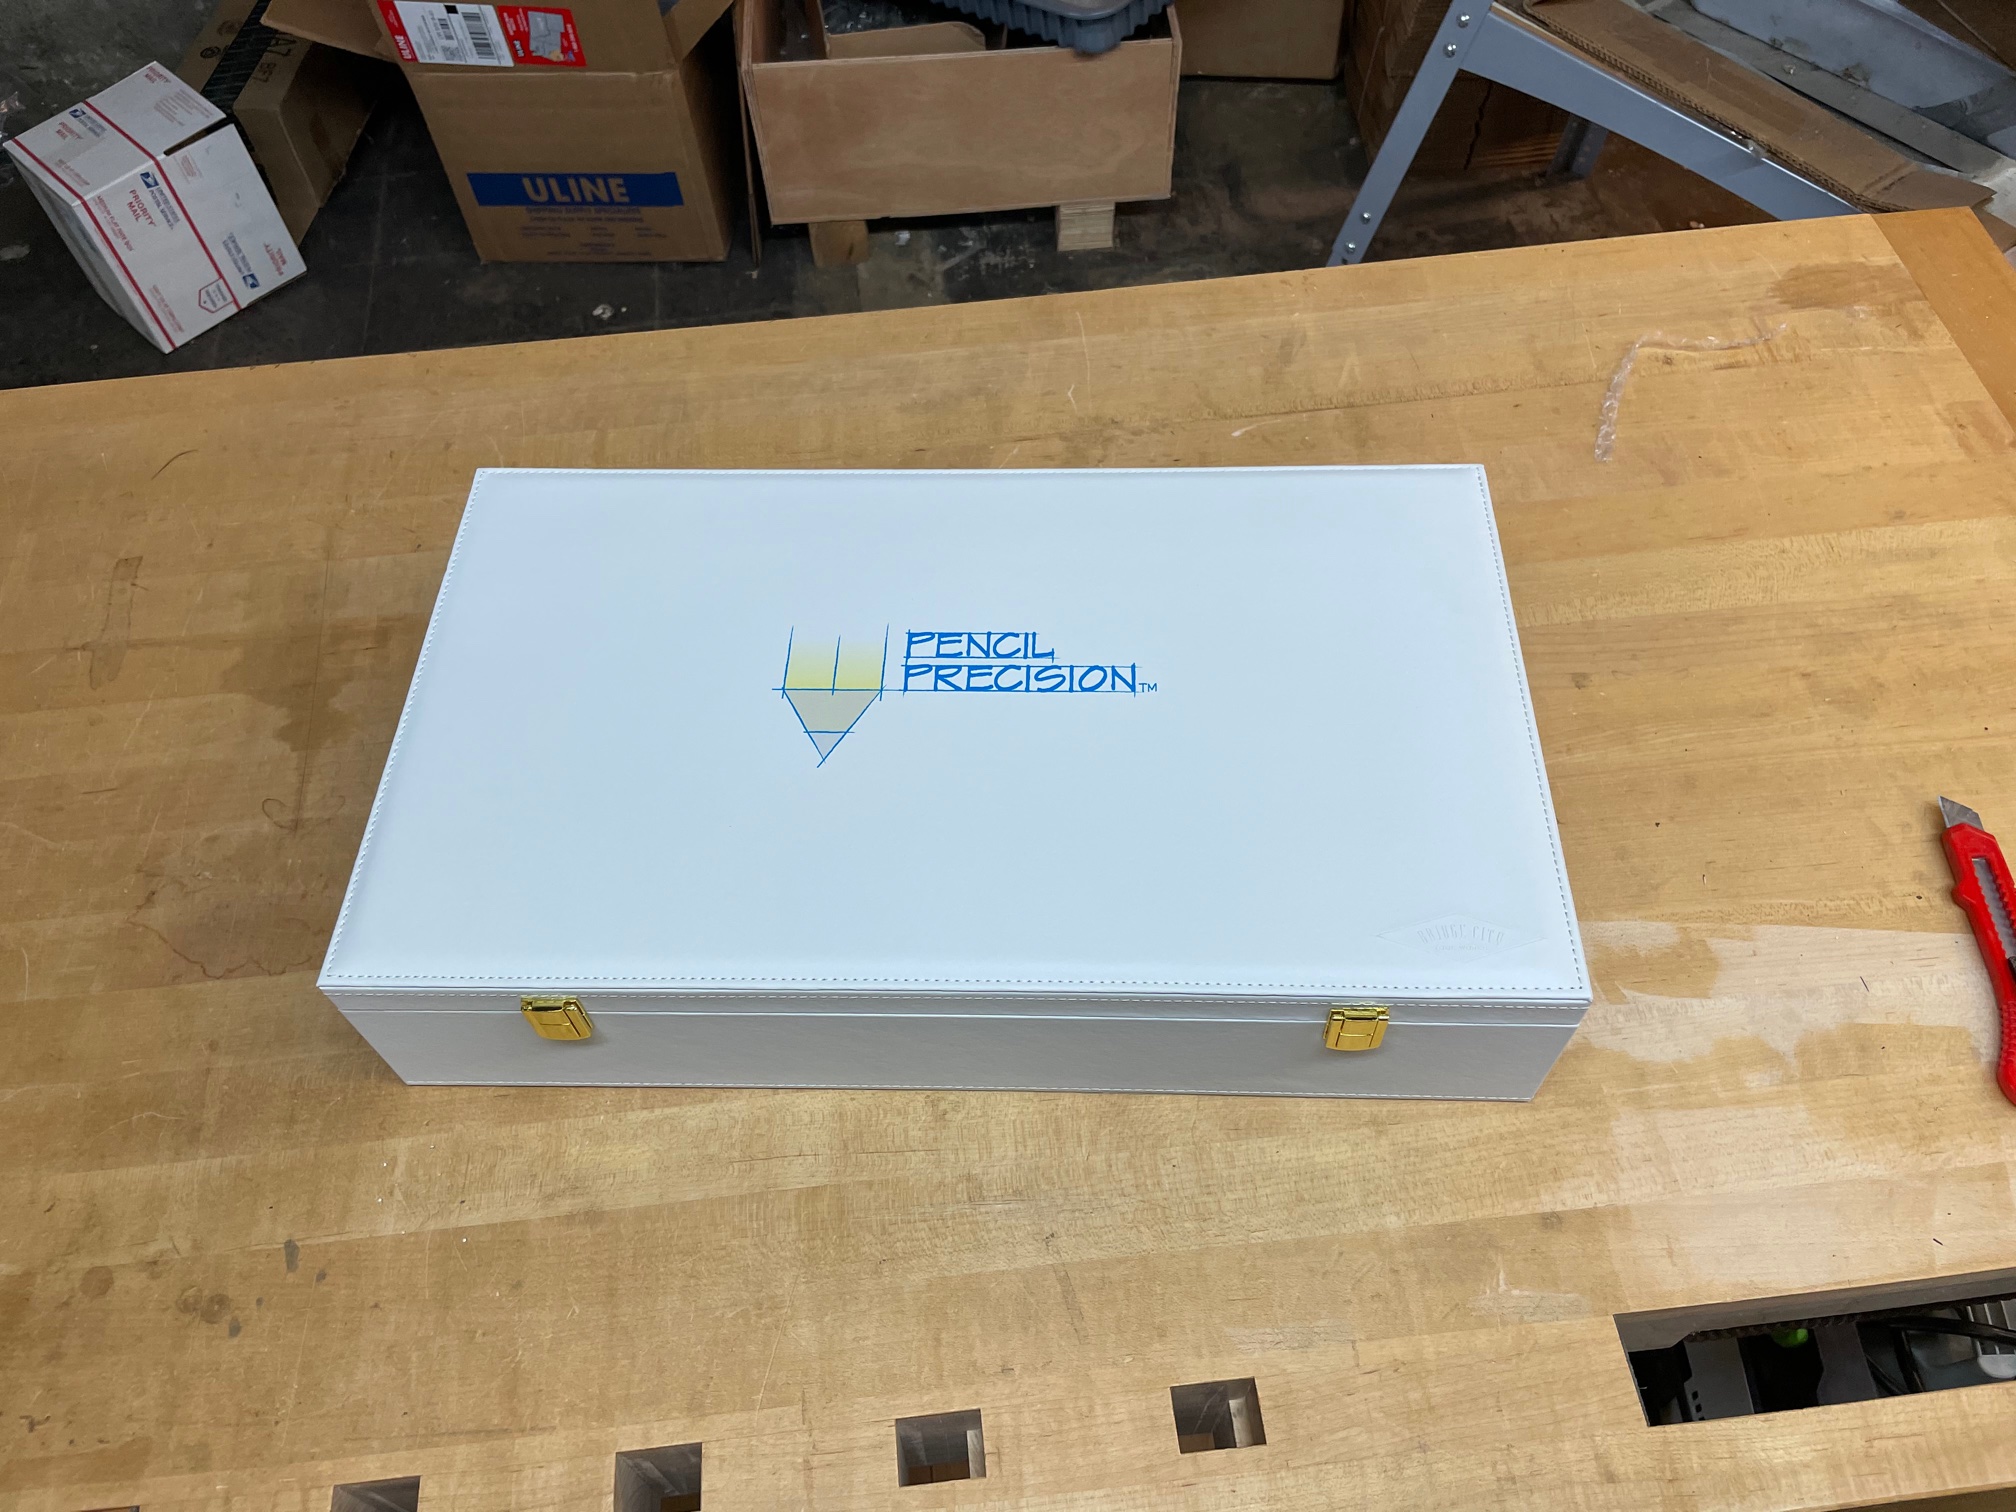
The carrying case is a faux white leather with sewn corners, is metal hinged, and it is quite striking — I really like the logo design which I commissioned from a Portland graphic designer;
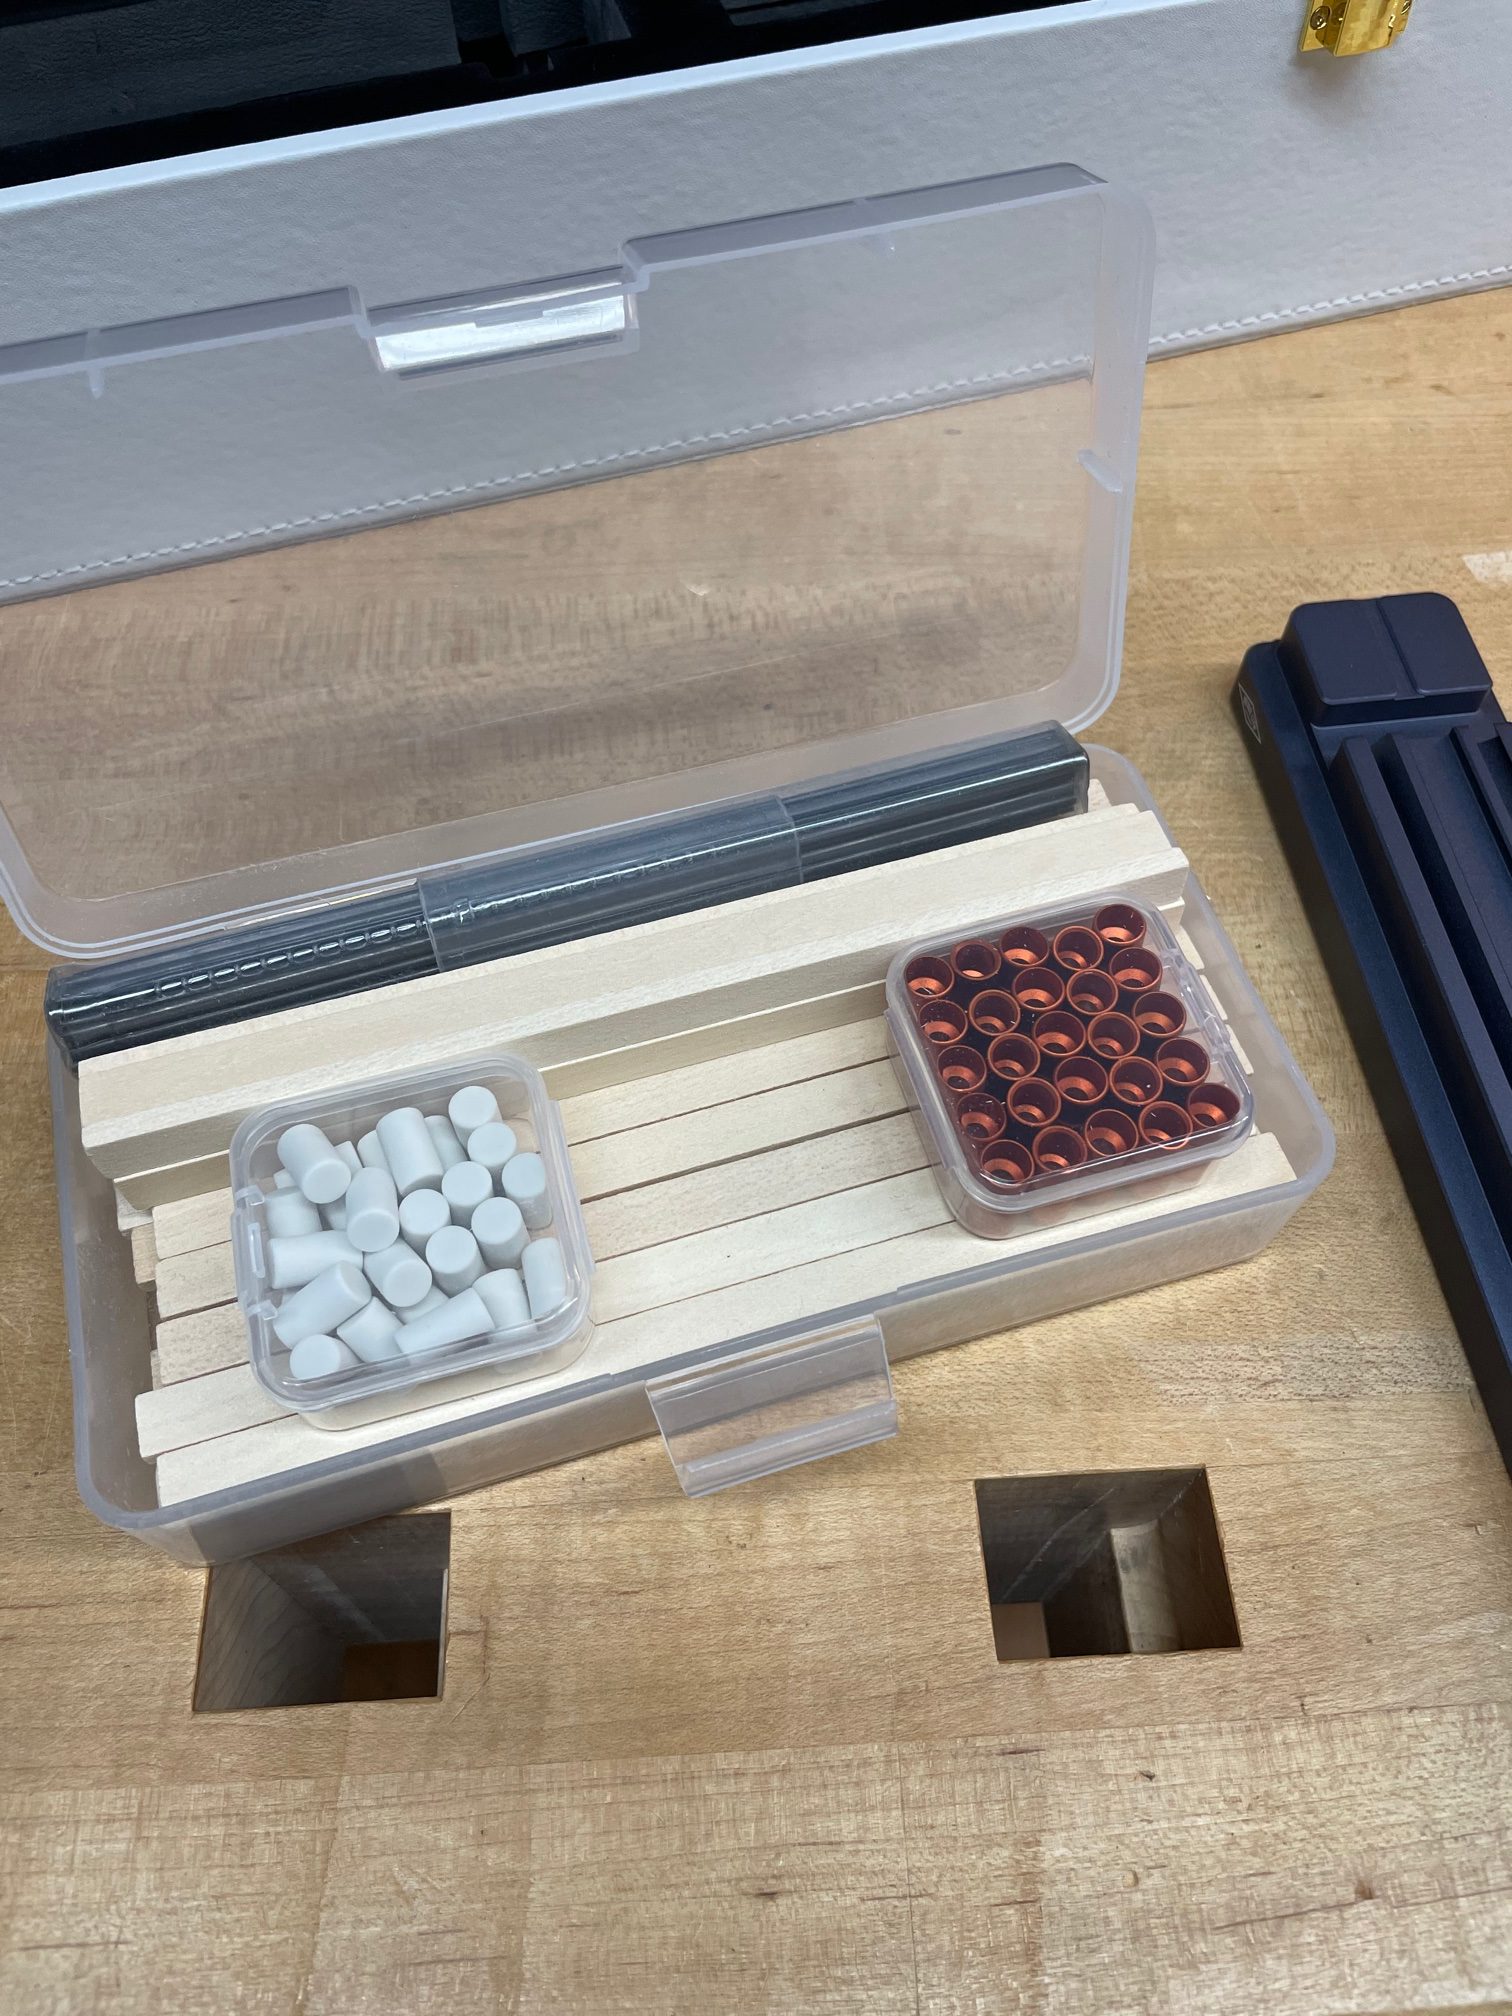
Now for the fun stuff! This is the view of the open case with the manual front and center;
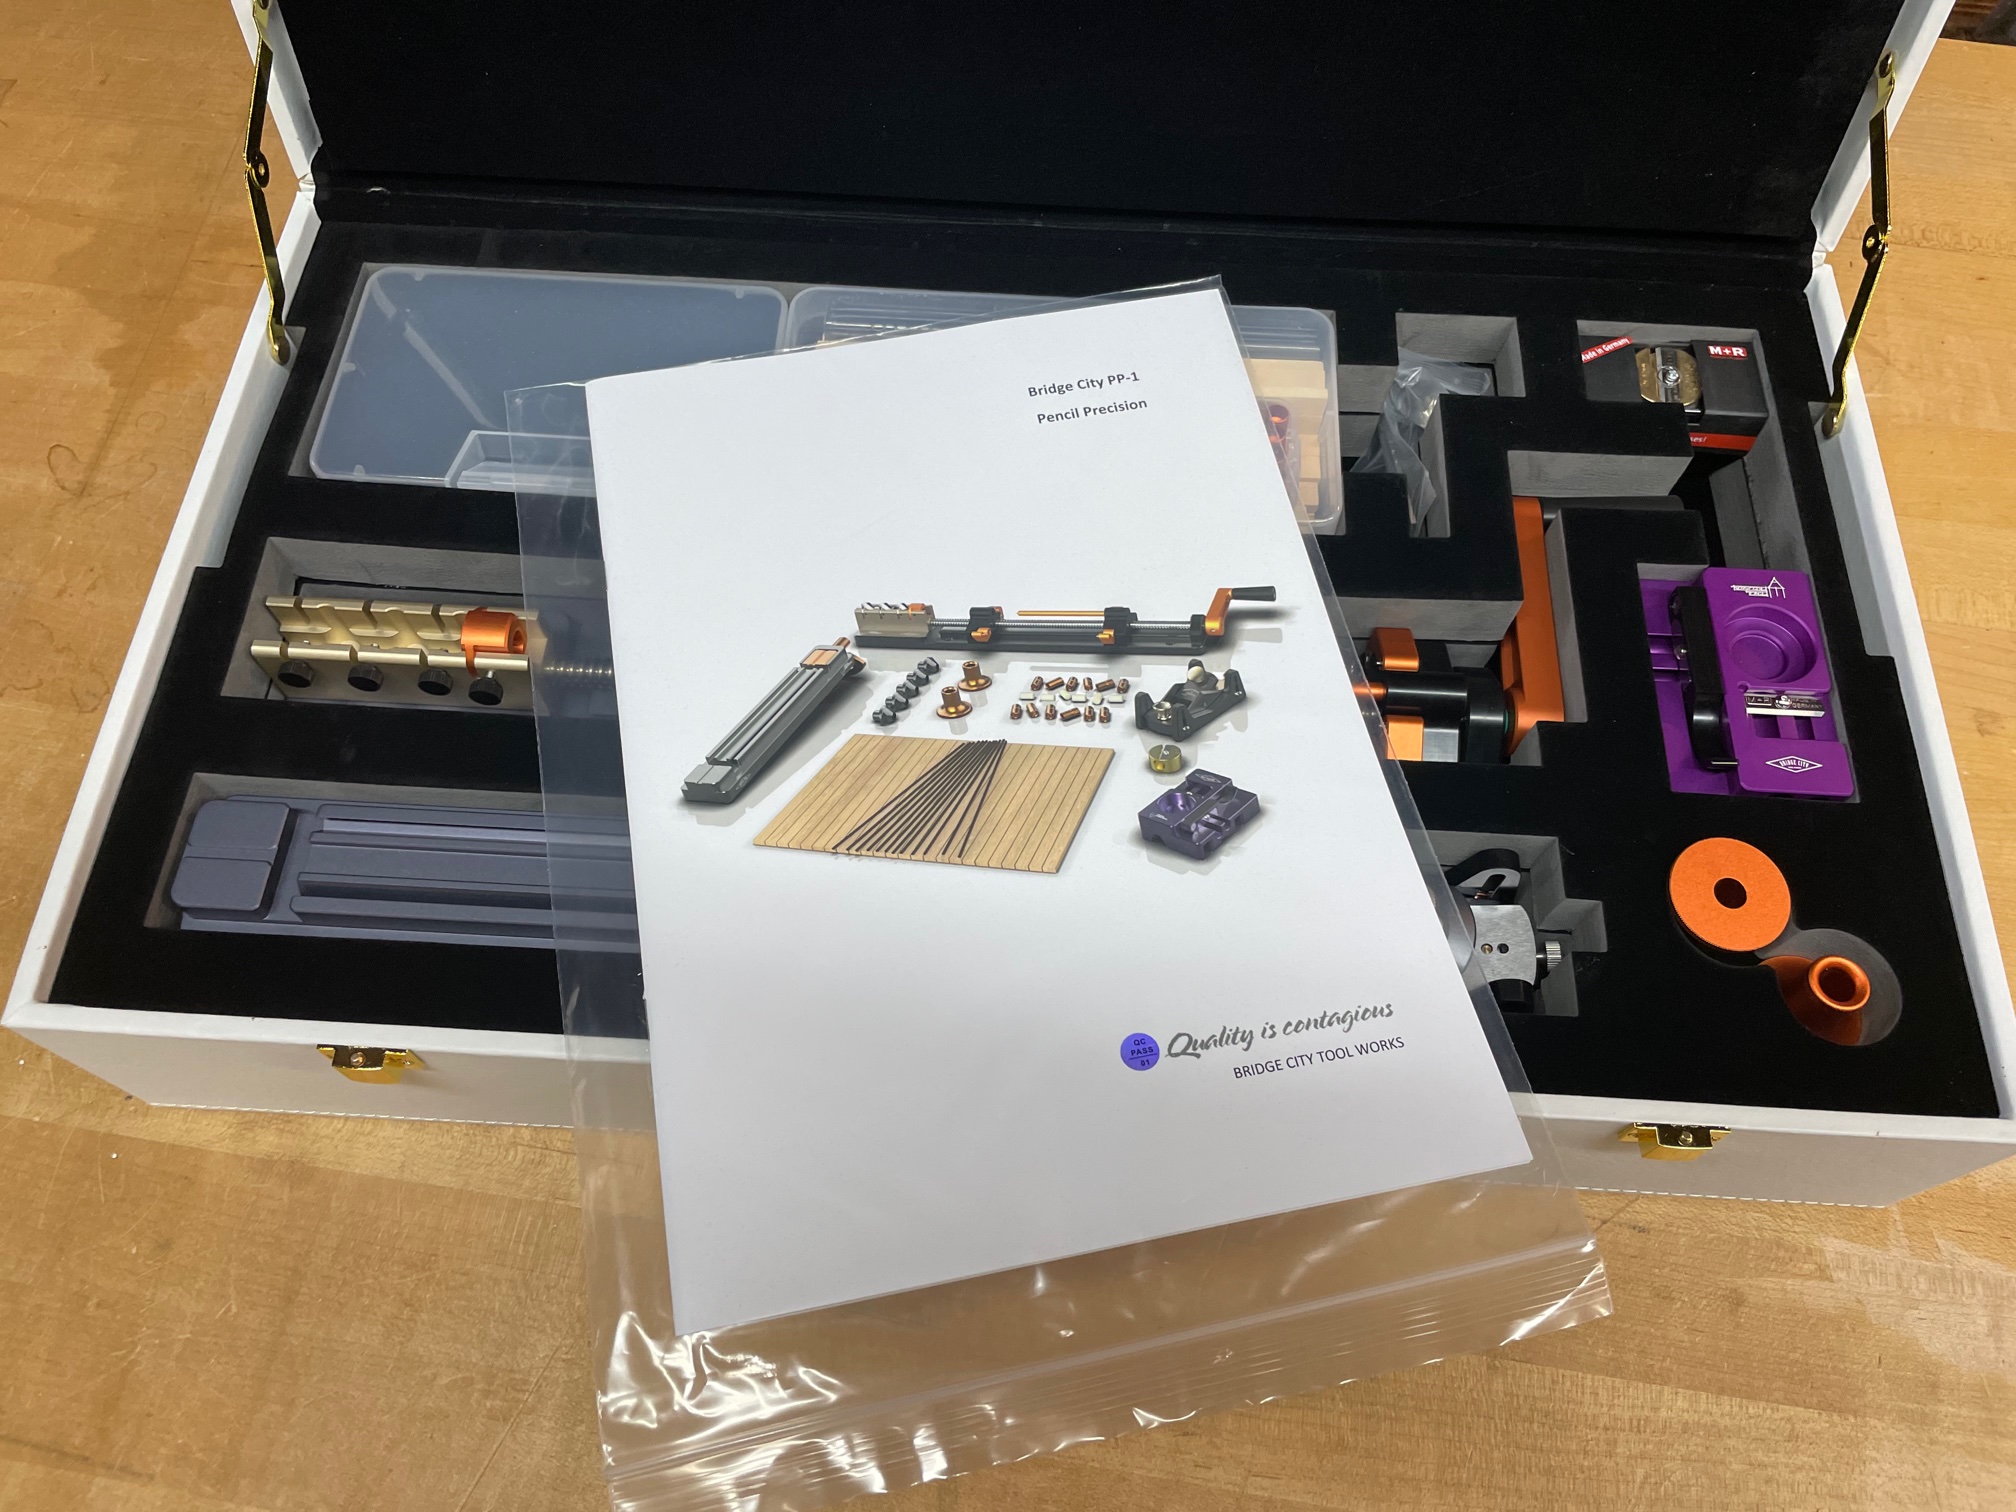
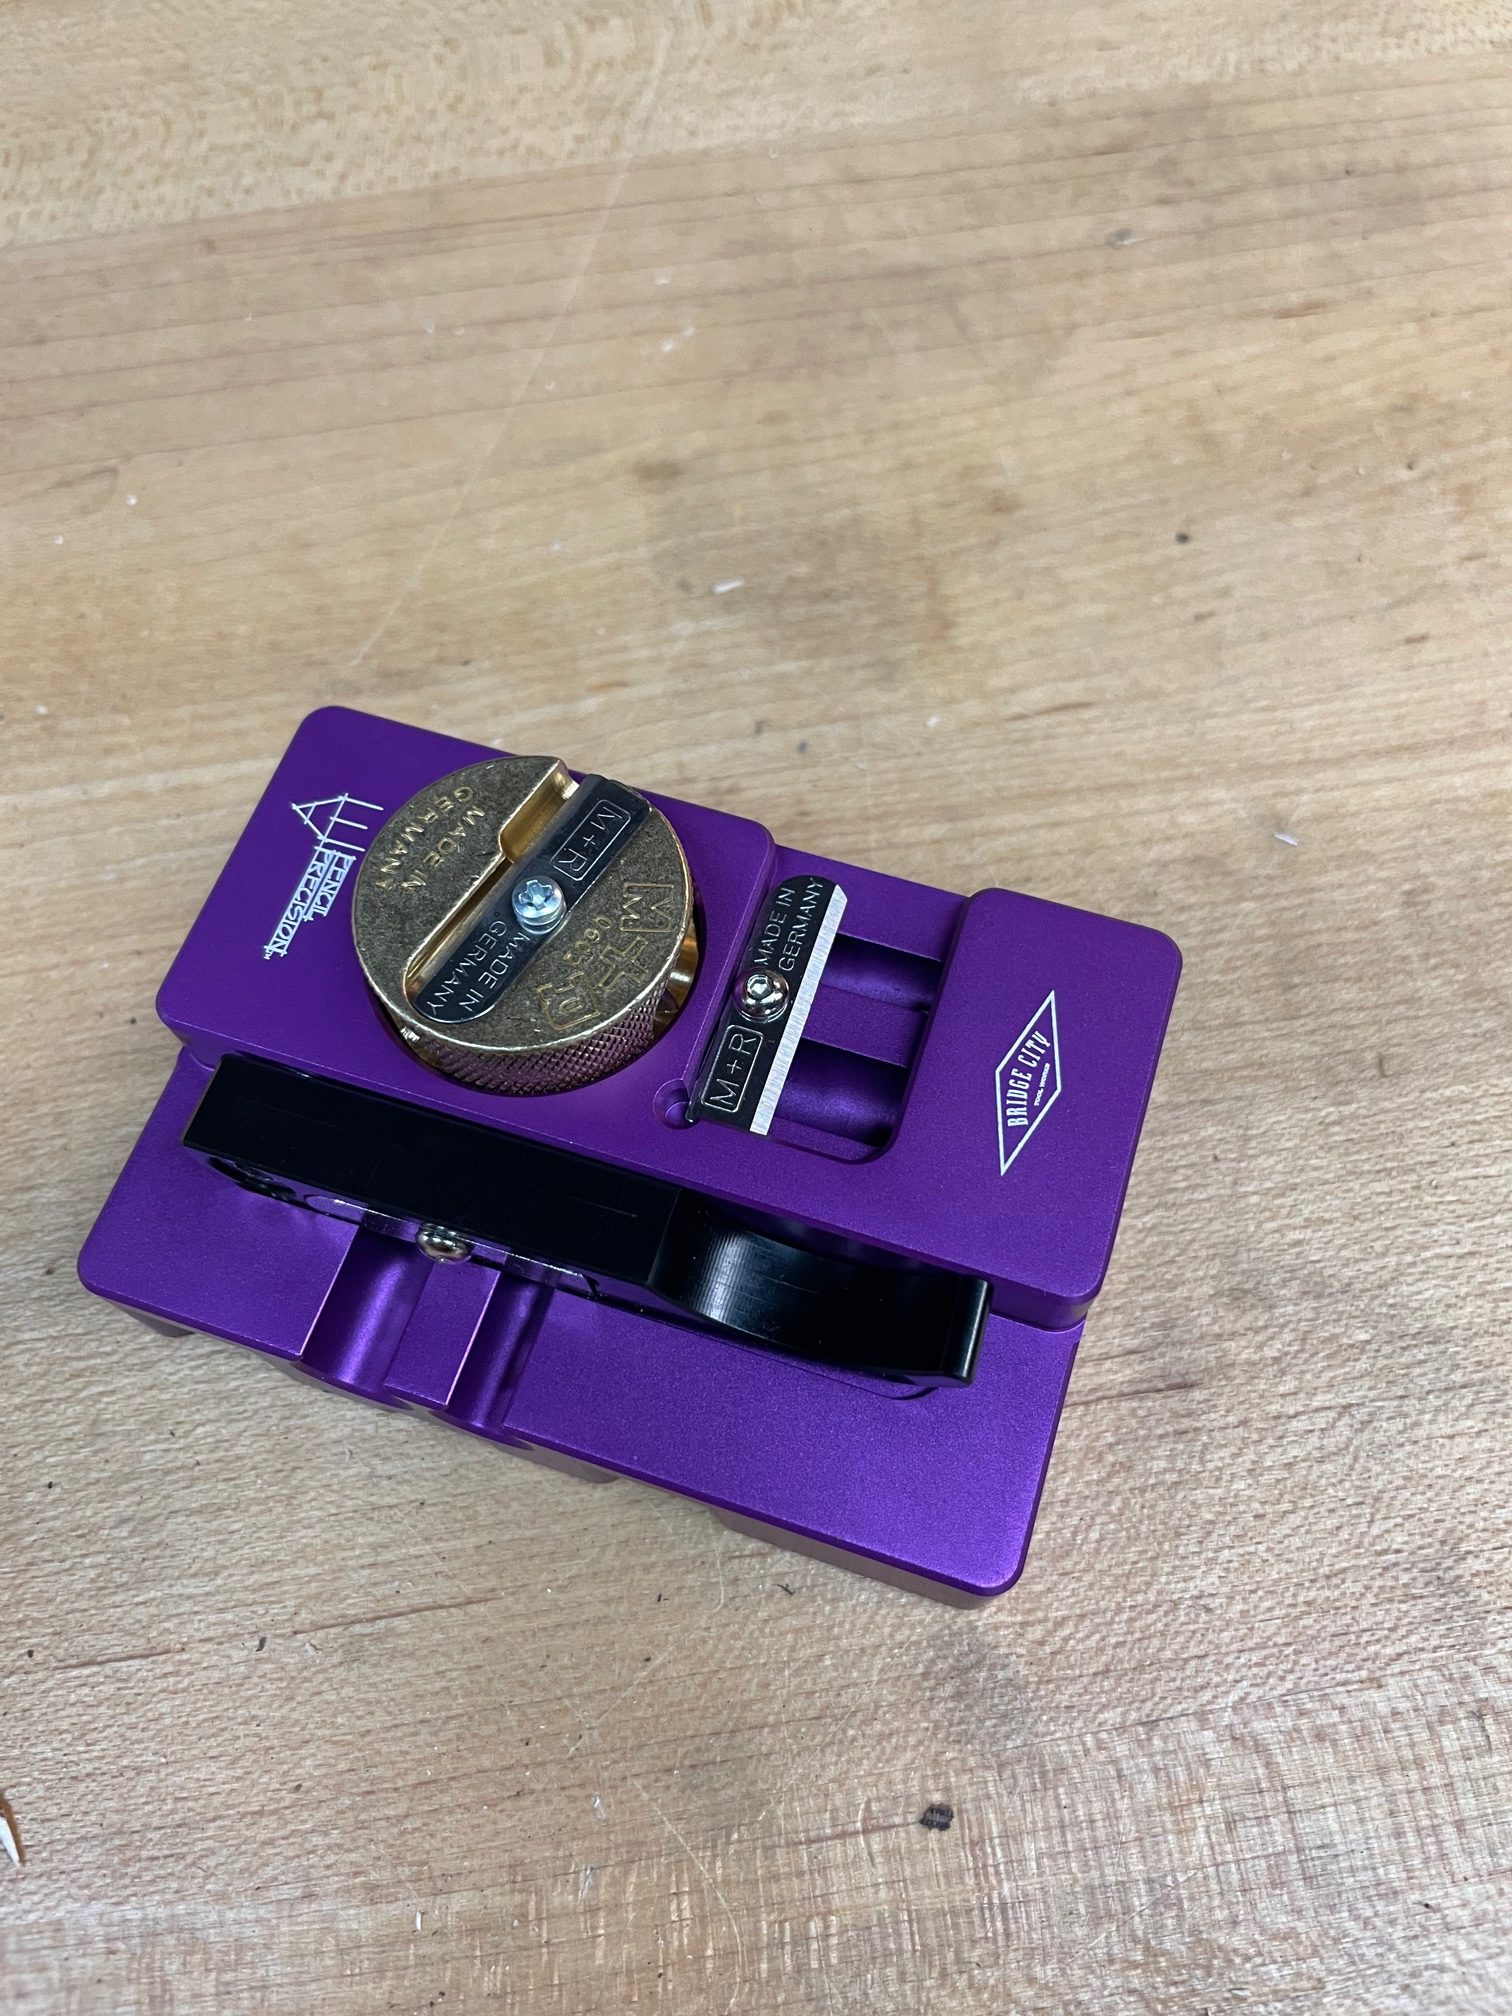
Starting in the upper left corner and moving clockwise you will find the plastic case containing the extrusion dies. A case containing the wood blanks, and three smaller cases which house the orange ferrules, the erasers, and the pencil leads. Next are the hex wrenches required and the German made solid brass pencil sharpener.
Moving down a row, and from left to right, you will see the extrusion unit and the purple ferrule cutting and assembly unit.
The third row, from left to right, contains the planing jig, the custom plane and the nifty little clamps which clamp the ends of the pencils tight until the glue sets.
Please note, what is NOT included is glue or sandpaper. This you will need to supply as needed.

The German made sharpener is boxed at the factory but once opened, is stored in a cavity of the ferrule unit;

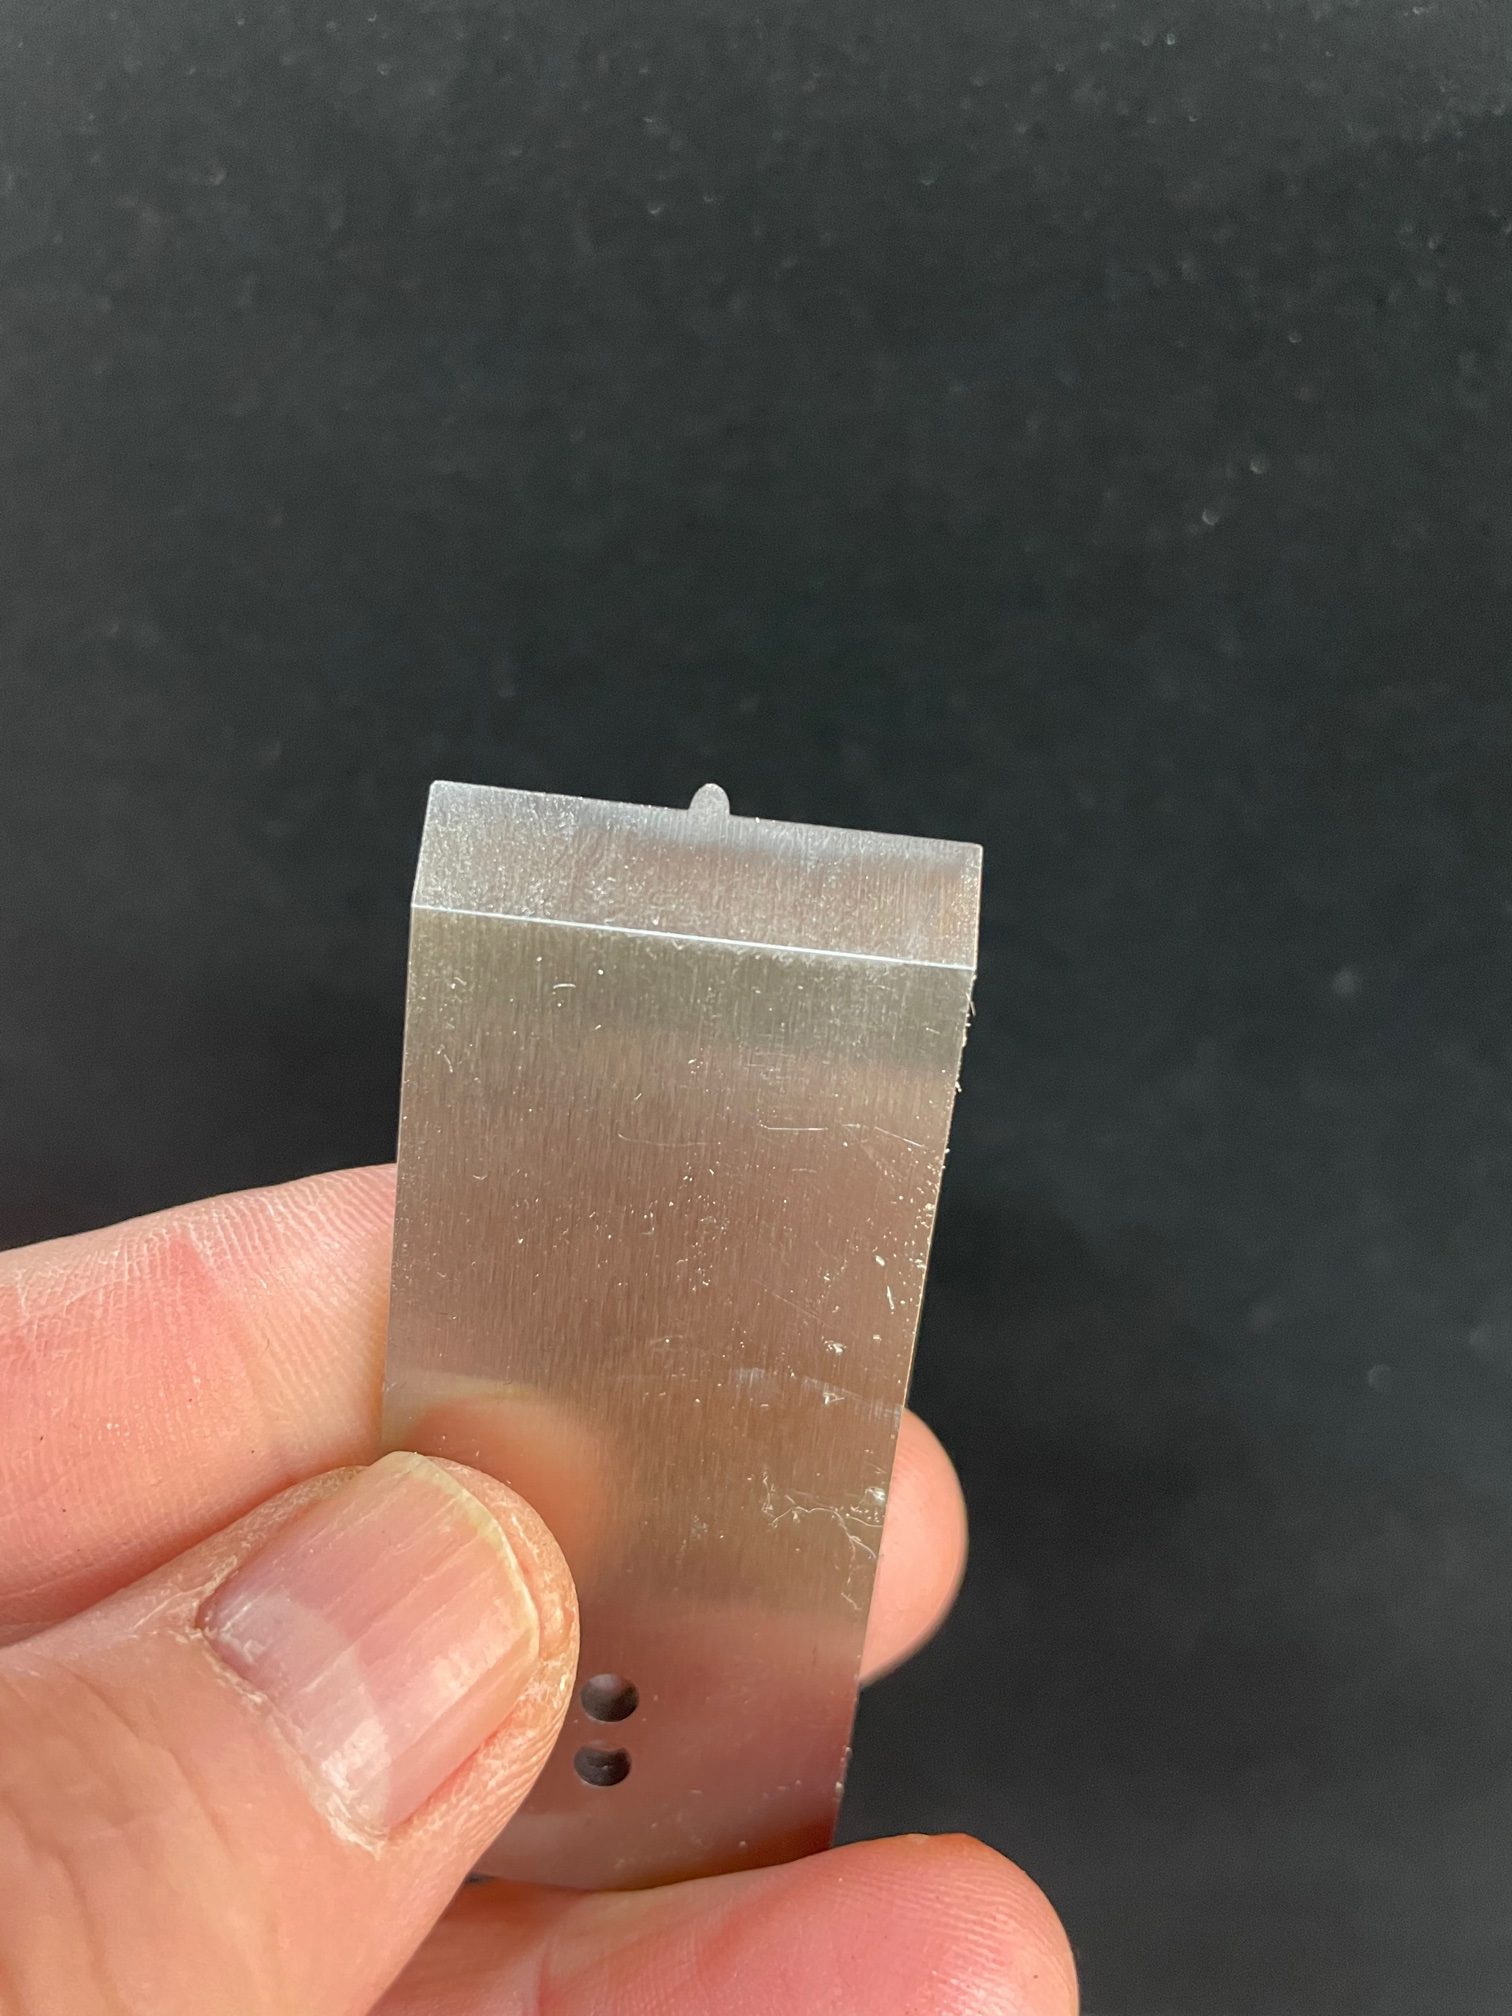
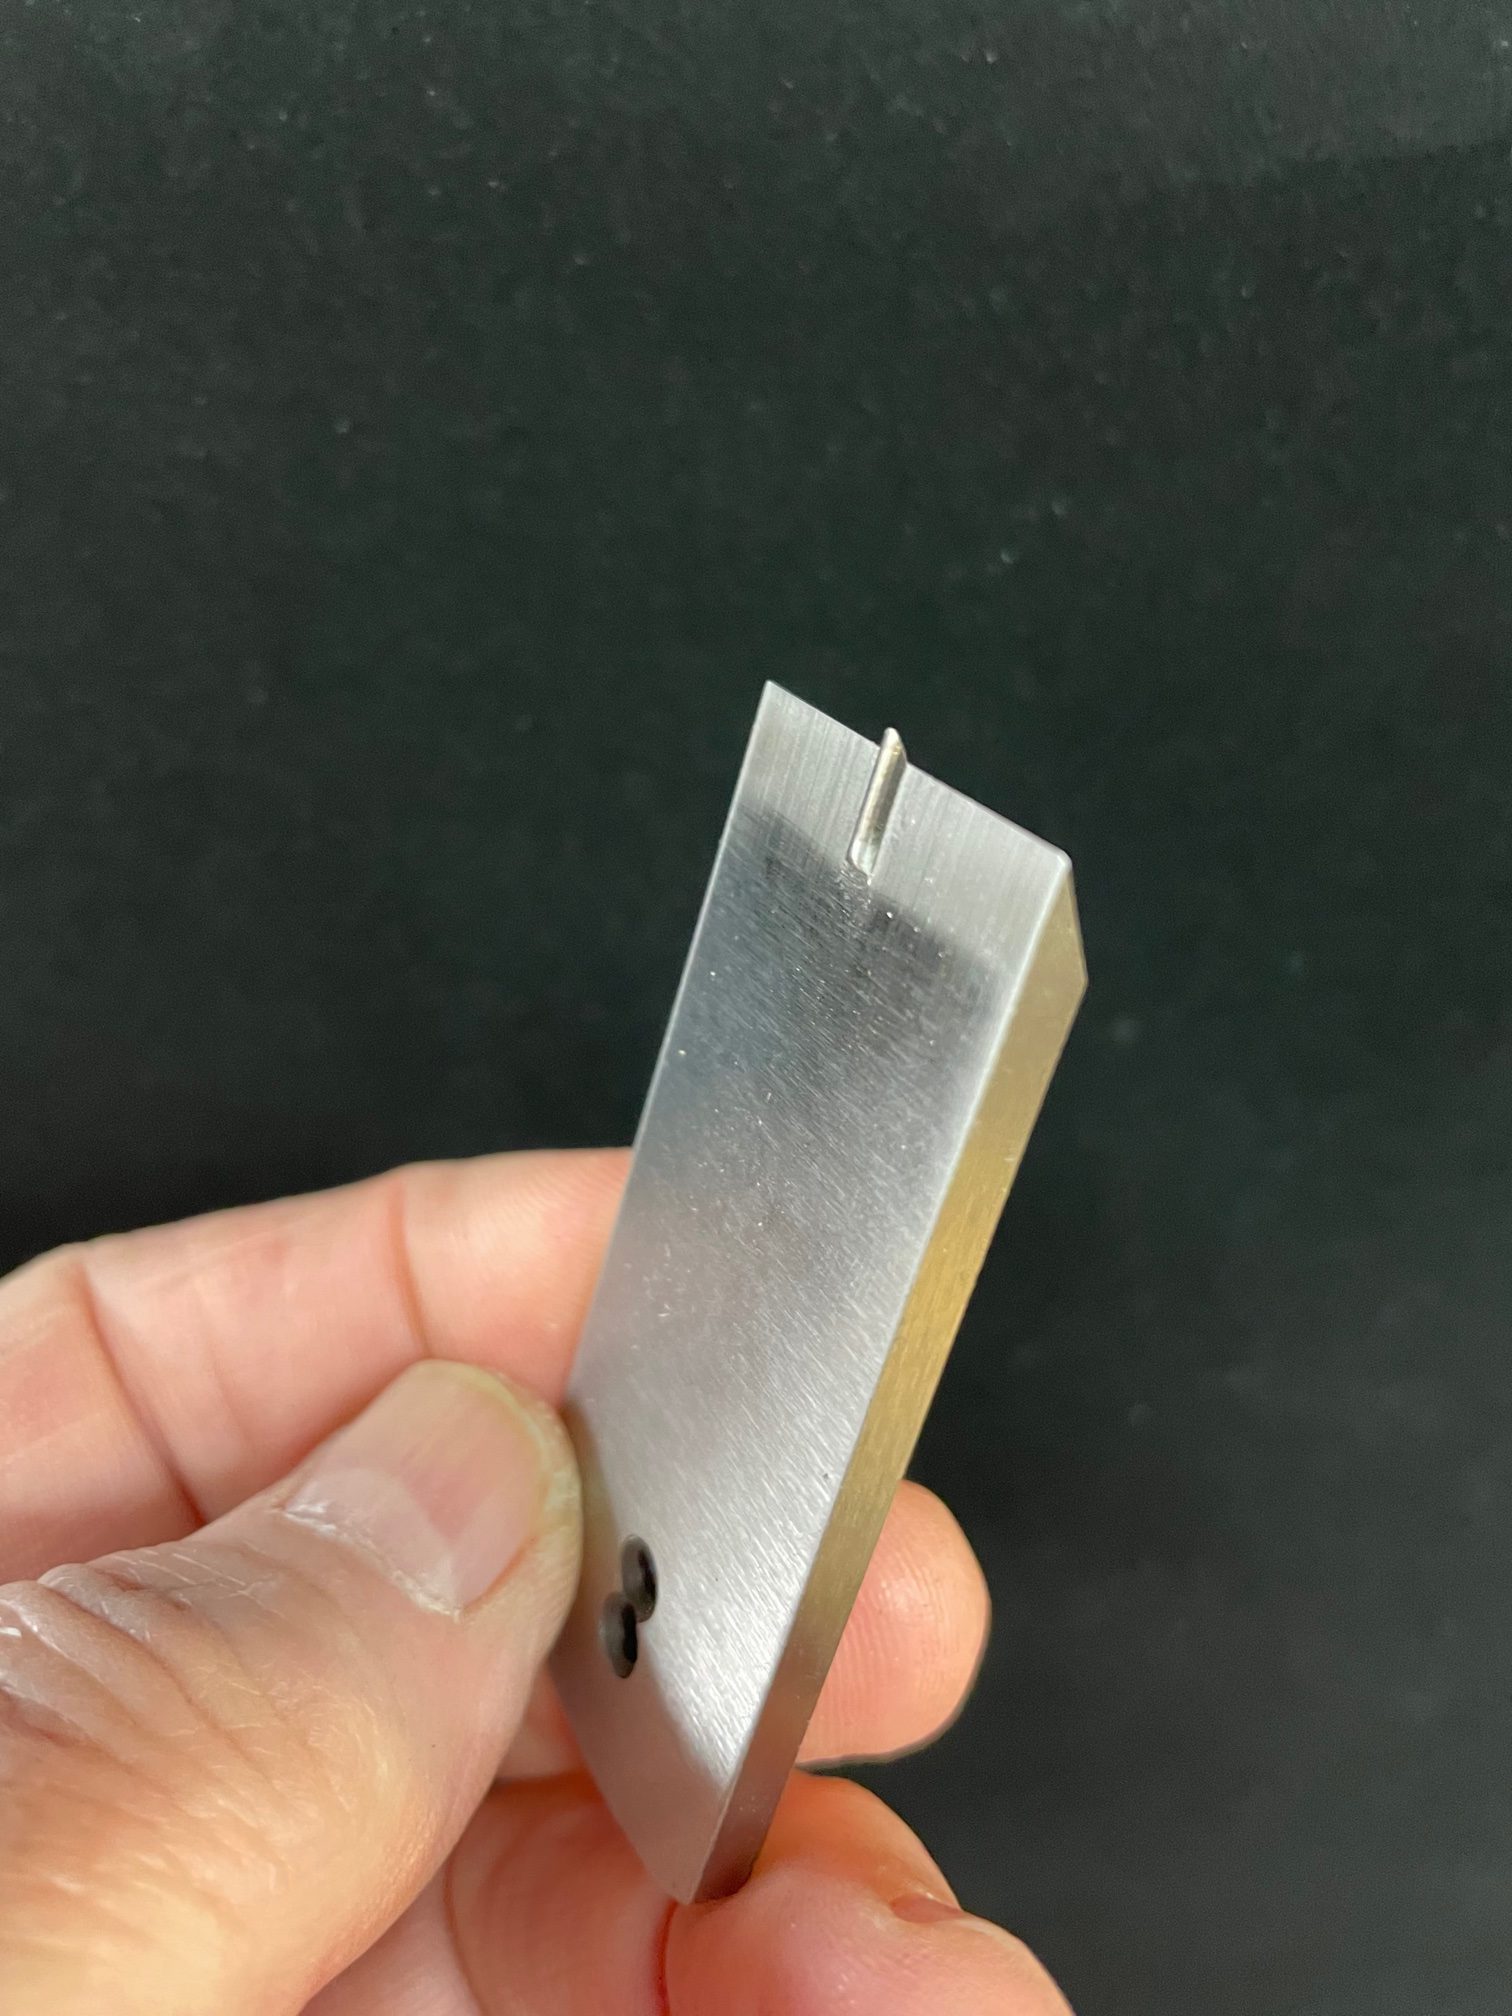
The included plane can only be used for making pencils, so that fact is now out of the way. At the heart of the plane is the bevel UP iron. This iron rocks because to sharpen it, you only need to hone the bevel…
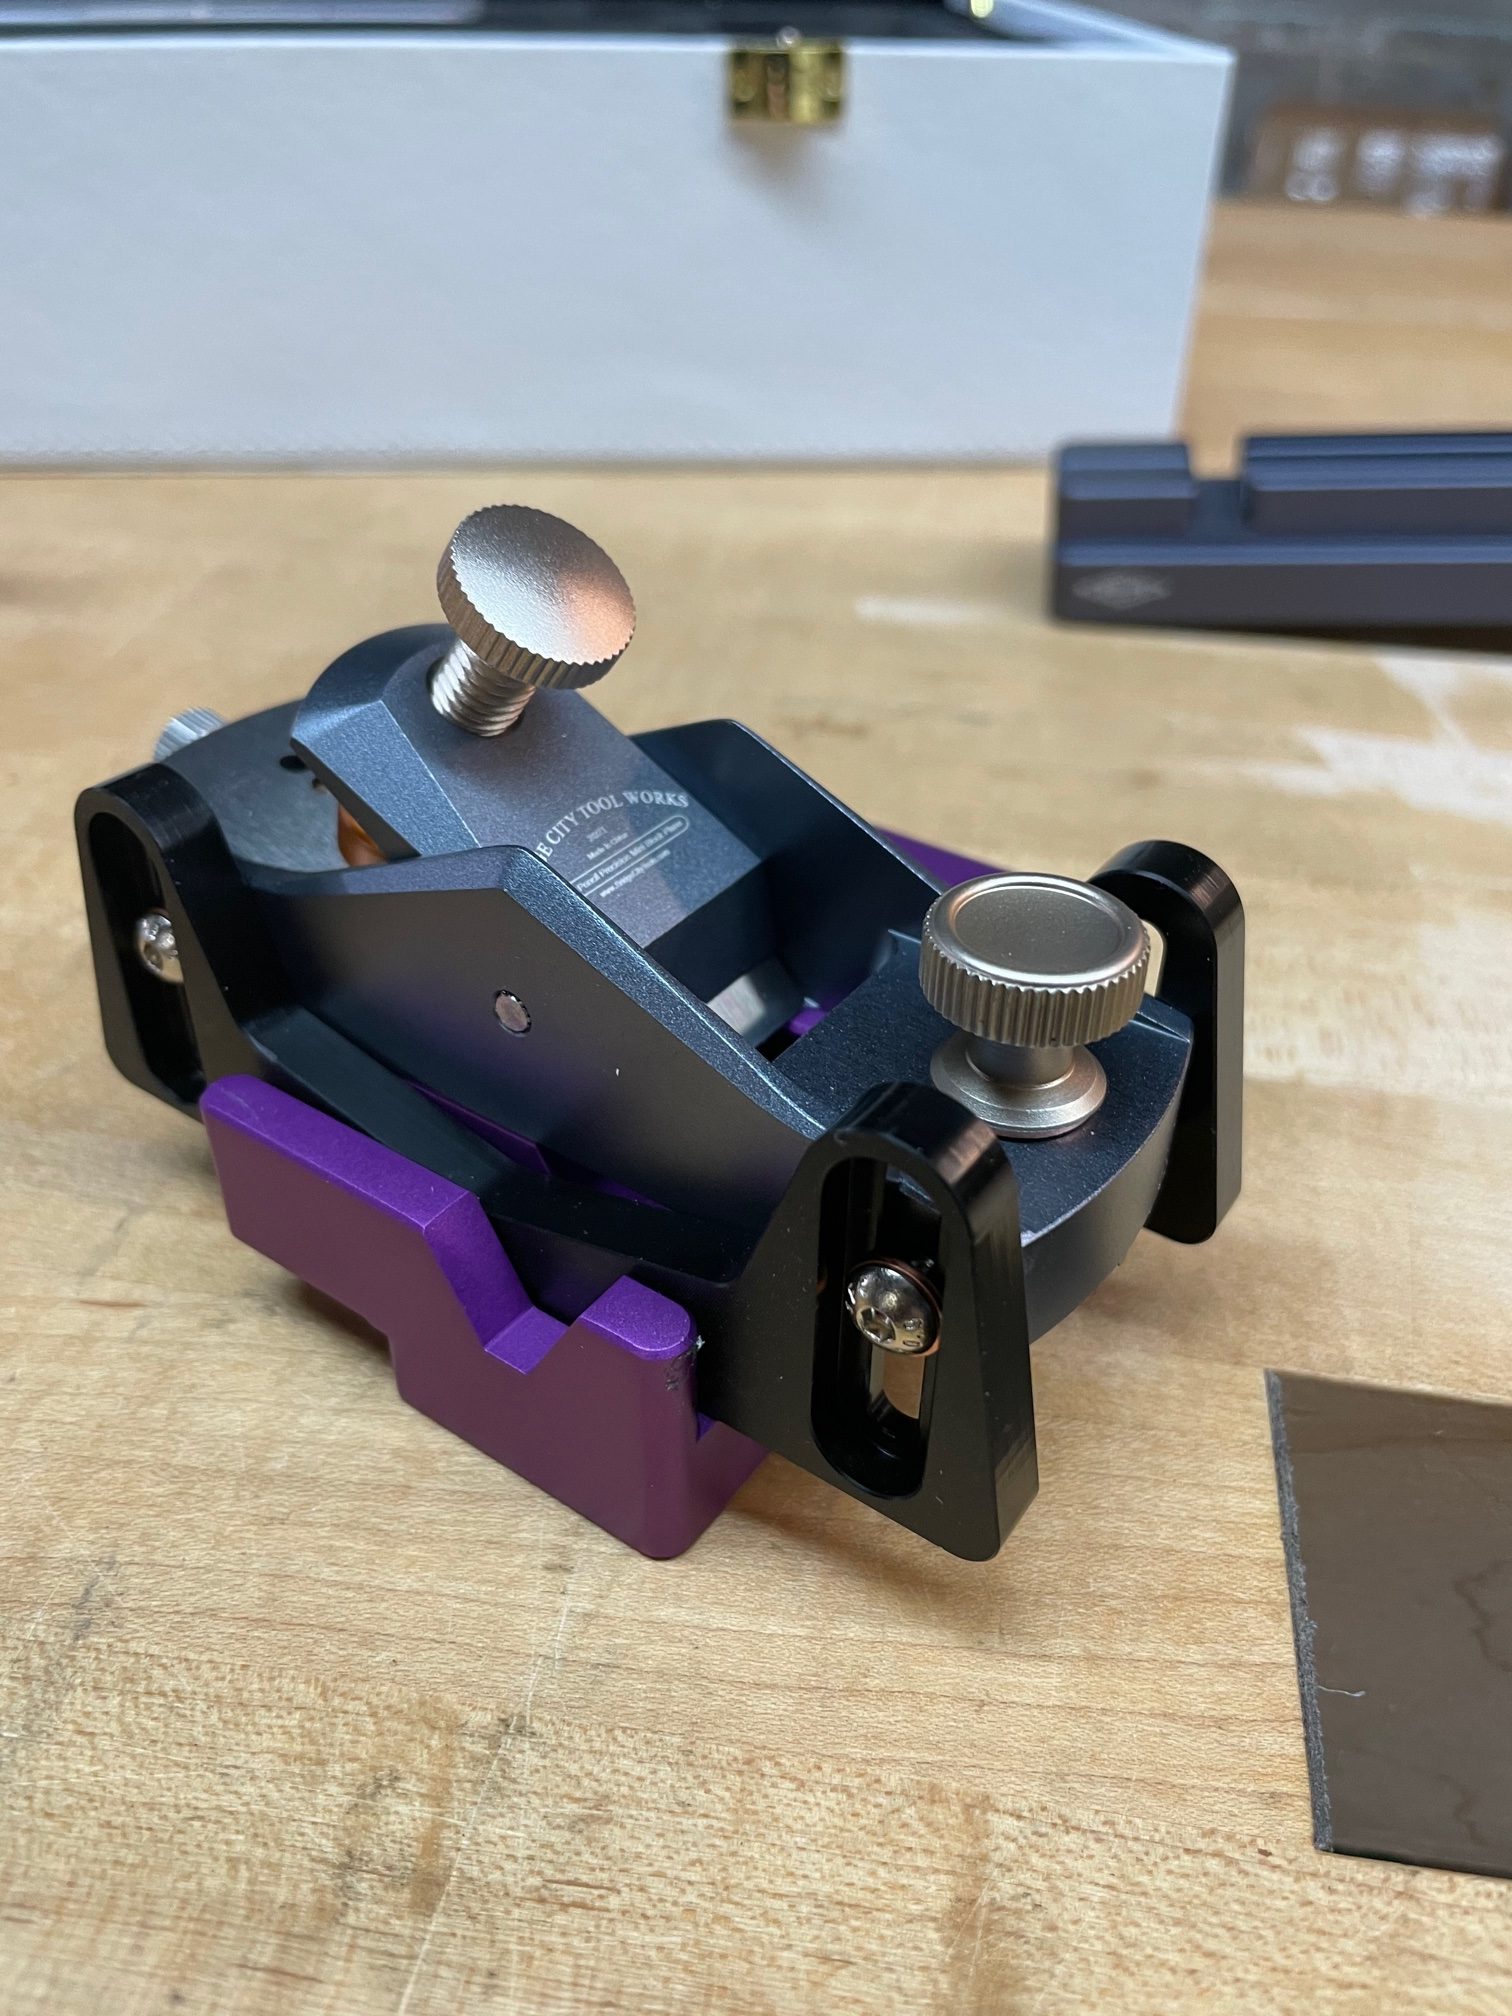
For those of you who have been following my tool design career, you know I am a huge fan of depth skids on just about every plane we make. Depth skids made the Chopstick Master possible, my Fog of War sculpture possible, and now, the Pencil Precision.
The first thing you must do (and I am going to ask if this can be done at the factory because it is a bit difficult) is set the depth skids to the correct depth. There are milled slots on the bottom of the ferrule unit to do this…
To make a pencil, you fetch two blanks, a ferrule, an eraser and a lead…
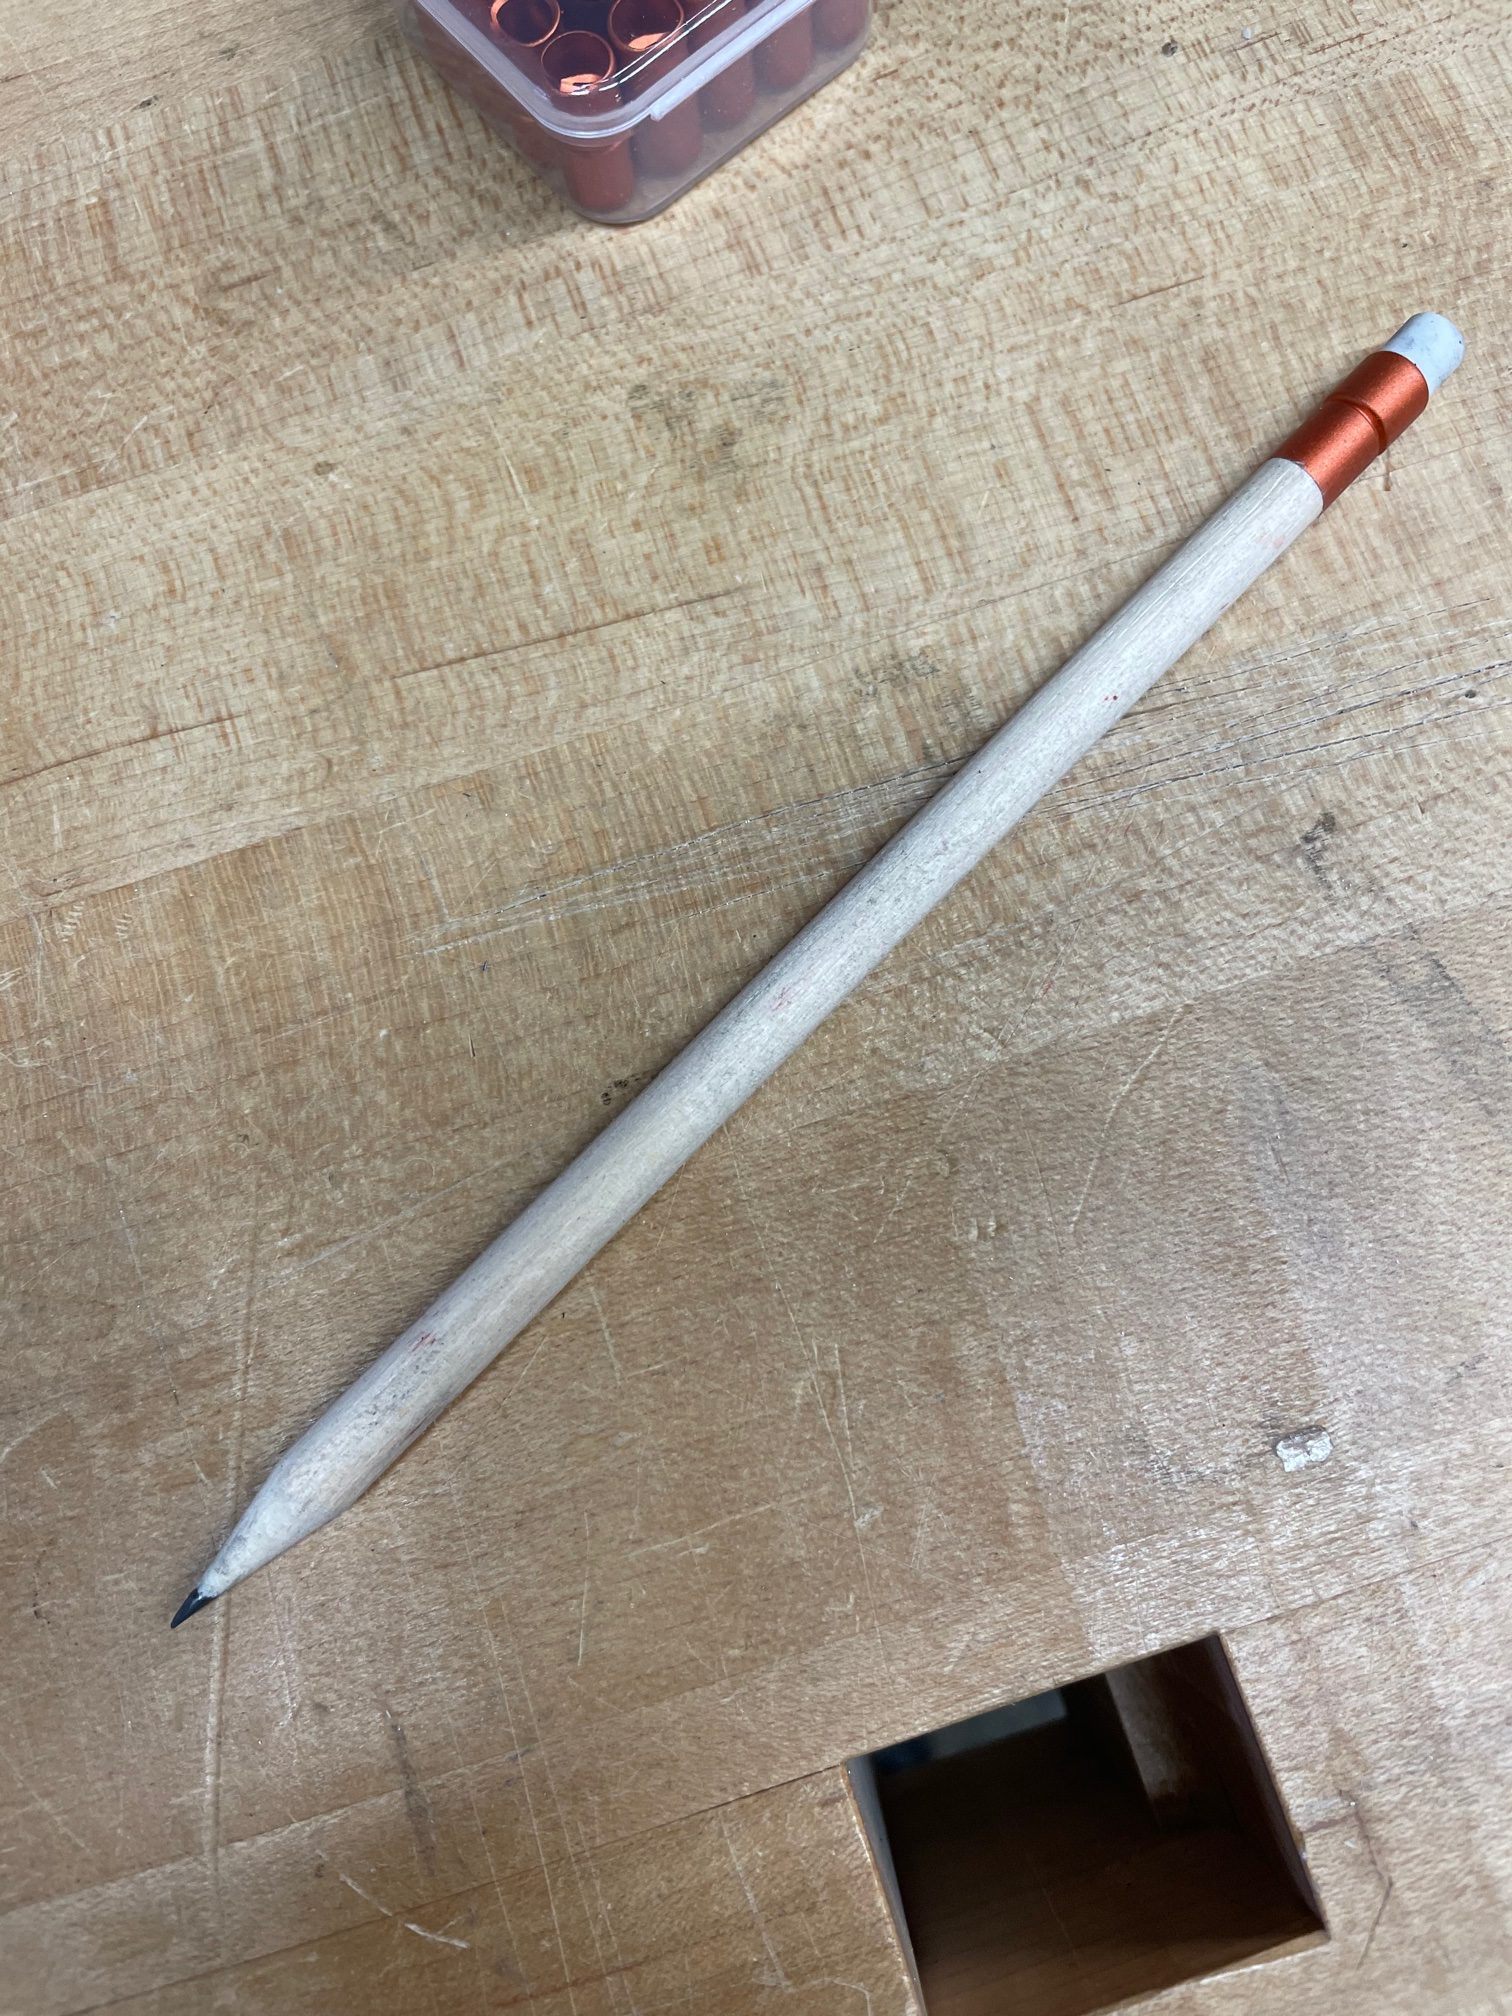
I am going to go into much more detail AFTER I see the video tutorials that are being produced in Nanjing. But in the interim I want to share that in all my years of making things, this ranks right up there in the work/reward department. Not counting glue set time, nor touch up sanding, or painting if desired, it took me less than 5 minutes to make a hexagonal pencil, which is the default profile when you make pencils. Round, beaded, and Releaux profiles are made by feeding the hex pencil through the extrusion unit with the correct dies inserted. The main reason I redesigned the unit after we put it on sale was my fear that the original design was not as kid-friendly as I wanted. It is now, and I don’t see any obstacles that would prevent an 8-year old from making professional pencils after making the first couple of pencils with adult supervision.
Below is the round, unfinished pencil I made this afternoon;
In closing, THANK YOU for your patience while we managed production of this unit while the company was being sold, a complete re-design after we announced the unit for sale, and the mess we call 2020. Your wait is almost over, and I assure you, you will not remember how long you waited after you start cranking out pencils. Literally.
-John
PS: Here are a couple more birdy pics from my recent trip to see my son in Texas…


Exciting – can’t wait to use it.
Chris,
It is so much fun — time to introduce the young ones to the joy of making things!
John
I know it’s not, but my first impression of the cardinal getting its beak wet what that it was perched on a crocodile’s snout. Amazing pics!
I wish! Thanks David.
John
What fun! I would love to see an 8 year old making a pencil – I bet they’d have a blast! Any chance of providing colored leads for making colored pencils?
It’s a very elegant-looking kit. I’m envisioning young people walking around town with it, going to a pencil-making party at a friend’s place. And maybe their Chopstick Master in the other hand, for eating takeout later.
Or maybe they would eat Chinese takeout with pencils. Who knows?
And, as always, WOW on your bird pics!!
Thanks Peter. I’m going to film an 8 year old neighbor making pencils this coming week.
– John
I like your chopstick maker but, on this one, I’d be concerned with sharpening the iron and ruining it.
John, looks like a wonderful tool just like your others. My problem is that I have made a large order of various tools , my money has been taken but I have received no indication of when delivery can be expected desite several emails without reply. To make matters worse there has been further discount on some of the tools before mine have even been dispatched. The customer service does not live up to the quality of the tools. I know that this is no longer your issue but pointing this out to you was thr only way I could think of to try to get a response. All I want is my tools delivered at a fair price so that I can get on with my making! Surely not too match to ask. Keep up the good work designing more fantastic tools and taking those wonderful bird pictures. Kind regards Paul H (UK)
This is the easiest iron in the world to sharpen — simply hone the bevel.
John
John
The tools are on their way to me and the extra discount has been applied. I can’t wait to start using my JMP and the HP9 along with various marking out tools. My faith is restored and looking forward to purchasing the drill centre device when it is released! Thank you
Thanks Paul!
The quote at the beginning of the blog page came from Alan TURING, famous mathematician and arguably the father of what we today know as the computer, not Alan TURNING (he didn’t make pencils 😉 ).
Hello Mr.John, I just got into learning about and doing woodworking and I think your tools are amazing. I was wondering if you had any extras of the older ones you would be willing to part with? I know people probably ask you that a lot, sorry to be a bit redundant but I have to try. Thanks for making such beautiful & functional tools!
John I am a bit confused. I received a call from Consuelo as you indicated would happen a few weeks ago. I gave her my updated information as requested. I have just received an email message from Bridge City requesting the same information and indicating that I will need to pay a balance through them when they notify me that they are ready to ship. Who is taking the lead in this Consuelo or Bridge City.
Hugh
*Turing, only one “n”
Oops! That is that damn spell check, my mistake. Fixed.
John
Leonard,
Whenever I find a tool in our prototype shop, I post it on eBay. FYI.
John
Hugh,
Sorry for the confusion, this is complicated.
I lured Consuelo out of BCTW retirement to notify all of the BCTW customers with Pencil Precision on order to update address and payment info.
Since I/we no longer have the ability to process credit cards, that will all be done out of the new BCTW headquarters in Montclair, CA. We are working in tandem to insure everybody gets what they ordered and for the original purchase price.
It is awkward, but rest assured, we will get through it !
Best,
John
Hi Guys,
I’ve just received my Pencil Precision Kit and I have to say that it’s wonderful!
Beautifully crafted tools working together to create amazing pencils with lots of room to be creative, my kids love it too!
The only thing I found a bit annoying was that the blanks were all too thick to fit into the two angled slots for the planing to make then hexagonal. Luckily it happened I also had another beautiful HP8 that I used to plane flat (with no central groove) the blanks taking away 1/16 inch so they could fit into the angled slots 😉
I understand it is quite difficult to have any control on how humidity and other factors might interact with the wood of the blanks so here is my suggestion for next iteration of the PP1:
– making the rails of the planing tool adjustable so they can compensate for any change in size of the blanks due to humidity/temperature
For example my set of blanks was way too thick but at the same time they were all too slim longitudinally to be held firmly in the middle so despite my best attempts to tighten the knob keeping them carefully in the middle when I went to plane the central groove it was carved slightly diagonally. Not a big deal but if the rails were adjustable they could compensate for both issues.
Overall it is great fun for kids and adults and another successful example of John infusing another tool with… magic! 🙂
Alex-
Glad you like the Pencil Precision! Regarding the blanks being too thick, you over analyzed the issue. All you really needed to do was increase the cutting depth of the iron when you made the pencil grooves. This step both makes the groove and sizes the blank for the beveling operation.
-John