Teacher, Mentor, Friend…and now he is gone.
Sam Maloof passed away this past Thursday at his California home. At the moment all I can say is that my life has been blessed ever since our paths crossed 31 years ago. I am sure there are thousands of woodworkers and patrons who share similar sentiment… Today is a tough day.
On behalf of the Bridge City family, we extend our heartfelt sympathy to Sam’s family, friends and crew.
I am proud to say that I have never met anybody who touched as many people as Sam. His absence is beyond my feeble words.
Blessings and Peace Sam.
–John
Behind the Scenes
Behind the scenes at Bridge City Tool Works!
CSI: Wood Victim
May, 1st, 2009
This is a story of betrayal and deception. And it could happen to you.
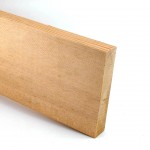
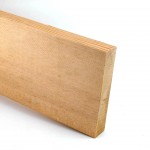
I rarely am seduced by wood but the Douglas fir plank pictured below has a lot in common with Benjamin Franklin–I traded a piece of paper with Ben’s picture on it for this board.
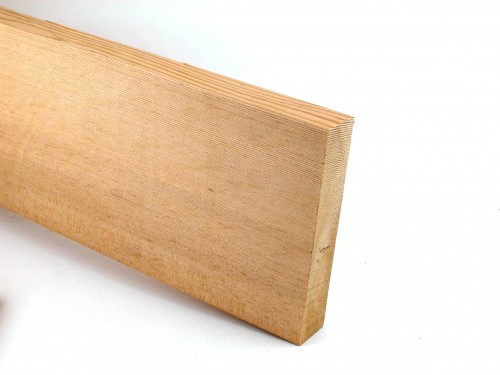
It was an eight foot long S4S two by six and finished out at 1-1/2″ thick. With my discount it cost me $82 bucks–now this board has something in common with George Washington too. Not bad for a board with secret.
A friendly clerk took it into a back room and hacked it into 24″ lengths, a free service that allows the boards to fit in my car and are just big enough so Louie dog would not declare them chew toys–my life gets complicated at times.
Back at the shop and with one board firmly clamped in a vise, I took a swipe with a bench plane and the surface was like….(insert cliche here)…glass! All I needed was one more pass to clean up the entire edge.
Yikes–the last pass created ridges that any experienced woodworker would recognize as a nicked iron x 100. Out comes the iron and I thought to myself, this iron has to be defective because there is no way Douglas Fir is more abrasive than teak (which everybody knows is a hybrid wood made of stone and some kind of petrified brown grass.) Furthermore the nicks were HUGE.
The iron checked out to be hardened (a file skipped across a corner) so I sharpened it and went back to work. One pass, and it was awesome… the second pass was trash. Great. Now I have a mystery to solve. It would have been more fun if I had a hot assistant (As Seen On TV!) to help guide my thoughts.
I needed more wood, a different species of course (quick learner here) because I was running out of time. While I was perusing the lumber stash, Carl, my favorite resource for obscure wood knowledge ambled by and we started our ritual chit chat. When I mentioned my experience with the Douglas Fir his eyes went straight to floor– looked like Louie dog when caught chewing one of my shoes…
“Oh, somebody should have told you about that wood.”
“What about it?” I asked.
“We got a really good deal on that stuff–the timber crews had to get special carbide tipped chainsaws to cut the trees. We don’t know how to work it without wrecking tools.” After a few awkward seconds of silence, Carl asks,
“You want some more?”
“No.” I replied. “Where did it come from?”
“Off the side of Mt. St. Helens–the profit margin is awesome–can’t believe nobody wants it but us!”
I did a little further research and learned that the pyroclastic flow of pumice and rocks and steam and mud was traveling around 400 miles per hour when this tree got in the way. Unbelievably, the finer particles penetrated the entire tree.
“Thanks Carl–see you in a couple of weeks.”
Case solved.
–John
The Newest Tool from Bridge City Tool Works
April, 23rd, 2009
After the JMP went into production about 9 months ago, I set my sights on the next silent woodworking tool. My goal was to create a tool that would allow users to do gallery quality work with as little effort as possible.
Some of the things you are about to see you likely have never seen before. Actually, neither have we.
As always, your comments are welcome.
–John Economaki
PS: This may not be up on our website yet, but the DJ-1 is a “make to order” item requiring a deposit. Cutoff for ordering is May 20 and delivery will be 6-8 weeks later depending on volume. Afterwards, we will begin a new wait-list similar to the one now accruing for the second run of the Jointmaker Pro.
A little bit of “How” for a really cool “What”…
April, 16th, 2009
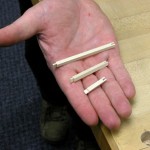
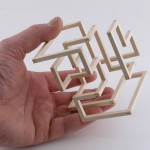
The project I am going share came from a ¾”x ¾” x 18” stick of Eastern hard rock maple—and I only used half of the stock. It was made entirely without electricity.
All four faces of the stock were hand planed and I tried my best to keep them square…more on this later.
With two lengthwise rip cuts (used our JS-7 saw) I had two strips 18” long approx .21” thick. These two strips were ganged in a vice and I peeled off four .21” square pieces. Each piece had two adjacent faces planed smooth, all I cared about was that they were bigger than 3/16” square—my target size.
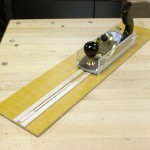
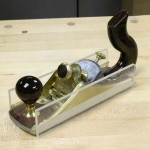
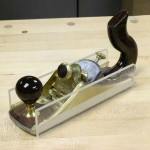
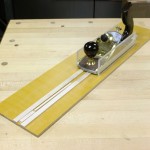
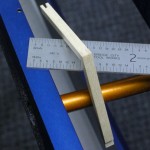
The little system below consists of a base material (I don’t know what it is) and some scrap maple. Took the plane over to our table saw and put two small pieces of 3/16” acrylic on the table and rested the nose and heel of the plane sole on these height gages. Using double stick tape, I fixed two acrylic skid plates to the sides of my plane flush with the table saw top. The “gap” was 3/16”. Actually, this whole setup relies on double stick tape.
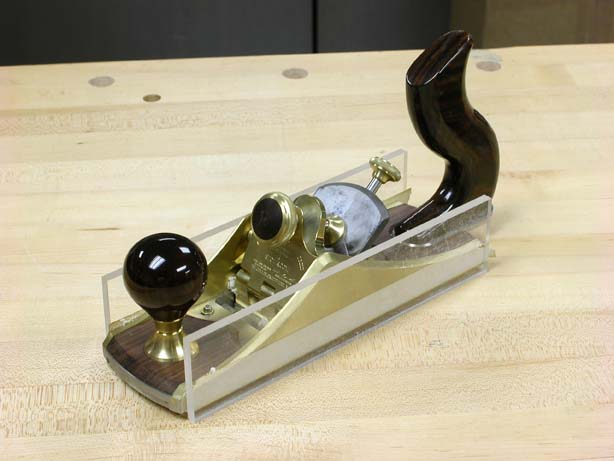
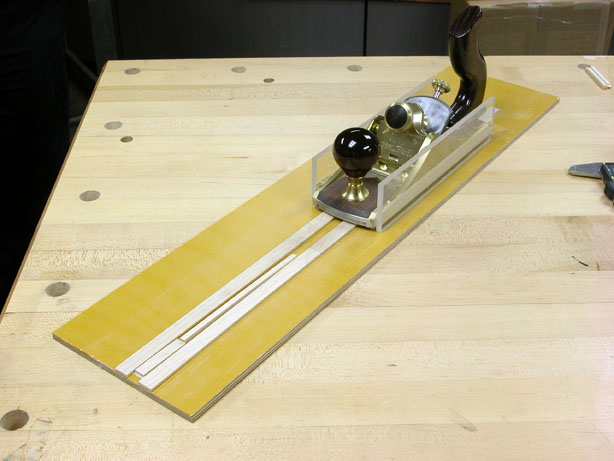
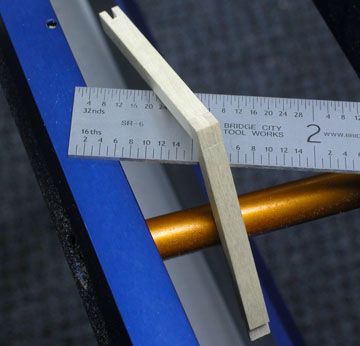
Each stick was placed in this little jig with one good face down, and the sawn faces were planed parallel (you know you are done when the plane quits cutting). The stock needed to be dead square so I took great care to make sure the iron wasn’t skewed. And then the strangest thing happened…
The gap in the fixture that traps the stock from side to side was approximately ¾” wide (I didn’t want to wear the iron in only one spot). I noticed when I began to plane that these little sticks bent (front end of the stick hits a stop) from the cuts. And yet, all four sticks came out dead square!
Apparently, the bend in the stick somehow kept my top surface perpendicular to the sides. I don’t know how this works, but I have done this enough to know that it works. Others smarter than me can chime in if you understand what is at work here…
For those of you that understand the concept of “tolerance stack”, this project was a disaster in the making if I could not control my net sizes. Check this out, after tweaking the iron just a bit, my sticks ended up between .185 and .1865—every one of them. This little planer works fantastic. If you think I am crazy to work to these tolerances, you are selling yourself short…
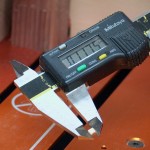
For this project I needed 34 pieces of wood, 2 needed to be exactly 3.406” L, 11 needed to be 2.33”L, and there were 21 pieces 1.26”. Using the Jointmaker Pro and digital calipers, the pieces were cut, plus a bunch of extras. The net length of all my pieces all were within two thousandths of an inch. This isn’t bragging, the project is not doable without this precision.
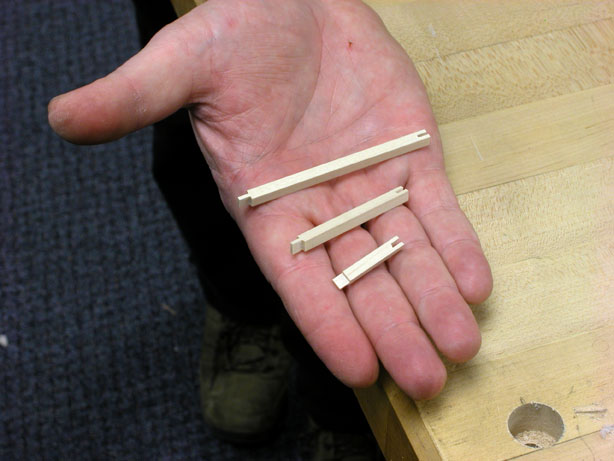
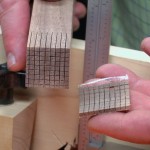
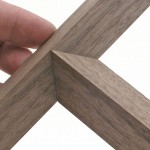
The only joinery were corner bridle joints–lots of them. Each stick had a male and female end. The males were cut first. I spent about an hour on setups and about 5 hours to cut all the joints. (The females took the longest [duh] because after the shoulder cuts I nibbled out the center with multiple passes.) Great care was taken to make sure the depth of each cut was perfect—there was no way to clean up the joinery after assembly so I needed net perfect results.
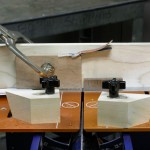
 Not a fancy setup–notice the paper shim on the left to kick the reference face square–all of this was scrap stock.
The little business card strips on top were flip-down shims to nibble out the center portion of the bridle. The scrap dovetail piece had a piece of sandpaper on the end–my fingers got sore holding these little pieces without help. Lastly, there are two rulers stuck to the tables so my parts did not fall through the gap between the tables.
With much care, the setups were finally confirmed.
Once the joints were all cut, I waxed the faces of each stick—this is the only finish required for this project.
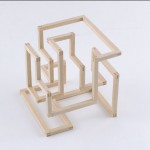
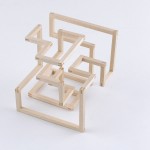
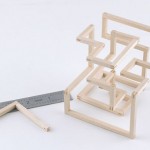
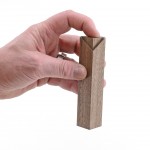
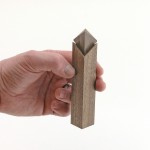
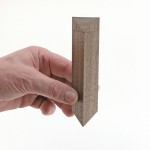
Next, I started assembly. So for this project I was fighting, stock cross-sectional tolerances, length tolerances, joinery tolerances, assembly tolerances and glue. The results bring a smile to everyone who has had a chance to hold it….
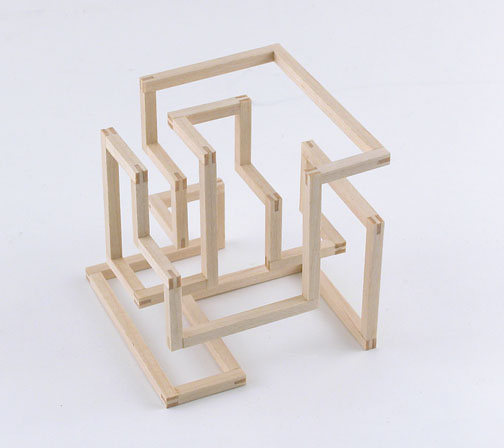
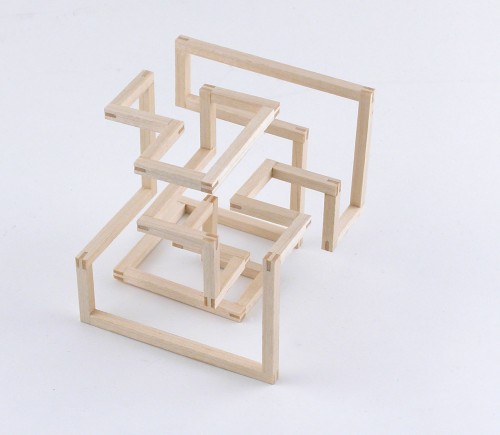
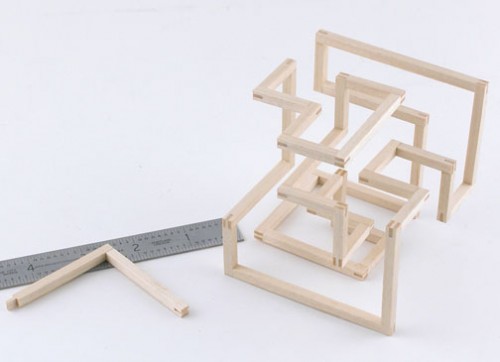
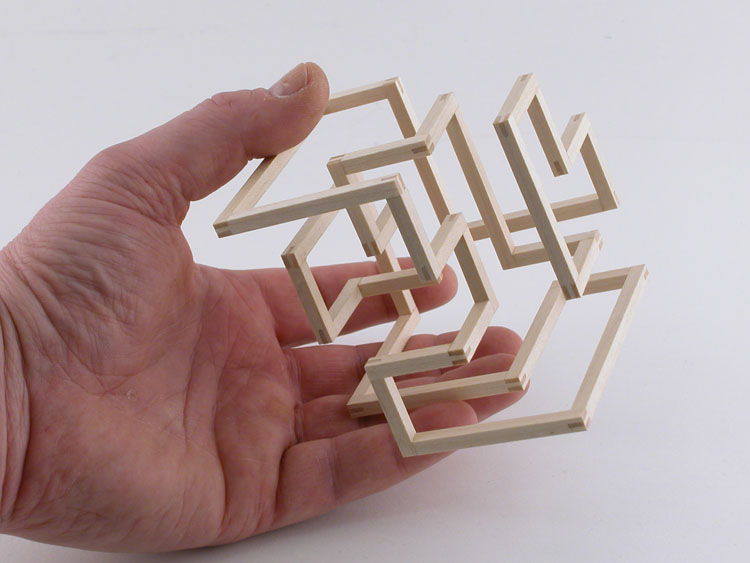
There are six sides to this cube–each is unique. Looking through the piece is joyful exploration. None if it possible without working as carefully as one can–and truly the work was another reward.
So, like most ideas, they have offspring…
–John
This is Almost Unbelievable…
April, 7th, 2009
Last summer while demonstrating the Jointmaker Pro in Japan, I visited several artists who created extraordinary mosaics from wood tiles. This got me to thinking how I would approach this art form using the Jointmaker Pro.
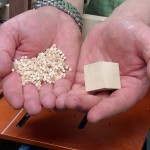
The results are incredible. Using the equivalent of a 1-1/8″ cube of maple, I made 648 smaller cubes (.0117″)–with only 24 cuts! The photo below speaks for itself…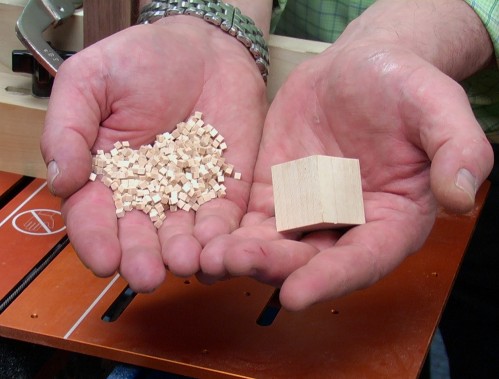
and the quality of each cube is amazing…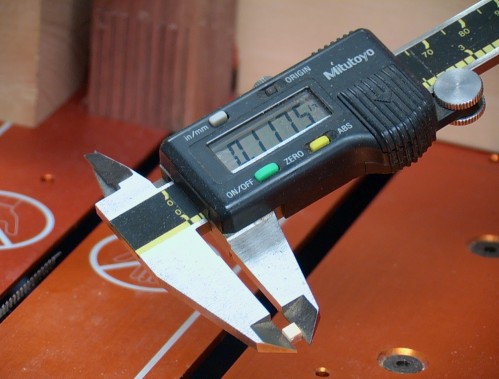
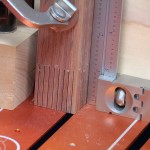
The whole process is way easier than one might imagine. The set-up for each cut is illustrated below;
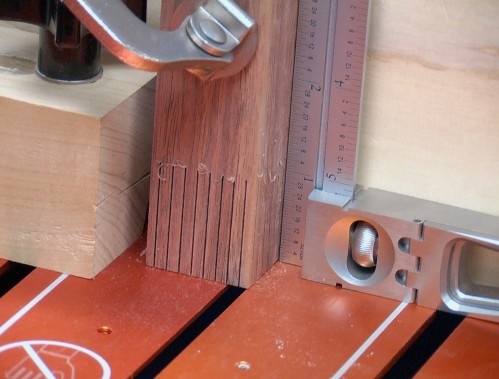
All of these cuts were made by eye just to test the idea. As you can see below, it would have been smart to check that my stock was square before I started, but then again, this was just a test using scrap.
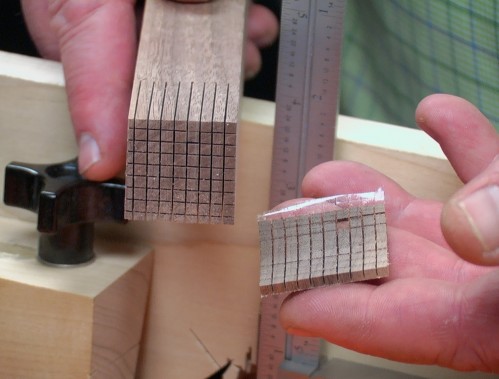
Once all the vertical cuts were made, I stuck a piece of packing tape to the end so I would not end up with little pieces of wood all over the place when I made the crosscut. This worked just fine.
This is about as small as you would want to go. This created about 8 square inches of surface area.
Using readily available software (Google: mosaic software) you can do amazing things. Briefly here’s how it works;
1) You decide on a tile size (doesn’t have to be a cube, just square).
2) You need an array of colors from light to dark. You could use natural wood tones (they all change with sunlight exposure however) or you could use one light toned species that dyes well and use aniline dyes (alcohol based) available in many colors.
3) The program needs to know what colors you are using–there are ways of scanning them in or approximating the colors using a RGB chart or other methods.
4) You scan your artwork/photograph into the program and tell it how big you want your piece.
5) The program creates a tile by number (each color is assigned a number) plan for you.
You need to have the desire and inclination to undertake such a project but none of what you need to do is hard.
I like this idea because it is a project that could involve the entire family–from kids to grandparents. Using the sizes in my example above, ONE BOARD FOOT of material would be enough material to make a mosaic 25″ x 32″–now that is almost unbelievable.
It’s a pretty slick idea and one I hope somebody embraces.
–John
Sneak Peek at Two New HP6v2 Kits….
The video below shows our new surface cove kits (should be available next week). Auto orders have been shipped.
This profile is really interesting. Not only does it do what it is designed to do, which is create a surface profile wherever you choose, but when used in conjunction with the miter fence, it is also a small rabbet plane, and creates two unique molding profiles depending on when you stop cutting. (We included a stop motion clip to illustrates how this works.) This profile would make cool tambours and adds a rich detail to a myriad of projects. It also cannot be replicated with a router. Check your inbox next week for the introductory special.
We finished shooting video of our next “Silent Woodworking” invention and I think you will find this to be an amazing new tool. Hopefully we will have pricing done next week as well.
And, I just finished the design of Commemorative Tool #16!
I think I need a break…
John
I Have to be the Dumbest Person Around…
March, 31st, 2009
I recently had dinner with Marc Adams and his family (founder of the Marc Adams School of Woodworking) and he shared a story that makes my head hurt.
Marc uses a Bridge City try square in one of his trade show demonstrations (it is about 25 years old, crusty and beat up, but reliable.) Recently however he could not find his square so he hopped over to a booth that had Chinese made machinist squares for sale.
He grabbed a square in hopes of borrowing it for his joinery demo. The proprietor of the booth informed him that would not be a good idea because that square–and all the others–are out of square. He then informed Marc that he tells every prospective buyer that the squares are off before they pay for them.
Marc asked, “And they still buy them?”
“Yes.”
“Why?”
“Because they are cheap!”
If you can figure this out please write me because I really feel stupid.
–John
Ouch. Yippee!
March, 30th, 2009
Life is all about perspective. I dislike putting our tools on sale–this is the “ouch” part of my business life. And the “yippee” part of yours.
One hand saw to seriously consider (particularly since it is on sale–Ouch!/Yippee!) is our JS-7 Combination saw–it is an adjustable back dozuki and an adjustable back rip saw. What makes this saw a joy to use is the adjustable back. In short, it completely prevents accidental overcuts–one of the ugliest repairs in the joinery world. This saw is ridiculously fast–and on sale.
The short clip below shows this unique saw in action–and if you would like to save $50 bucks (I can’t believe I just said that), click here. (This price is good through the end of this week or until this batch is gone.)
–John
The Importance of Play…
March, 20th, 2009
“The people dancing are considered crazy by those who can’t hear the music.”
–George Carlin
Things are never as they seem. For example…
I am working on a table design and today I needed to test the strength of a new joint. (One of my design criteria is to use appropriate materials in a scale fit for the task which often requires empirical data). This joint is not really new, but it is to me.
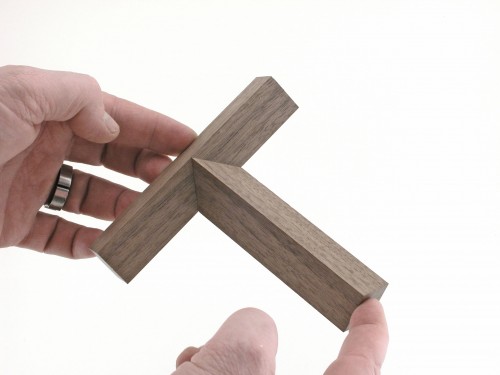
This joint is beautiful and really creates strong shadow lines. Using the showroom Jointmaker Pro (mine has not arrived yet–I am always last) I made the two 45 degree cuts just goofing around (didn’t take the time to dial in my angles) and they came out damn close to perfect (not gallery quality but REAL CLOSE).
.
.
.
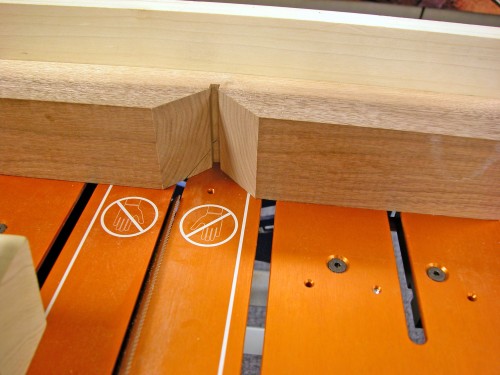
Double stick tape holds this quick custom guide to the Jointmaker Pro fences.
.
.
.
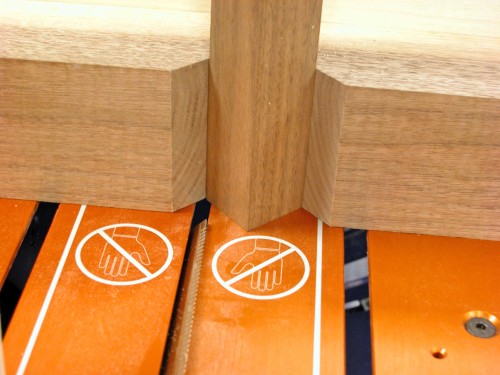
The stock is trapped vertically and now a clamp pad is needed.
.
.
.
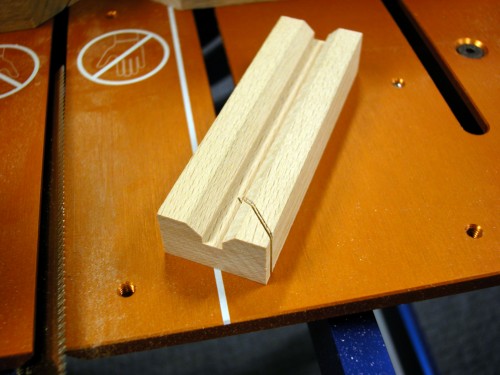
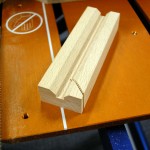
Using the HP6v2, the V groove was cut and then using one of the groove soles, I made the corner relief cut.
.
.
.
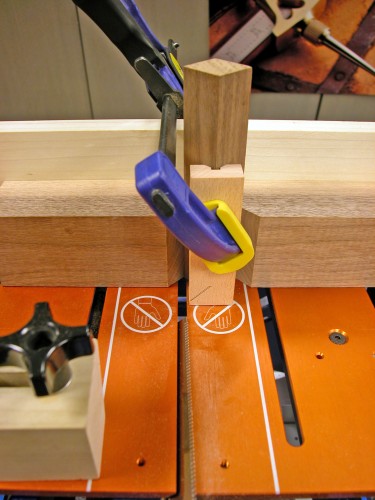
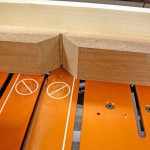
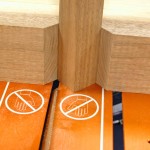
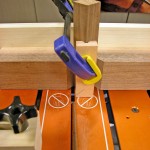
Here’s the stock clamped in place. The cuts were made in three passes, but I think they can be done with single passes in production–don’t know yet and I would never sacrifice accuracy or quality of cut for speed.
.
.
.
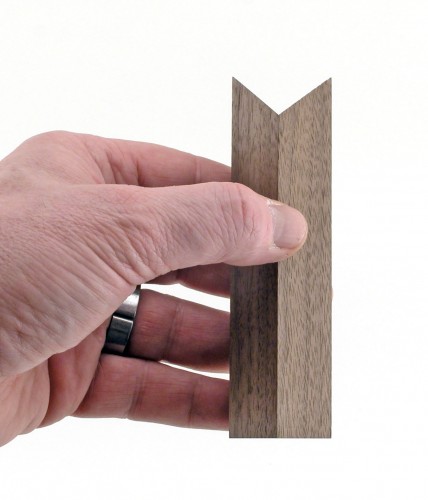
The quality of this cut is just incredible.
.
.
.
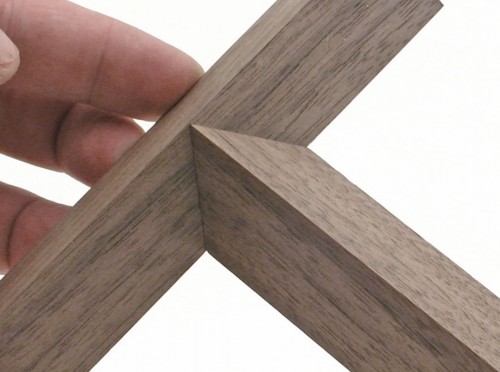
Now there is something I am leaving out here regarding strength–later. The bad news is that my table idea suffered a serious setback after I picked up the falloff from this cut…
.
.
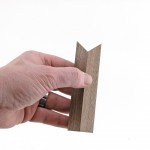
.
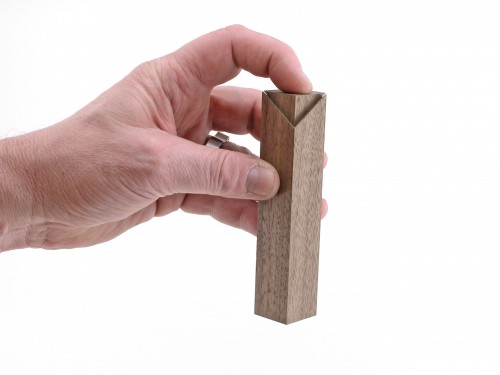
… and noticed if I offset it, the shadows were cool…
.
.
.
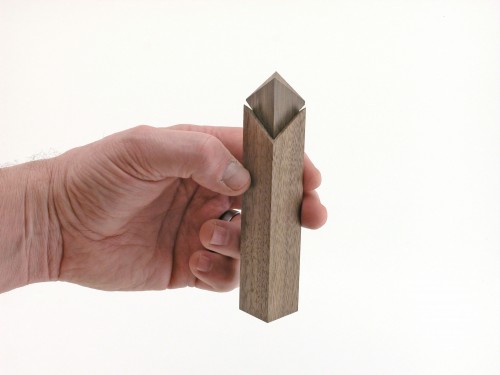
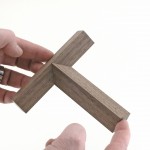
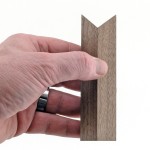
…even more interesting was the different ways I could put the two parts back together–notice the reflections on the endgrain when offset–straight from the JMP..
.
.
.
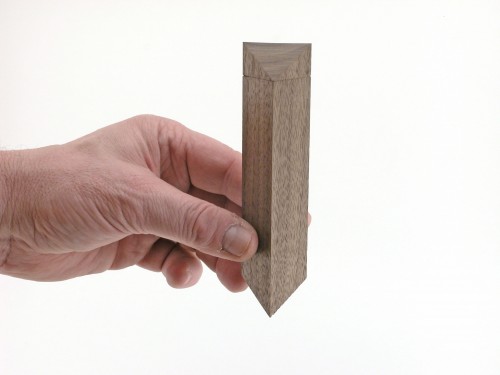
My table idea is out the window for the moment because I just discovered the inspiration for a chess set.
–John
This Explains EVERYTHING!
March, 19th, 2009
Every company goes through inventory shortages and we are no exception.
We recently caught our shipping clerk stealing from us. The picture below is from our security camera.
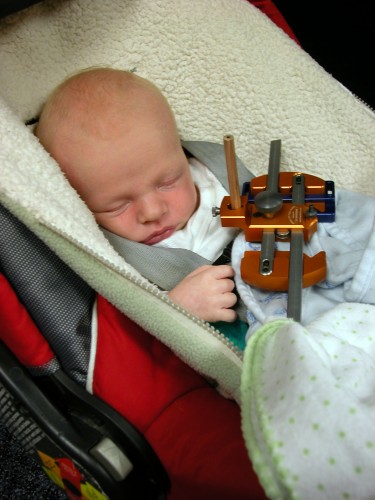
Needless to say, it will be awhile before Delano Andrew Goff finds work. We do hope however that his mother (who many of you know as Marissa) returns to work soon.
–John

